 EN
 IT Italiano
 ES Español
 FR Français
 DE Deutsch
Description
What it is
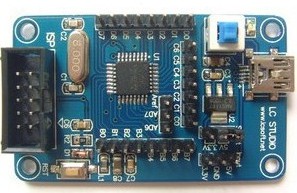
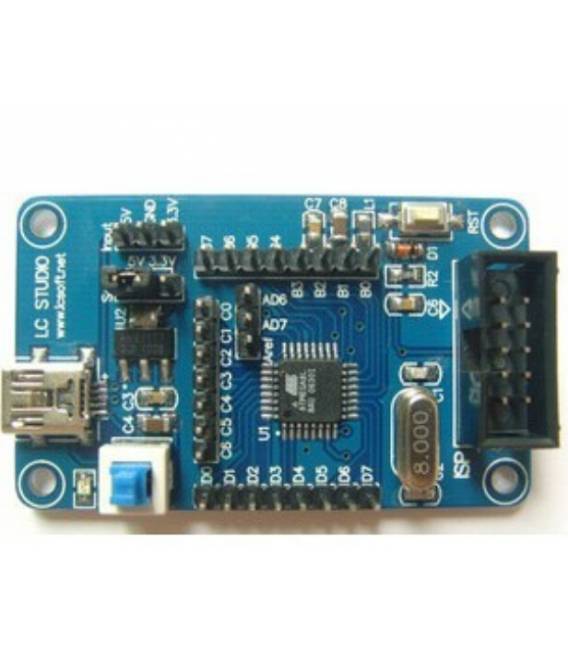
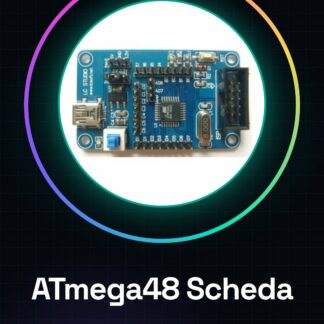
The ATmega48 M48 AVR development board is a device designed to facilitate programming and prototyping in Arduino. This component is ideal for both beginners and experts, offering a modular and cost-effective solution for small projects.
Features
- ATmega48 M48 AVR based development board
What it is for
The board is ideal for creating prototypes and small projects such as step counters, PIR sensors with LED indicators. It is compatible with Arduino.
Tutorial: How to use ATmega48 M48 AVR Development Board
The ATmega48 board is ideal for small and modular projects. For beginners and experts.
What you need
- ATmega48
- Arduino IDE installed
- USB A-B cable
- external power supply (check the datasheet)
- 3D printer (optional for housing)
Steps
- 1. Install the Arduino IDE from the official website.
- 2. Download and install the necessary driver for communication with the ATmega48 board.
- 3. Check the datasheet for the correct power supply for your board.
- 4. Connect the board to the computer via USB A-B cable.
- 5. Open Arduino IDE and select ‘Arduino MEGA or Due’ as the board (check the datasheet).
- 6. Select the correct USB port in Arduino IDE preferences.
- 7. Load a simple sketch to test the connection.
- 8. Verify that the LED connected to pin 13 blinks.
- code
Mini project
Create a step counter with PIR sensors and LED indicators, all on ATmega48.
Common mistakes
- Using power supply not conforming to datasheet requirements.
- Selecting the wrong board in Arduino IDE.
- Failing to properly verify the USB connection.
- Incorrect or unspecified clock settings.
Recommended accessories
- USB A-B cable
- External power supply 5V (check the datasheet)
- PIR sensors
- Various LEDs
Frequently asked questions
How can I upload a sketch to ATmega48?
Use Arduino IDE and select the correct board and USB port.
Which sensors can be used with this board?
PIR sensors, LED, variable resistors, etc. (check the datasheet).
Reviews
There are no reviews yet.