 EN
 IT Italiano
 ES Español
 FR Français
 DE Deutsch
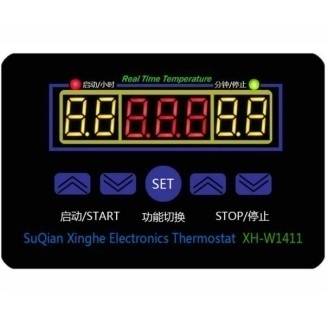
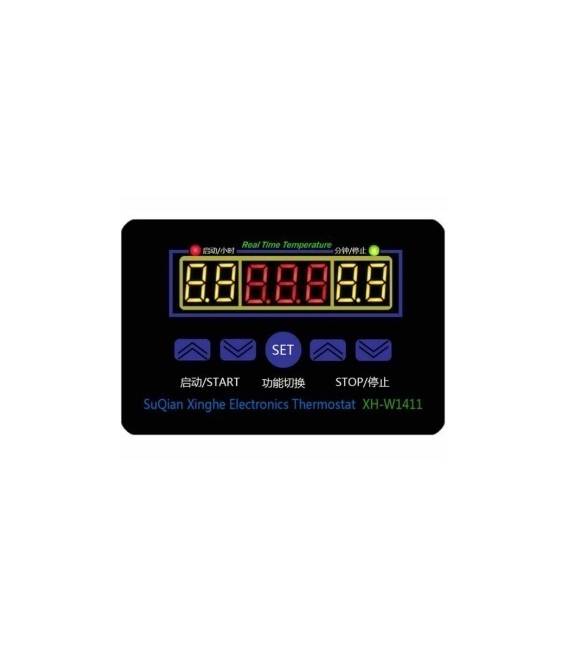
Description
What it is
The XH-W1411 sensor is a digital device for temperature measurement, designed for use in electronic systems. It allows for temperature detection and management through an integrated thermostat, activating or deactivating a circuit at a certain temperature.
Features
- Type: Digital temperature sensor
- Operating voltage: DC 12V / AC 220V
- Maximum current: 10A
- Function: Temperature sensor + integrated thermostat
What it is for
The XH-W1411 sensor is ideal for projects requiring precise temperature control, such as temperature alarm systems, heating or cooling regulation, environmental monitoring. Its compatibility with Arduino and other microcontrollers makes it versatile for a wide range of applications.
Tutorial: How to use XH-W1411
The digital temperature sensor XH-W1411 is ideal for projects requiring precise temperature control. Useful for beginners and intermediates, it is perfect for domestic and industrial environments.
What you need
- Arduino or compatible microcontroller
- 12V DC power supply cable
- 10kΩ resistor
- 220V power supply connector
Steps
- 1. Check that the sensor is functioning with a multimeter.
- 2. Connect the 12V DC power supply cable to the sensor.
- 3. Connect the 10kΩ resistor between the VCC and GND pins of the sensor.
- 4. Connect the VCC pin of the sensor to 12V.
- 5. Connect the GND pin of the sensor to the GND of the circuit.
- 6. Connect the SDA pin to pin A4 or A5 of the microcontroller.
- 7. Connect the SCL pin to pin A3 of the microcontroller.
- 8. Load the provided Arduino code.
Example code
```cpp
#include <Wire.h>

void setup() {
  Wire.begin();
  Serial.begin(9600);
}

void loop() {
  int temp = analogRead(A4);
  Serial.println(temp);
  delay(1000);
}
```
Mini project
Create a temperature alarm system for a domestic area. Connect the sensor to an Arduino and program an alarm that activates if the temperature exceeds 30°C.
Common mistakes
- Connect the sensor directly to 220V AC.
- Omit the 10kΩ resistor.
- Connect the sensor to a power supply different from 12V DC.
- Forget to check the sensor connectivity with a multimeter before installation.
Recommended accessories
- Arduino Uno
- 16×2 LCD Display
- 12V 2A Power Supply
- USB Cable for Arduino
Frequently asked questions
Does the sensor work with 5V?
Check the datasheet. The sensor is designed for 12V DC.
Can it work with AC 220V power supply?
No, the power supply must be 12V DC.
How precise is the sensor?
The precision is ±0.5°C, check the datasheet.
Can I use a power supply different from 12V 2A?
Check the datasheet for the correct power supply.
Reviews
There are no reviews yet.