 EN
 IT Italiano
 ES Español
 FR Français
 DE Deutsch
Description
What it is
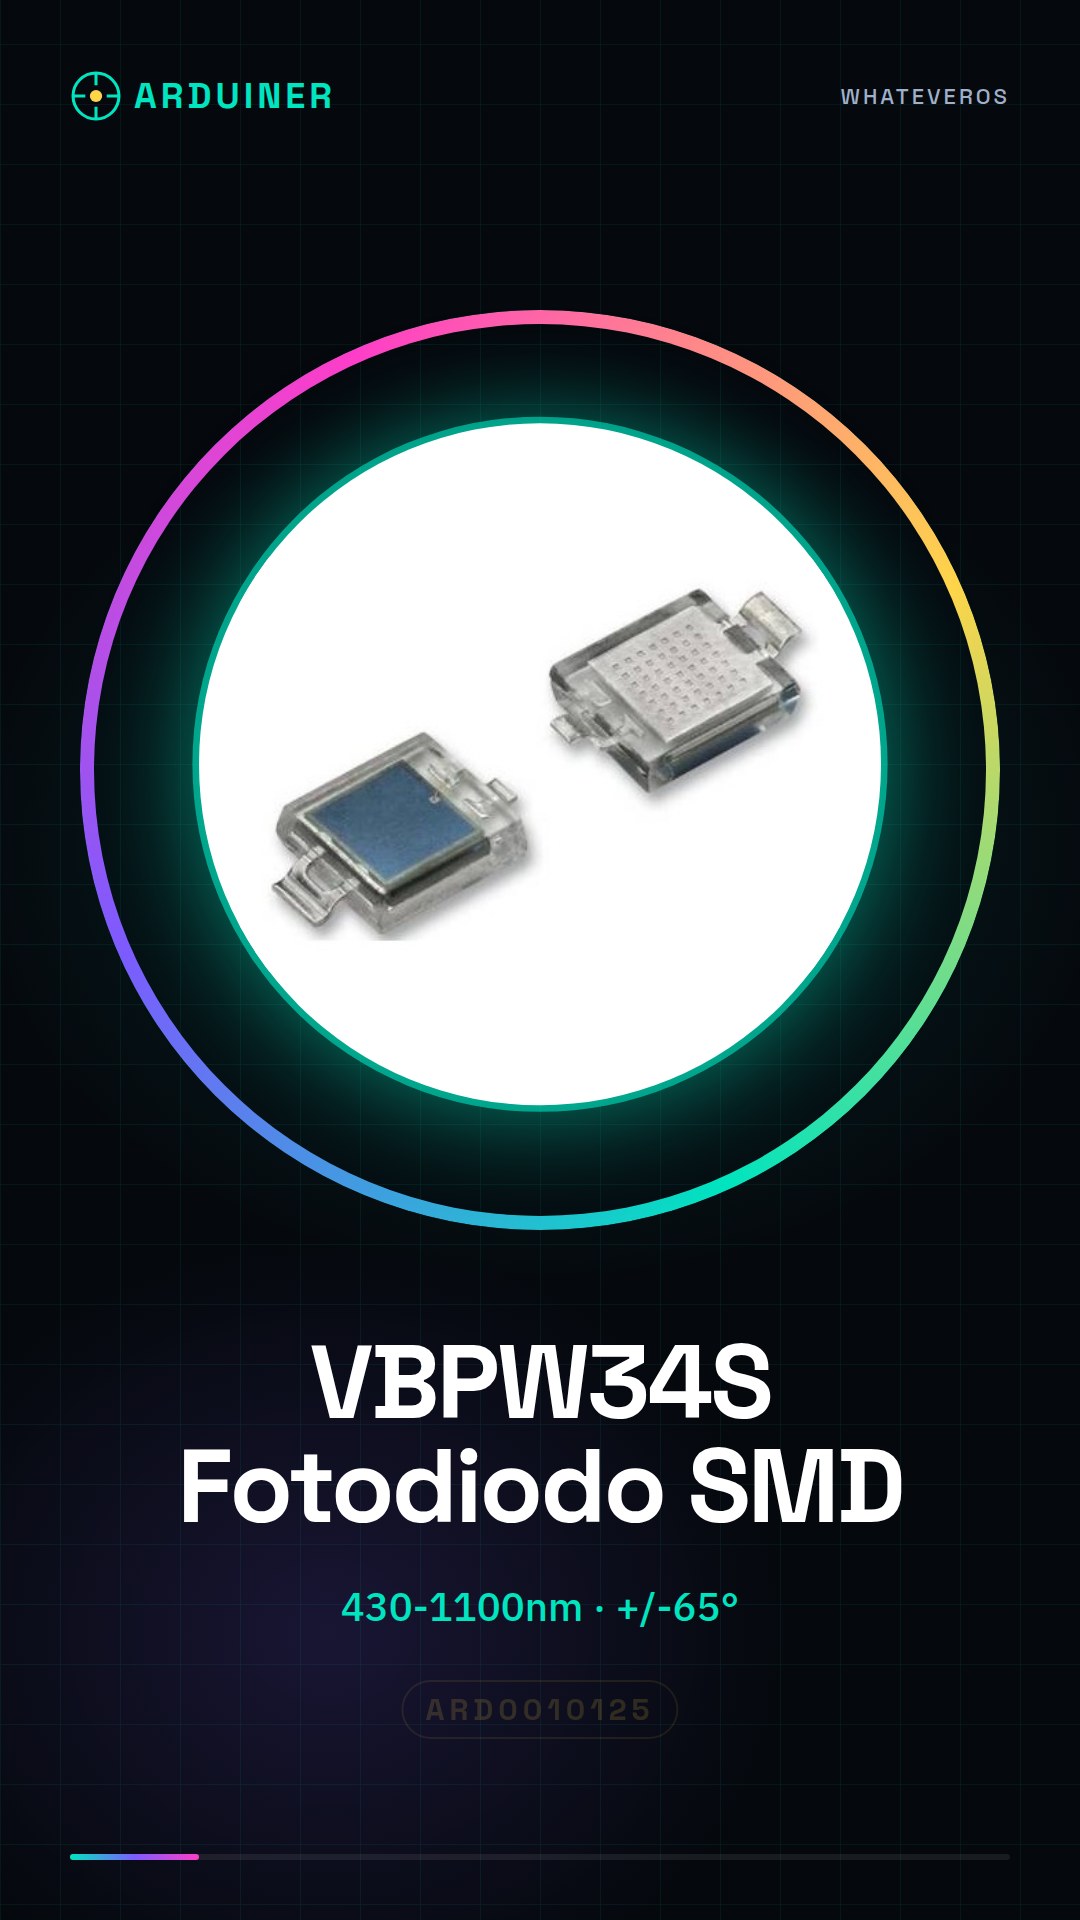
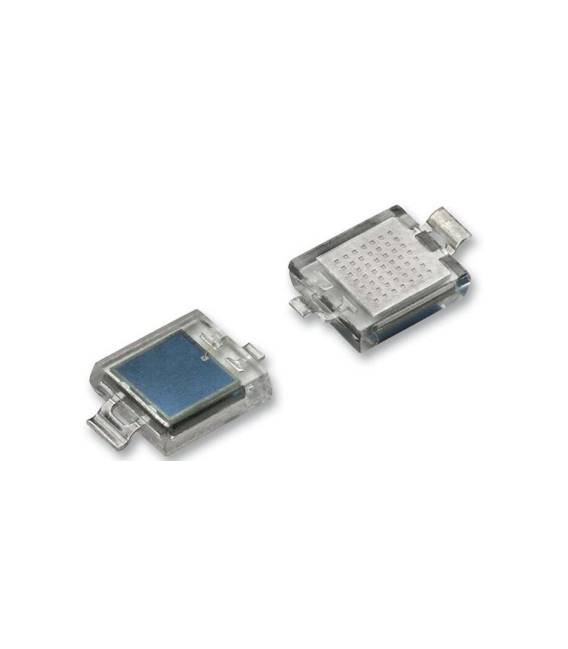
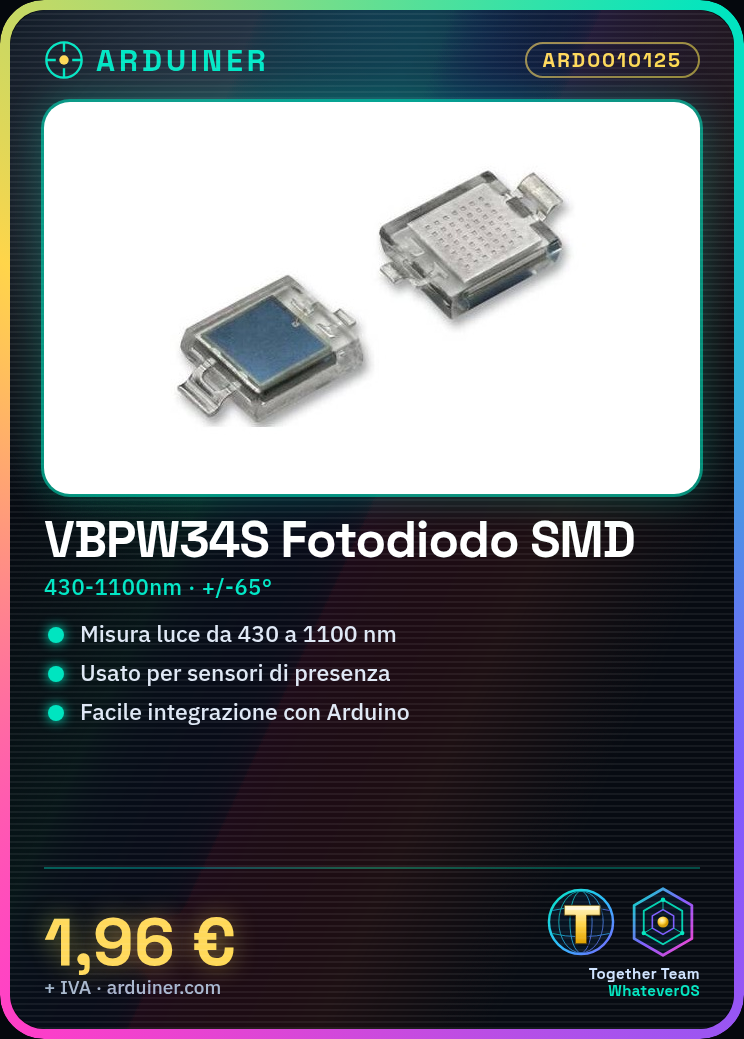
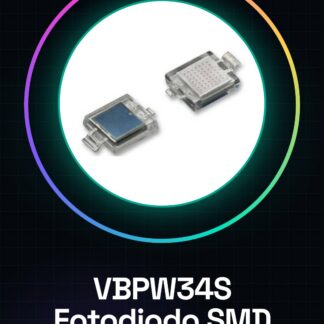
The VBPW34S is an SMD Gullwing photodiode designed for light measurement across a wide range of wavelengths. This component is particularly suitable for optical detection applications and can be used in various Arduino projects.
Features
- Operational wavelength: 430-1100nm
- Angular tolerance: +/- 65 degrees
What it is for
VBPW34S photodiodes are used in projects requiring ambient light measurement, such as presence sensors or lighting control systems. They are compatible with Arduino and can be easily integrated into circuits to monitor specific optical conditions.
Tutorial: How to use VBPW34S Photodiode
The VBPW34S photodiode is a useful component for measuring light across a specific range of wavelengths. It is ideal for optical detection projects, such as presence sensors or day-night cycle control.
What you need
- Arduino Uno
- USB A-MicroB cable
- 10kΩ resistor
Steps
- Connect the photodiode to analog pin A0 of the Arduino using a jumper wire. Check the datasheet for the correct polarity.
- Connect a 10kΩ pull-up resistor between the other end of the photodiode and the VCC (5V) pin of the Arduino.
- Open Arduino IDE, create a new sketch and paste the provided script in the ‘code’ step.
- Compile and upload the code to the Arduino via USB A-MicroB cable.
- Start the serial monitor in Arduino IDE to view the values read from the photodiode.
- Optimize the script according to the project requirements.
Example code
int ledPin = 13;
int sensorPin = A0;
void setup() {
pinMode(ledPin, OUTPUT);
Serial.begin(9600);}
void loop() {
int val = analogRead(sensorPin);
if (val > 500) {
digitalWrite(ledPin, HIGH);} else {digitalWrite(ledPin, LOW);}
Serial.println(val);}
Mini project
Create a lighting control system that turns on a lamp when ambient light falls below a certain level.
Common mistakes
- Photodiode polarity connected to the wrong pin.
- Incorrect value for the resistor.
- Analog pin not correctly configured in the Arduino code.
Recommended accessories
- Arduino Uno
- SMD Prototyping Kit
- USB A-MicroB Cable
- Different Sensors to Mount on a Printed Circuit Board
Frequently asked questions
Does the photodiode work with wavelengths outside the specified range?
Check the datasheet for sensitivity outside the nominal range.
Can I use the photodiode without a pull-up resistor?
It is not recommended, it could create undefined conditions in the circuit.
Reviews
There are no reviews yet.