 EN
 IT Italiano
 ES Español
 FR Français
 DE Deutsch
Description
What it is
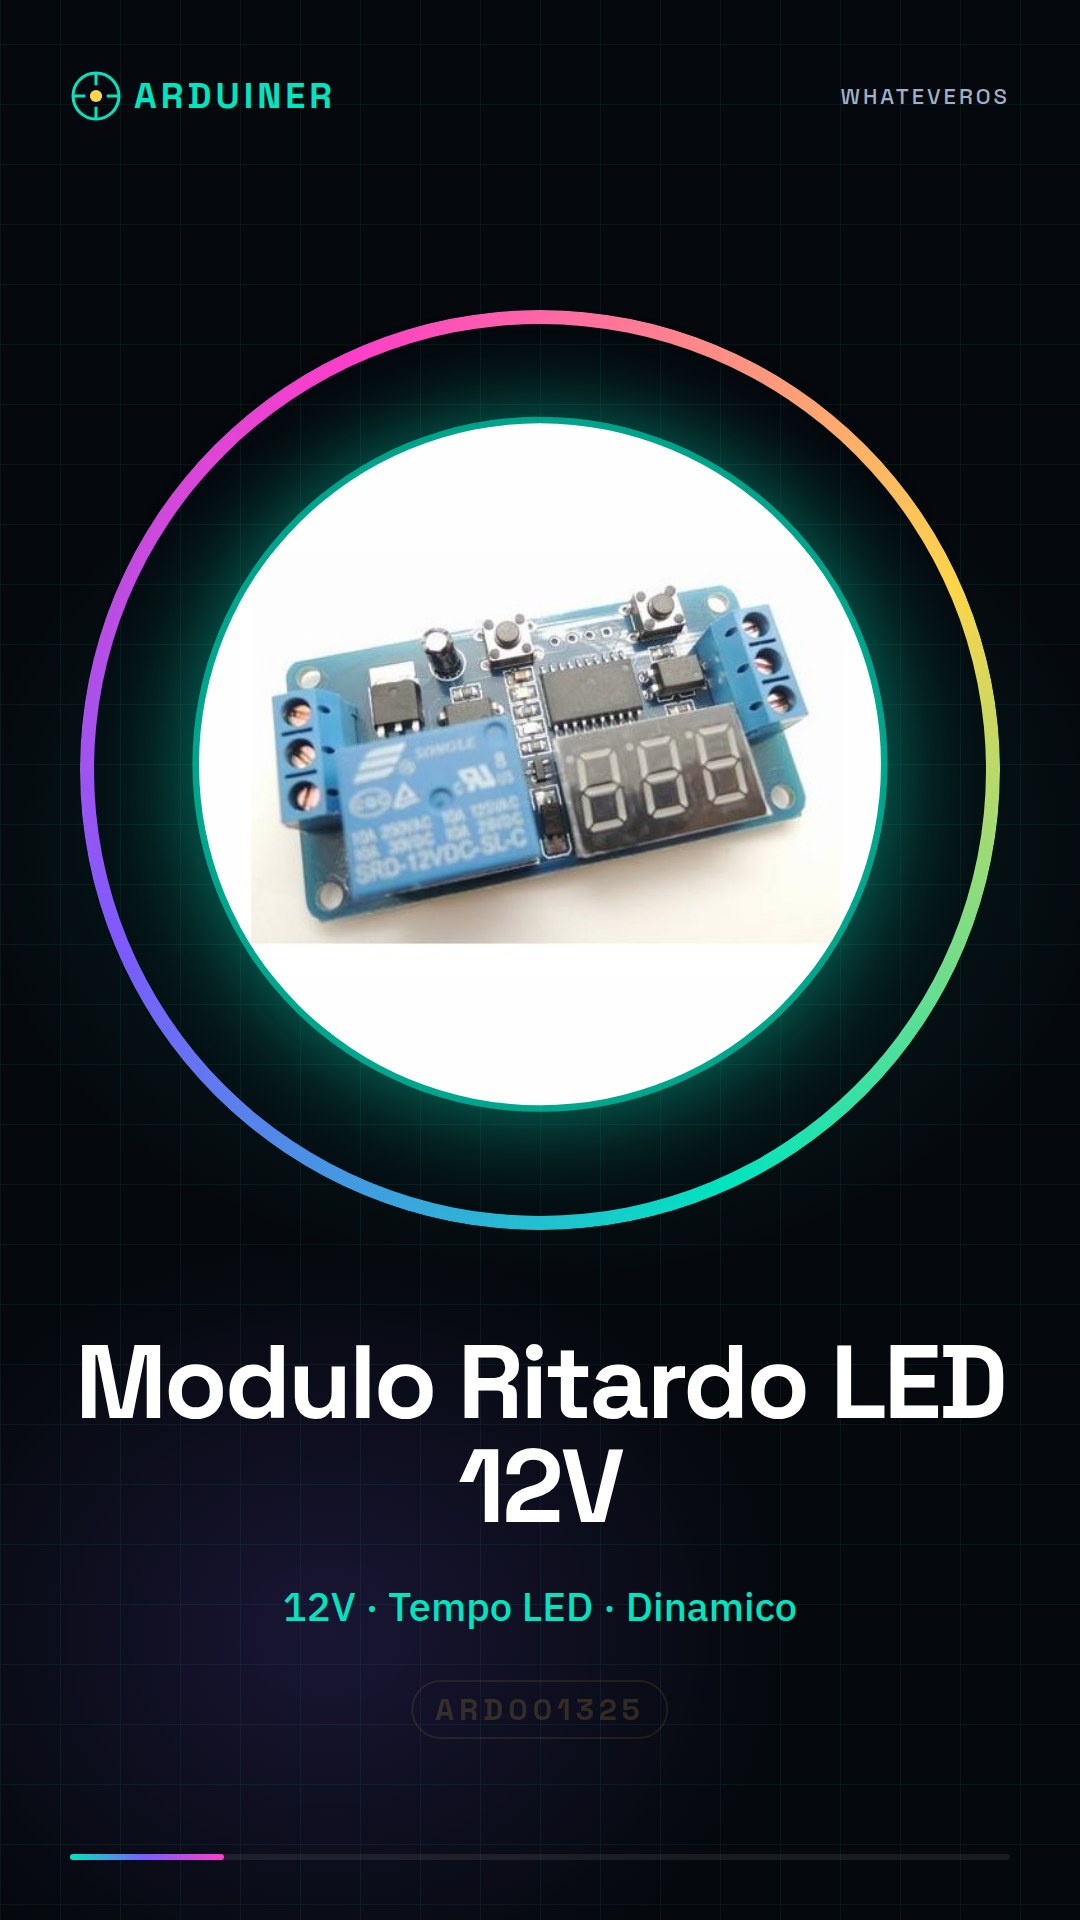
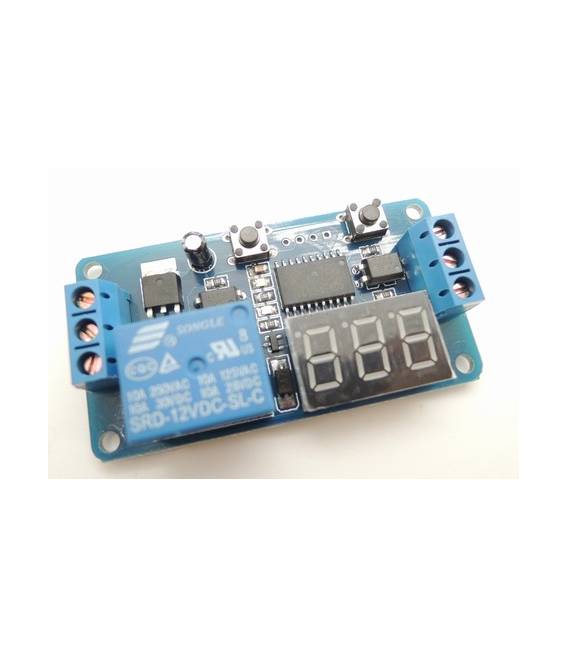
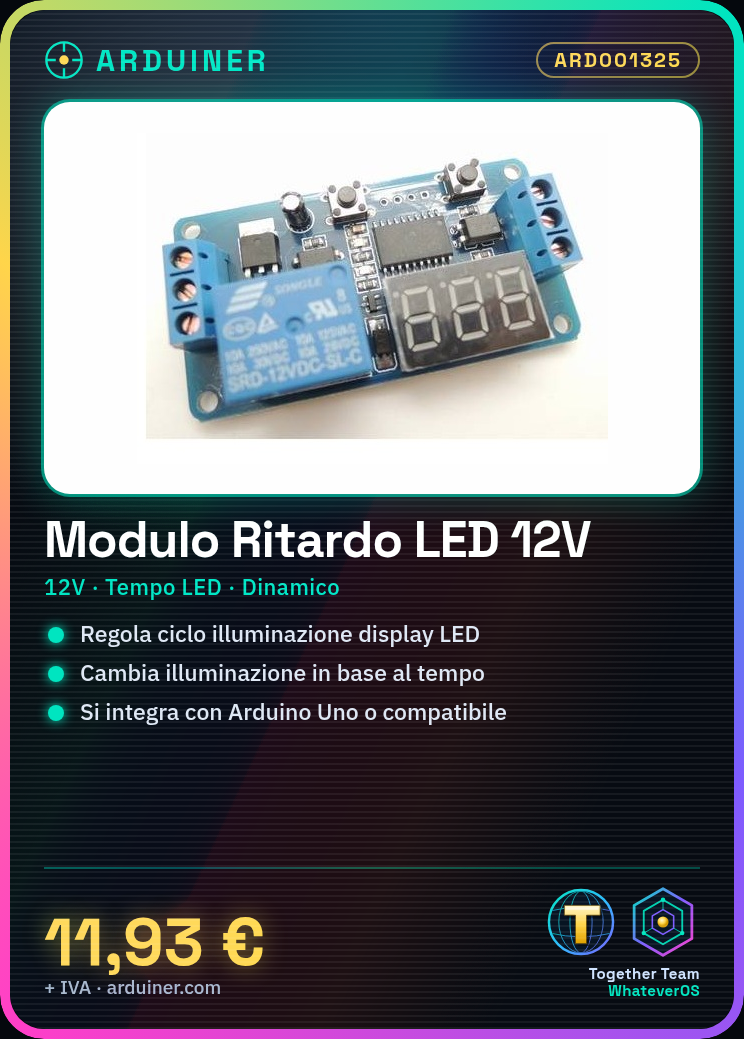
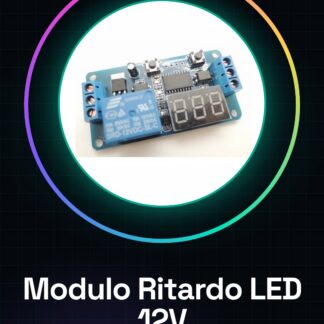
The LED Digital Display Cycle Delay Module 12V is an electronic component designed to regulate the illumination cycles of LED displays. This module allows makers and developers to add timed display features to their projects, such as creating a warning display that changes illumination based on the time of day.
Features
- Cycle Delay for LED Digital Display
- Operating Voltage: 12V
What it is for
Timed delay modules are useful in Arduino and 3D printing projects where precise control of LED matrix illumination is required. This module can be easily integrated with microcontrollers like Arduino or ESP to implement advanced dynamic lighting features.
Tutorial: How to Use LED Digital Display Cycle Delay Module 12V
The LED digital display cycle delay module 12V is a useful component for makers who want to add timed display functionality to their projects. This module allows controlling the lighting and image switching rate on an LED matrix, making it ideal for dynamic lighting applications.
What you need
- Arduino Uno or compatible
- USB A-Micro B cable
- 12V power supply (check the datasheet)
- Connections suitable for the module and the Arduino
Steps
- Connect the module to the 12V power supply.
- Connect the module pins to those of the Arduino using appropriate cables (check the datasheet).
- Download and install the necessary library to control the module (check the datasheet).
- Write an Arduino sketch that configures the display’s timing delay.
- Upload the sketch to the Arduino using the development software.
- Verify the correct execution of the sketch and adjust any parameters as necessary.
- Perform additional tests to verify all features of the module.
- Implement the final application in the project.
Example code
/*
* Sketch di esempio per il ritardo tempo ciclo display digitale LED modulo.
*/
#include <libreria_modulo.h> // Verifica sul datasheet
void setup() {
  // Inizializzazione del modulo e delle funzionalità desiderate (verifica sul datasheet)
}
void loop() {
  // Eseguire il ritardo temporale e cambiare le immagini secondo necessità.
}
Mini project
Create a warning display that changes the lighting based on the time of day. Insert RGB LEDs on the matrix to vary the colors during the night.
Common mistakes
- Connect the module to an incorrect voltage (12V required).
- Omit installing the necessary libraries before the sketch.
- Fail to properly verify the connectivity between Arduino and module.
- Configure the delay parameters without preliminary testing.
Recommended accessories
- Arduino Uno
- Library for controlling LED display (check the datasheet)
- Set of various cables
- 12V power supply
Frequently asked questions
What is the required voltage?
The module requires a 12V power supply (check the datasheet).
How is the necessary library installed?
Download the library from the official manufacturer’s website or from the GitHub repository, then add it to your Arduino IDE.
Reviews
There are no reviews yet.