 EN
 IT Italiano
 ES Español
 FR Français
 DE Deutsch
Description
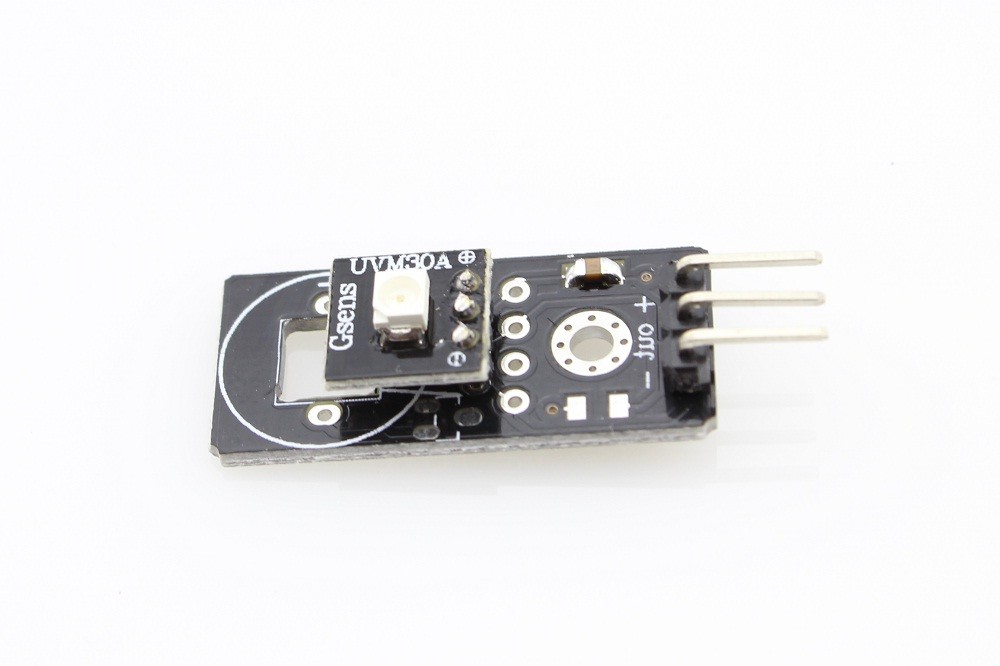
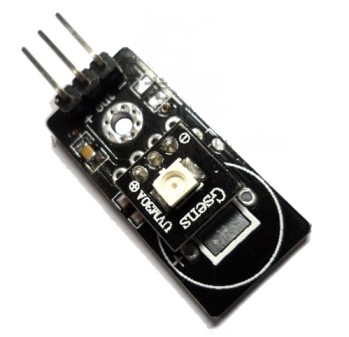
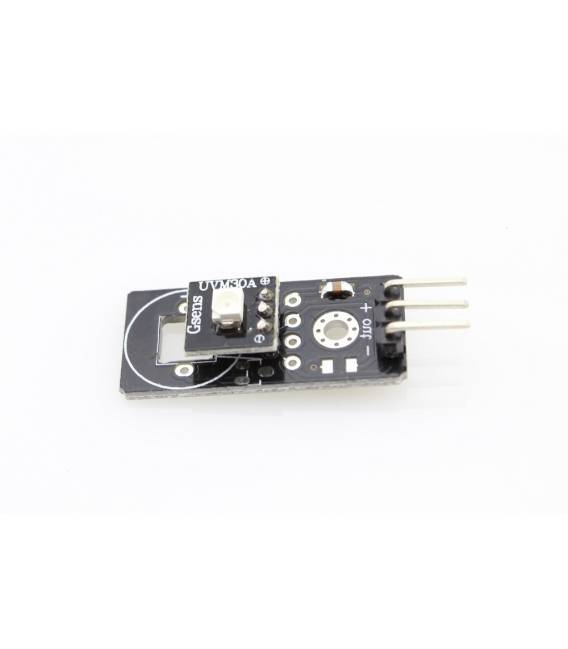
UVM30A Module – UV Light Sensor
The module constitutes a sensor for light with a wavelength from 200 to 370 nm.
The module developed to measure radiation such as that emitted by the sun in the spectrum just before the visible (exactly from 200 to 370nm).
Supply Voltage 3 to 5V.
Output signal voltage up to 1V max.
Operating Temperature -20/+85 C.
Technical Specifications:
– UV Sensor
– Supply Voltage 3 to 5V
– Dimensions 30x20x10 mm
– Weight 25gr
Connection Method:
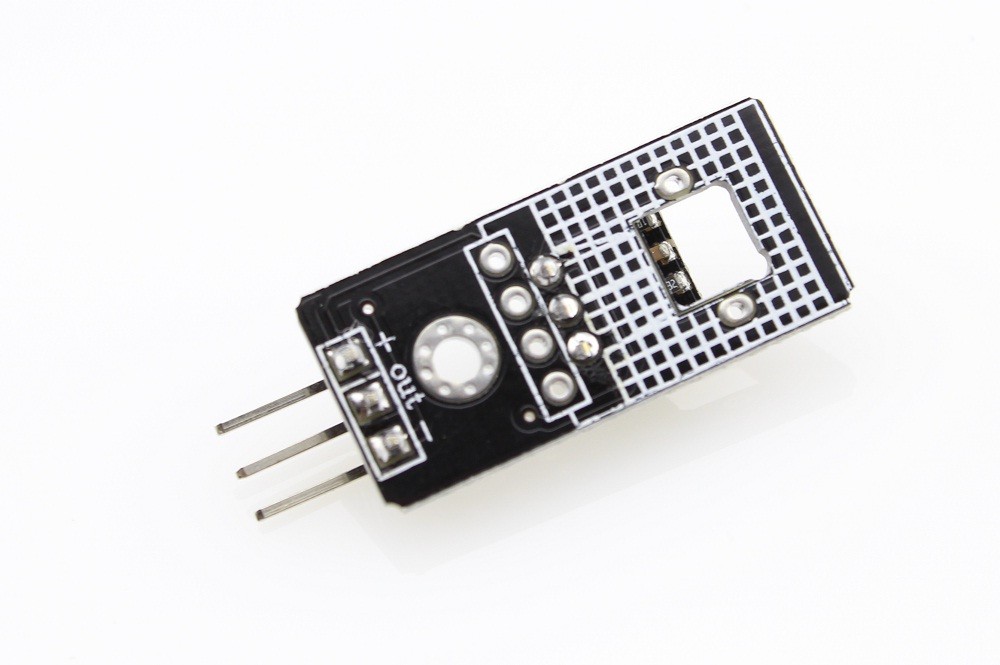
1. The module features a 3-pin connector on a single row spaced at 2.54mm
a. Pin-1 Supply Voltage
b. Pin-2 Output Signal
c. Pin-3 Ground
Designed for occasions that require high reliability and precision of UV Index (UVI) measurement;
Suitable for measuring the total UV intensity of the sun;
Check UV index, World Health Organization classification standards
UV wavelength detection: 200-370nm;
Fast response, full interchangeability;
Using a patented solid polymer structure, waterproof, dustproof, easy to clean;
Linear voltage output signal;
Compact size, suitable for mobile phones and other portable products.
We have datasheets for all components, if not included in the product download sheet, send us a message through the contact us form and we will publish it as soon as possible on our website.
Tutorial: How to use UVM30A
The UVM30A sensor measures ultraviolet light, ideal for sun protection or UV lamp control projects. Useful for beginners and intermediates.
What you need
- UVM30A Module
- Arduino
- 10kΩ Resistor
- 5V Power Cable
Steps
- Connect the UVM30A module to Arduino pin A0.
- Connect a 10kΩ resistor between the VCC pin of the module and 5V of Arduino.
- Connect the GND pin of the module to the GND of Arduino.
- Load the code onto Arduino.
- See the ultraviolet light values on the serial monitor.
- For calibration, check the output values on the datasheet.
- Try exposing the sensor to different levels of UV light and observe the changes.
- Check that the sensor is functioning correctly.
Example code
```int sensorPin = A0;
void setup() {
  Serial.begin(9600);
}

void loop() {
  int sensorValue = analogRead(sensorPin);
  Serial.println(sensorValue);
  delay(500);
}```
Mini project
Create a solar alarm with an LED that turns on when the UV light exceeds a certain level.
Common mistakes
- Do not connect the voltages correctly.
- Do not calibrate the sensor.
- Use a non-analog pin for the sensor.
- Forget to check the output values.
Recommended accessories
- LED
- Resistor for LED
- Button
- 3V battery
Frequently asked questions
How to calibrate the sensor?
Check the output values on the datasheet and adjust the code if necessary.
What are the output values?
Check the datasheet for the output values.
Does the sensor work with Arduino Uno?
Yes, it works with Arduino Uno.
Reviews
There are no reviews yet.