 EN
 IT Italiano
 ES Español
 FR Français
 DE Deutsch
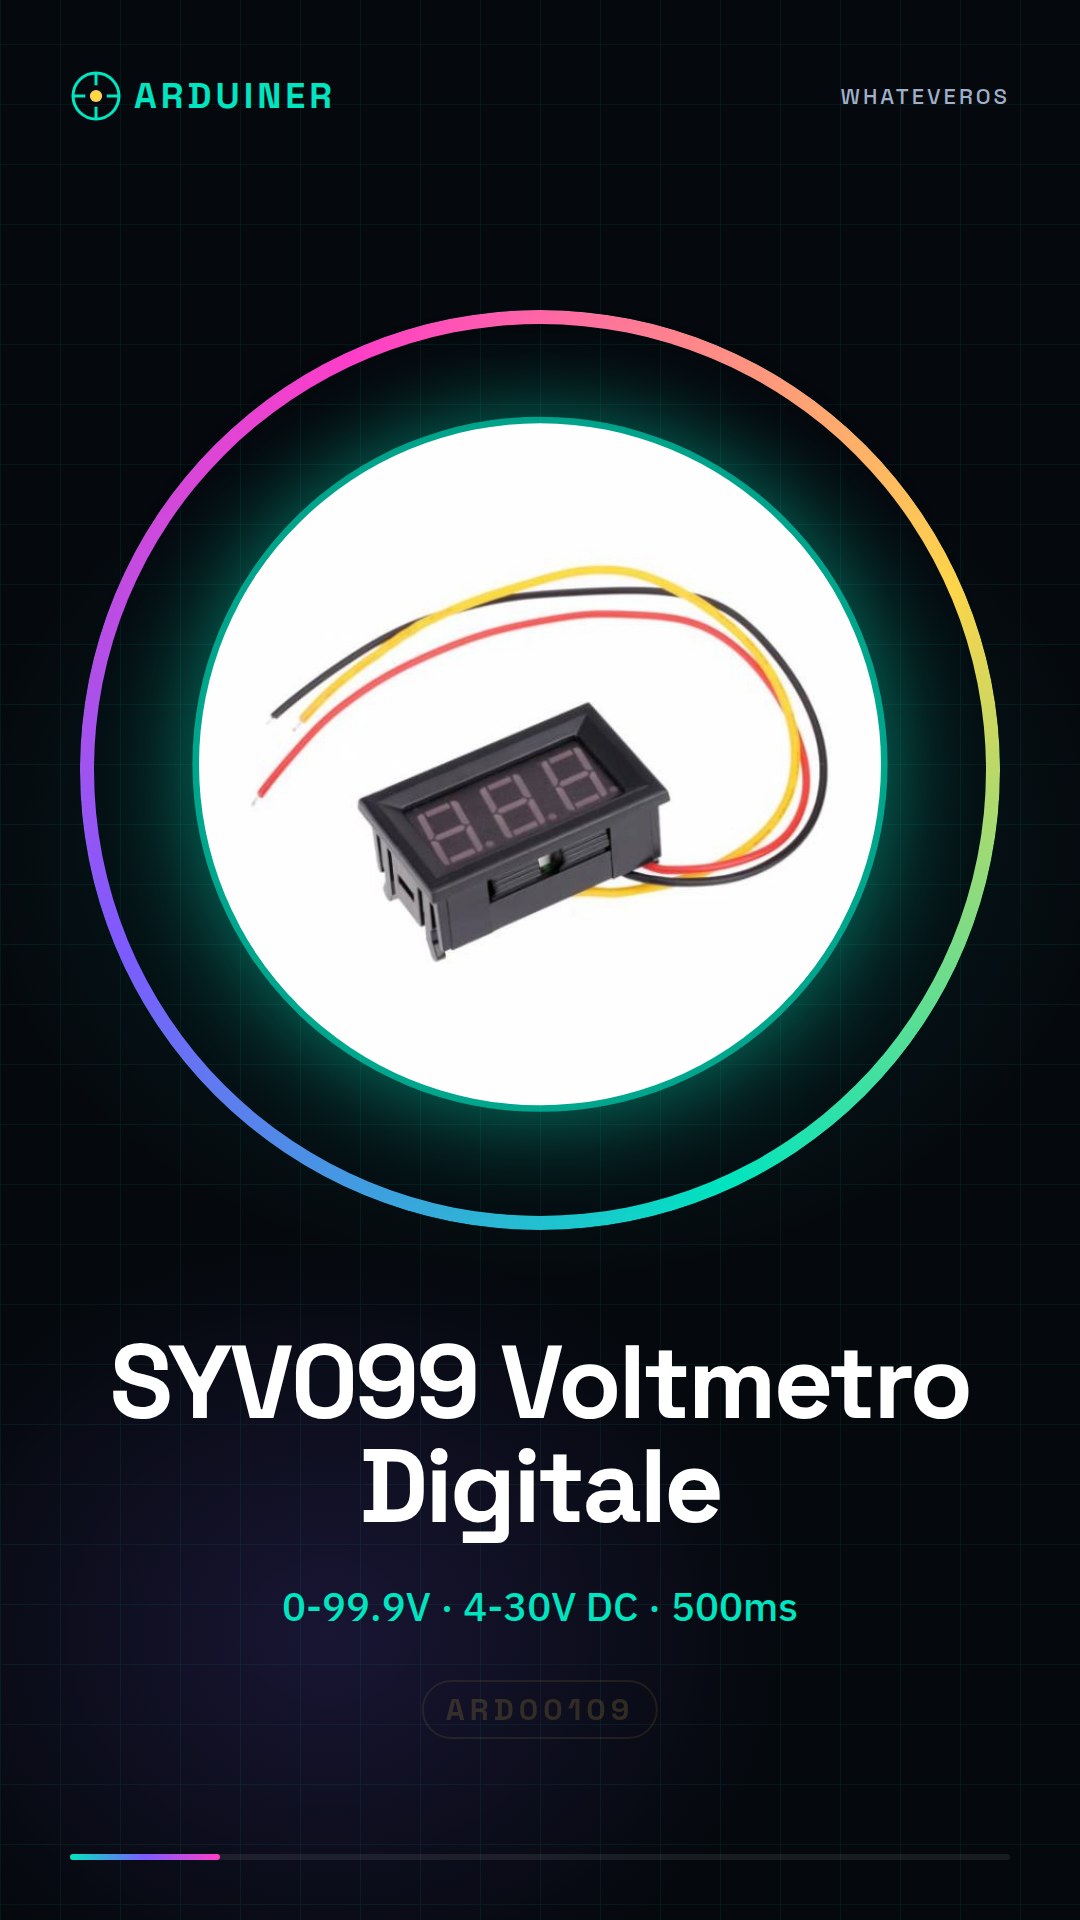
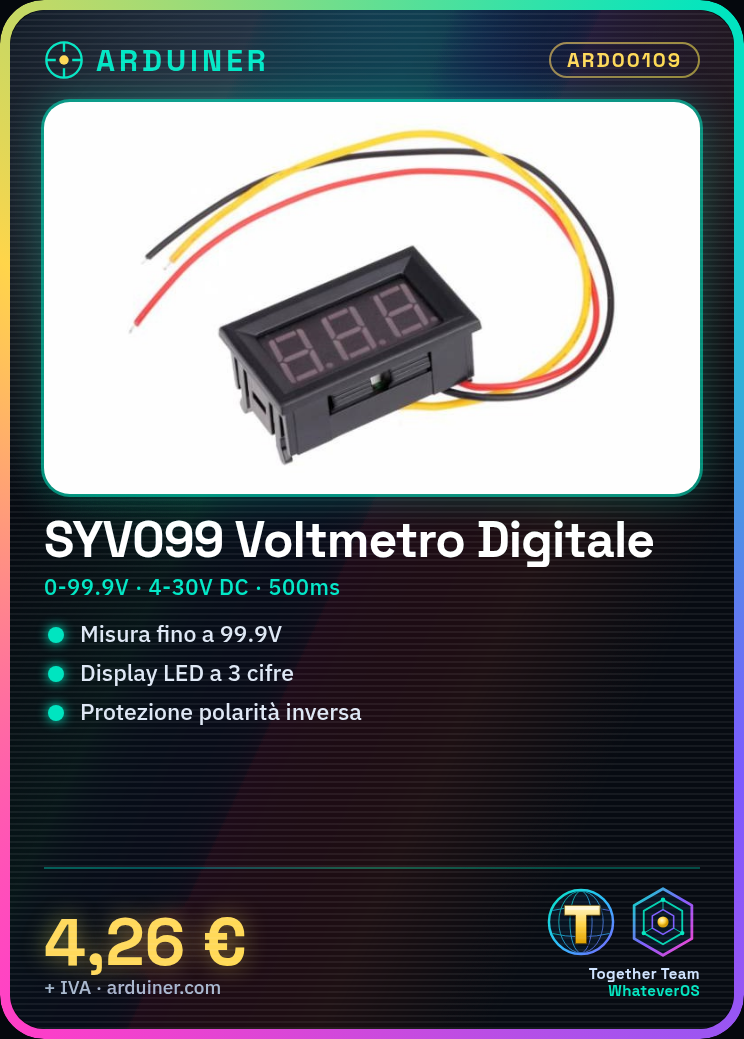
Description
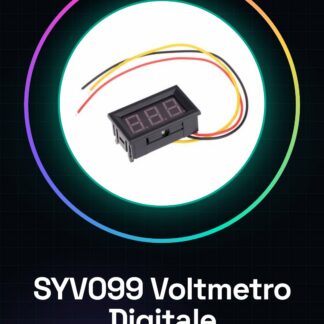
🔧 Description of the SYV099 Digital Voltmeter 0–99.9V Module
✅ Main Features
- Name: SYV099
- Type: 3-wire digital voltmeter with 3-digit display (0–99.9V)
- Supply Voltage: 4.0V to 30.0V DC
- Measurable Voltage: 0.0V to 99.9V DC
- Current Consumption: approximately 10–20 mA
- Accuracy: ±1% (typical)
- Display: 3-digit red/blue/green LED display (depending on version)
- Protection: against polarity reversal
- Update Frequency: 500 ms (approximately)
- Dimensions: approximately 48 mm x 29 mm x 21 mm
- Wiring: 3 wires (red, black, yellow/white)
🔌 Connections of the 3 wires
- Red: positive power supply for the module (Vcc, from 4V to 30V)
- Black: GND (common ground for both power supply and measurement)
- Yellow (or white): measurement input (voltage to measure)
Note: The module can be powered from the same point where the voltage is measured (if compatible), or separately.
🔧 Usage with Arduino
🧰 Required Material
- SYV099 Module
- Arduino Uno / Nano / Mega
- Resistor voltage divider (optional)
- Jumper wires
- Breadboard (optional)
🧪 Usage
The module measures the voltage directly e displays the value on the display, therefore it is not necessary to read it through the Arduino analog pin, but it can be used as an external voltage display, for example for a sensor or a battery.
However, if you want to read the same voltage measured by the module also within your Arduino sketch, you can duplicate the connection (with a voltage divider if >5V) and use analogRead().
🧮 Connection Example 1 – Display Only
Purpose:
Display the voltage of a battery or sensor (up to 99.9V) on the SYV099.
[ Batteria 12V ]
   |     |
   |     |----------------------> Giallo (ingresso misurazione)
   |                        |
   |------------------------> Rosso (alimentazione modulo)
                              |
                              → Nero (GND comune)
NOTE: The module measures voltages between 0 and 99.9V but does not regulate anything. It is only used to measure and display.
🧮 Example Connection Diagram 2 – Shared Measurement with Arduino
Purpose:
Measure a voltage with the SYV099 and read it also from Arduino.
🧷 Connections:
- SYV099:
- Red → 5V of Arduino
- Black → Common GND
- Yellow → voltage to measure (e.g., battery, or sensor output)
- Arduino:
- A0 → same point of the yellow wire (with voltage divider if >5V)
⚠️ Important:
If the voltage to be measured is greater than 5V, use a voltage divider to avoid damaging the Arduino A0 pin.
🖥️ Arduino code to read analog voltage
// Costanti per il partitore (es. R1 = 10k, R2 = 10k => scala 2:1)
const float R1 = 10000.0;
const float R2 = 10000.0;

void setup() {
  Serial.begin(9600);
}

void loop() {
  int analogValue = analogRead(A0);
  float voltage = analogValue * (5.0 / 1023.0); // tensione letta da Arduino
  float actualVoltage = voltage * ((R1 + R2) / R2); // corregge partitore

  Serial.print("Tensione letta: ");
  Serial.print(actualVoltage);
  Serial.println(" V");

  delay(1000);
}
🧠 Usage tips
- Do not exceed 30V of power supply for the SYV099 module.
- For precise readings with Arduino, calibrate R1 and R2 values with a multimeter.
- The module cannot be controlled by Arduino: it is an autonomous voltmeter.
- Use the module for battery monitoring, power supplies, solar panels, etc.
✅ Advantages of the SYV099 module
- Easy to use
- Economical
- Integrated display
- No programming required
- Great for DIY projects, Arduino, Raspberry Pi
🛠️ Conclusion
The SYV099 Digital Voltmeter is a useful tool for displaying the voltage in a circuit in real-time, particularly handy in Arduino projects where you can duplicate the reading to show the value on the display and also process it in the microcontroller.
Perfect! Here’s a practical project with Arduino + SYV099: we will create a battery monitor with low voltage alarm, useful for monitoring 6V, 9V, 12V batteries, etc., in real-time.
🔋 Project: Battery Monitor with Low Voltage Alarm
🎯 Objective
- Display the battery voltage on a SYV099
- module Read the voltage also through
- Activate a buzzer/LED alarm if the voltage drops below a critical threshold (e.g., 11.5V)
📦 Required Materials
| Component | Quantity |
|---|---|
| Arduino Uno/Nano/Mega | 1 |
| SYV099 Digital Voltmeter Module | 1 |
| Active buzzer or LED + 220Ω resistor | 1 |
| Voltage divider (R1 = 10kΩ, R2 = 10kΩ or other appropriate values) | 2 |
| Jumper wires | various |
| Breadboard (optional) | 1 |
| Battery to monitor (6–24V DC max) | 1 |
🧭 Connection Diagram
[ Batteria ]
  + -----> SYV099 (Rosso) + Arduino Partitore (ingresso)
  - -----> SYV099 (Nero)  + Arduino GND

  SYV099 Giallo ---> Punto di misura (positivo batteria)
                   ---> Va anche al partitore resistivo

  Partitore resistivo (es. R1 = 20k, R2 = 10k):
  - Nodo centrale → pin A0 Arduino
  - Inferiore (R2) → GND
  - Superiore (R1) → Tensione da misurare

  Arduino pin D3 → Buzzer (o LED con resistenza)
📌 If you are measuring a battery > 5V, you must use a voltage divider to protect the Arduino!
🧠 Voltage Divider Formula
Voltage read by Arduino (Vin) = Vbatt × (R2 / (R1 + R2))
Example: If you want to measure up to 20V on a 5V pin, choose R1 = 20kΩ, R2 = 10kΩ → 3:1 scale.
💻 Arduino Code
// Imposta i valori delle resistenze del partitore
const float R1 = 20000.0; // Ohm
const float R2 = 10000.0; // Ohm

// Pin configurazione
const int voltPin = A0;
const int buzzerPin = 3; // o LED
const float sogliaBatteria = 11.5; // soglia di allarme

void setup() {
  Serial.begin(9600);
  pinMode(buzzerPin, OUTPUT);
  digitalWrite(buzzerPin, LOW);
}

void loop() {
  int analogValue = analogRead(voltPin);
  float voltage = analogValue * (5.0 / 1023.0); // V letti da Arduino
  float actualVoltage = voltage * ((R1 + R2) / R2); // V reali da partitore

  Serial.print("Tensione batteria: ");
  Serial.print(actualVoltage, 2);
  Serial.println(" V");

  if (actualVoltage < sogliaBatteria) {
    digitalWrite(buzzerPin, HIGH); // allarme attivo
  } else {
    digitalWrite(buzzerPin, LOW); // tutto OK
  }

  delay(1000);
}
🛠️ Possible Extra Features
- Add a OLED display or I2C LCD to show the voltage
- Record values on SD card
- Send alerts via Bluetooth, Wi-Fi (ESP8266/ESP32) o SMS (SIM800L)
- Power Arduino directly from the battery (with a step-down regulator)
✅ Conclusion
This project allows you to:
- Continuously monitor the state of a battery
- Display the voltage on the SYV099 display
- To have a visual/audible alarm in case of low voltage
It is a perfect base for portable systems, solar power, robotics, or camper/homemade projects.
Tutorial: How to use SYV099 Digital Voltmeter
The SYV099 is a precise digital voltmeter that allows measuring voltages from 0 to 99.9V. Ideal for Arduino projects where monitoring power levels or other voltages is needed.
What you need
- SYV099
- Arduino Uno/Nano
- jumper cables
Steps
- Connect the red wire of the SYV099 to the positive output of the power supply.
- Connect the black wire of the SYV099 to the negative pole of the power supply.
- If necessary, connect the third wire (if present) to the common ground.
- Check the polarity of the connectors to avoid damaging the device.
- Connect the data pins of the SYV099 to the Arduino as specified in the datasheet.
Mini project
Create a power monitoring system that sends a notification when the voltage drops below a certain level.
Common mistakes
- Connect wires with reversed polarity
- Ignore the specifications in the datasheet
- Do not connect the third wire correctly (if present)
- Use power supplies outside the operating range
Recommended accessories
- Arduino Uno R3
- LiPo Battery with Protection
- LCD Display for Arduino
- Relay Module
Frequently asked questions
Can the SYV099 measure voltages below 4.0V?
Check the datasheet.
Can it be used in 3D printing projects?
Yes, but make sure the voltage does not exceed the maximum range of the device.
How can I integrate it with an alarm system?
Connect it to a relay module and use the Arduino signal to activate the alarm when the voltage is too low.
Reviews
There are no reviews yet.