 EN
 IT Italiano
 ES Español
 FR Français
 DE Deutsch
Description
What it is
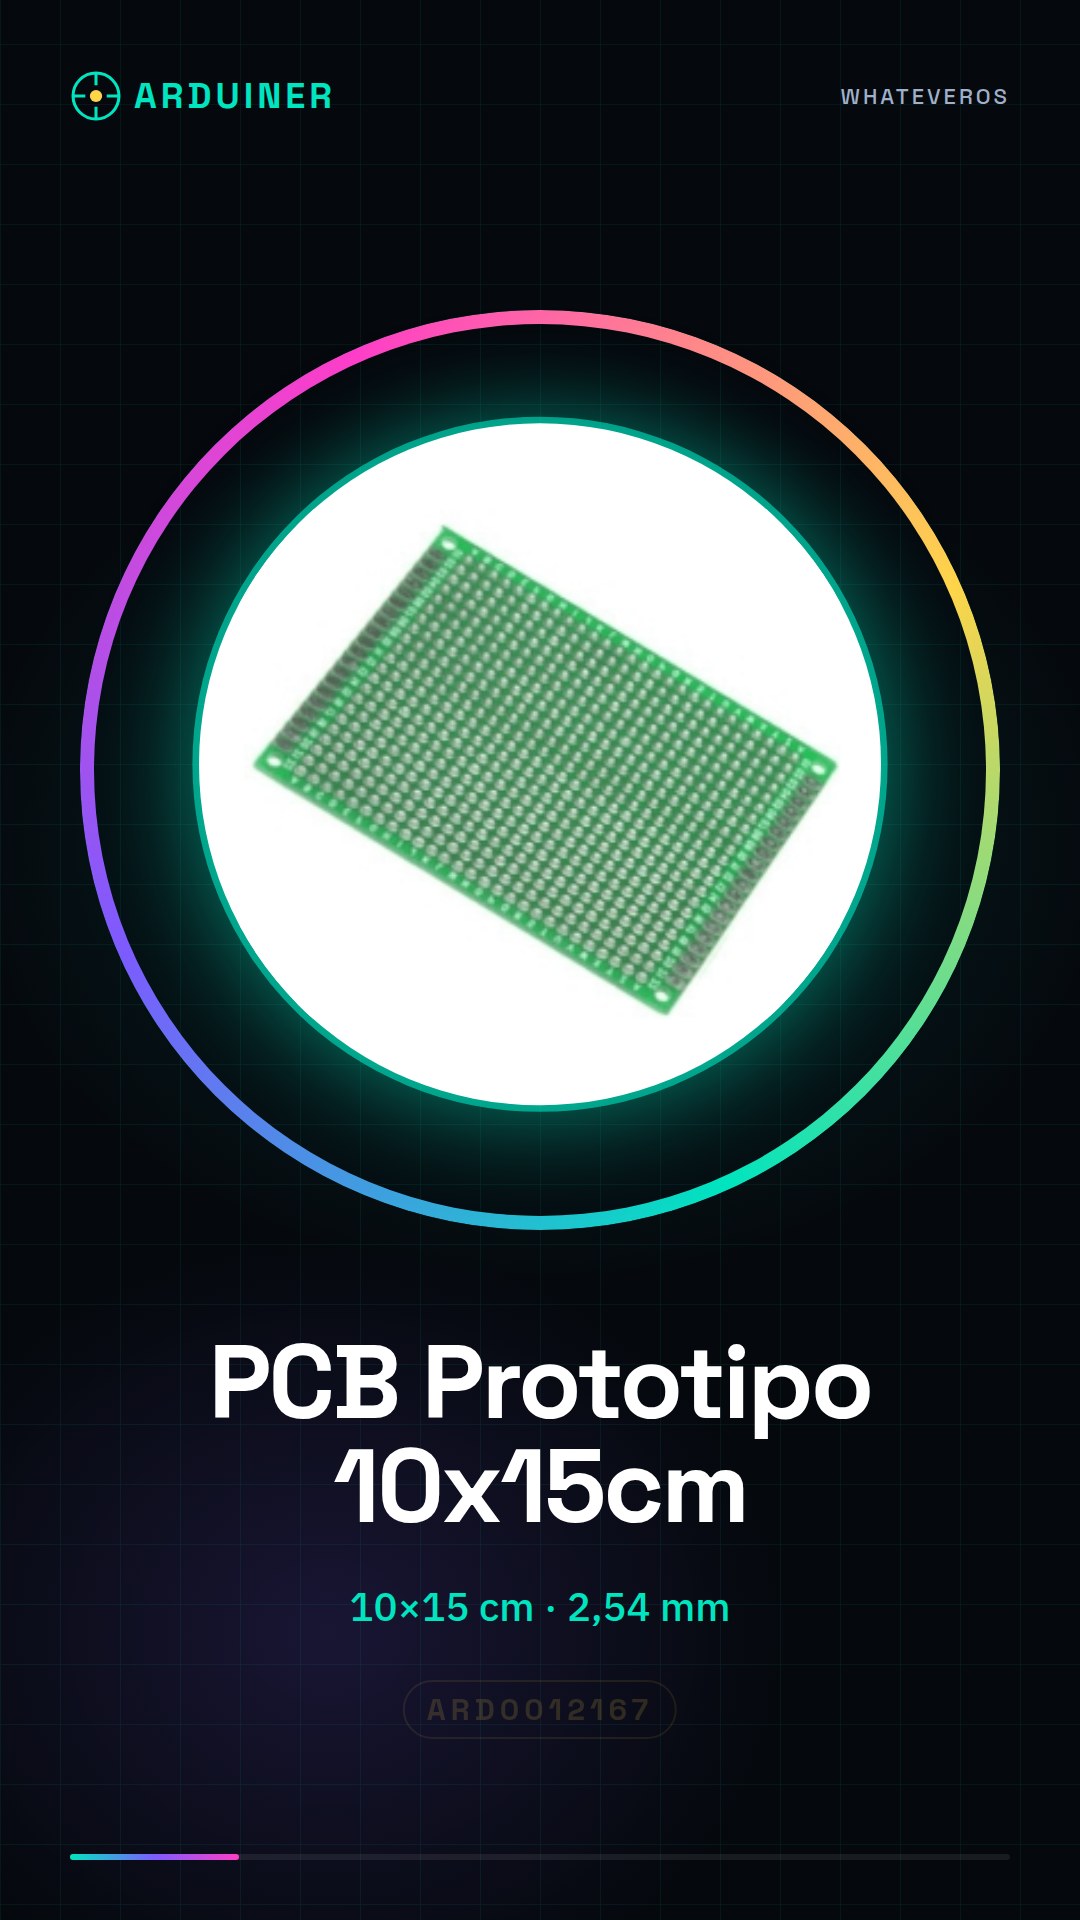
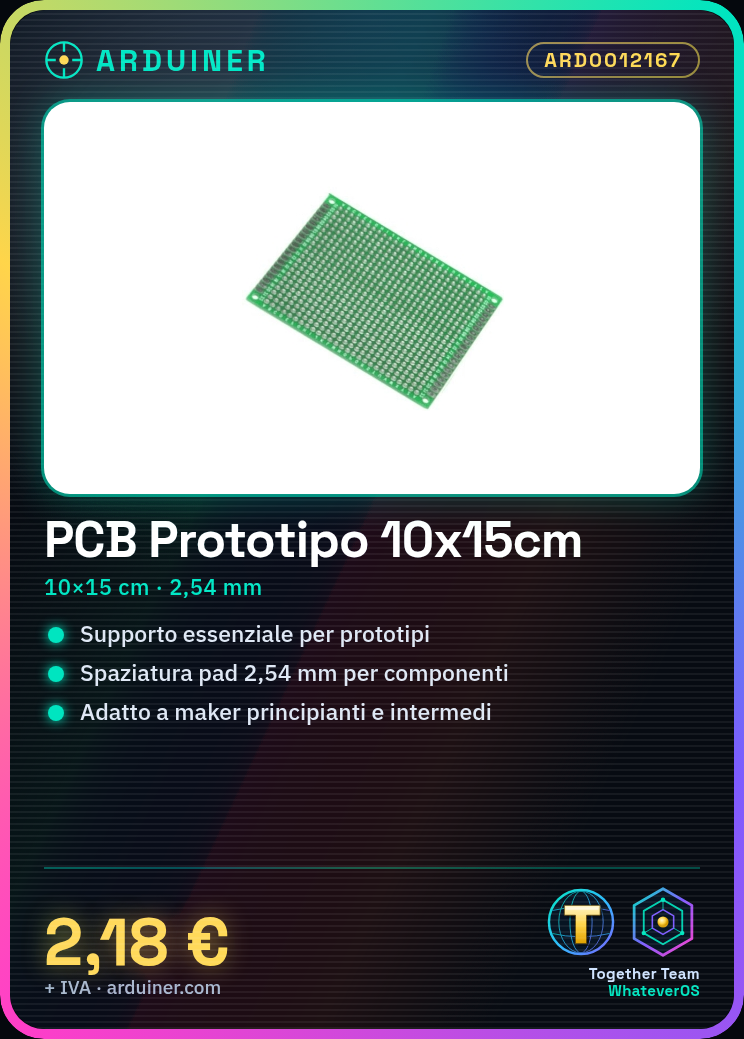
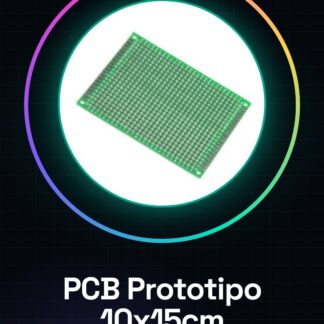
The single-sided 10x15cm PCB prototype is an essential support for the realization of electronic prototypes and projects. This printed circuit board is ideal for makers who want to perform temporary connections between various electronic components before moving on to final production.
Features
- Dimensions: 10×15 cm
- Pad spacing: 2.54 mm
- Single-sided
What it is for
This universal PCB is perfect for electronic prototypes, ideal for simple circuits and quick developments. It is particularly useful for beginner and intermediate makers. You can use it for projects such as creating a temperature and humidity sensor with a DHT11 and an Arduino, temporarily arranging components before moving on to final production.
Tutorial: How to use the universal 10x15cm PCB
The universal PCB 10x15cm is an essential support for the realization of electronic prototypes and projects. Ideal for beginner and intermediate makers, it allows for temporary connections between various electronic components before moving on to final production.
What you need
- Arduino
- electronic components
- soldering pliers
- solder
- multimeter
- magnifying glass
Steps
- Prepare the PCB by cleaning it carefully with an anti-static cloth.
- Place the electronic components on the PCB according to the desired layout.
- Check the position of the components with a multimeter.
- Solder the components to the PCB, making sure to use an appropriate copper wire.
- Check the connection of each component with a multimeter.
- If necessary, connect the PCB to the Arduino to test the functionality.
- Check the stability of the connections and the correct functioning of the project.
- If necessary, repeat the soldering steps and verification to achieve the desired result.
Mini project
Build a temperature and humidity sensor with a DHT11 and an Arduino, using the universal PCB for temporary component placement.
Common mistakes
- Do not clean the PCB before soldering.
- Do not use wires that are too thin or too thick.
- Do not check the component connections before soldering.
- Do not test the project before final soldering.
Recommended accessories
- Arduino Uno
- DTH11
- Variable resistors
- USB battery
Frequently asked questions
How to clean the PCB?
Use an anti-static cloth to remove any impurities.
What components can be soldered on this PCB?
Any electronic component that fits the holes of the PCB.
Can I use the PCB for long-term projects?
The PCB is ideal for prototypes, but for long-term projects it is recommended to use a custom PCB.
Reviews
There are no reviews yet.