 EN
 IT Italiano
 ES Español
 FR Français
 DE Deutsch
Description
What it is
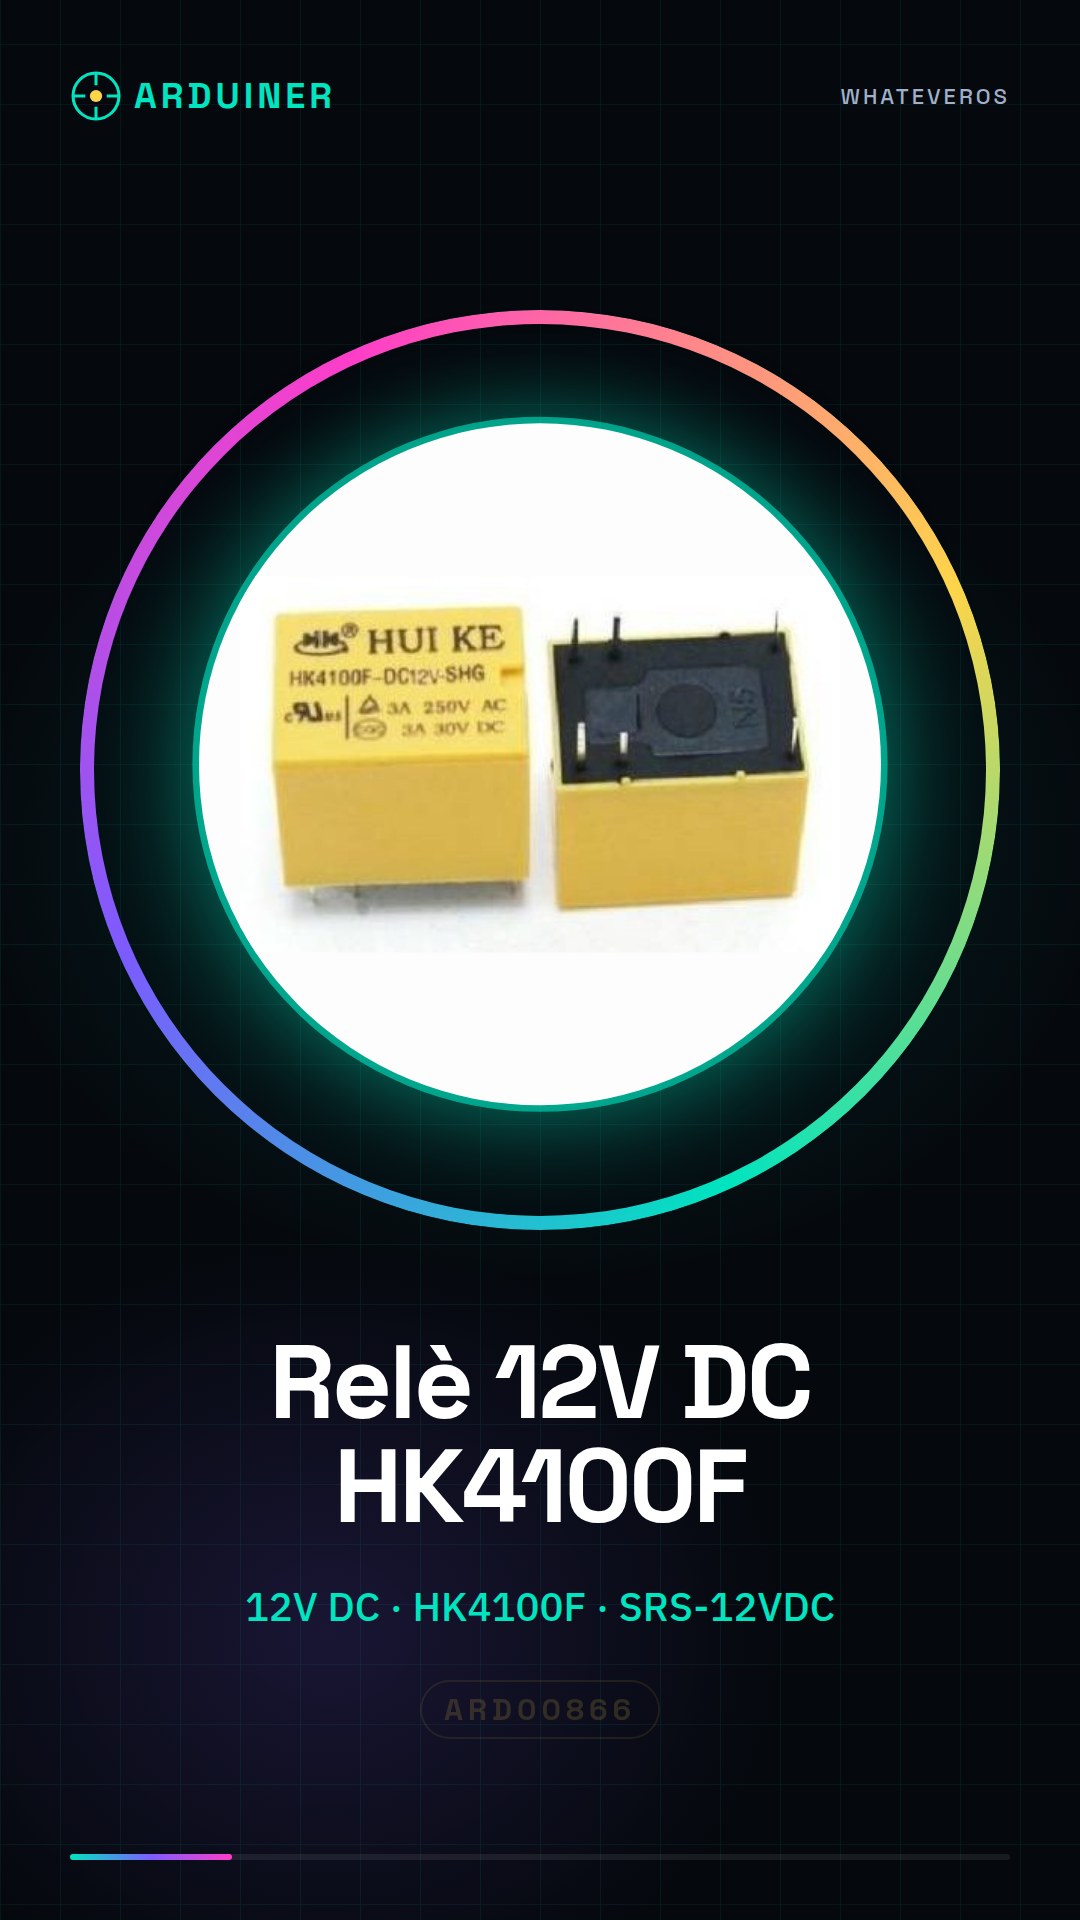
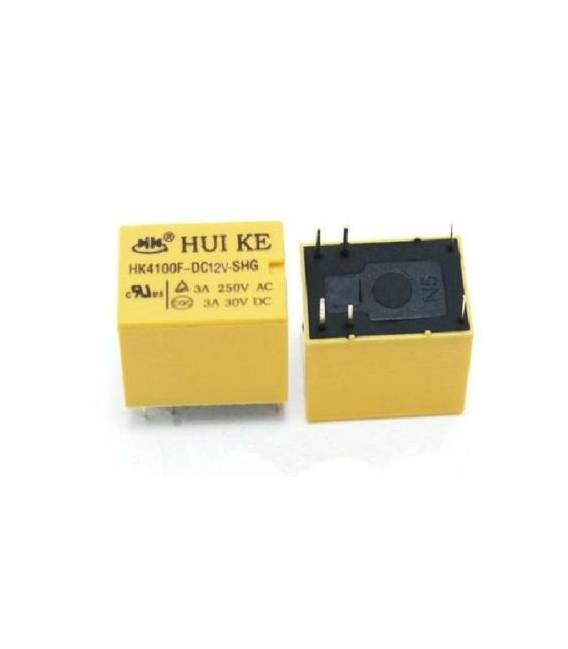
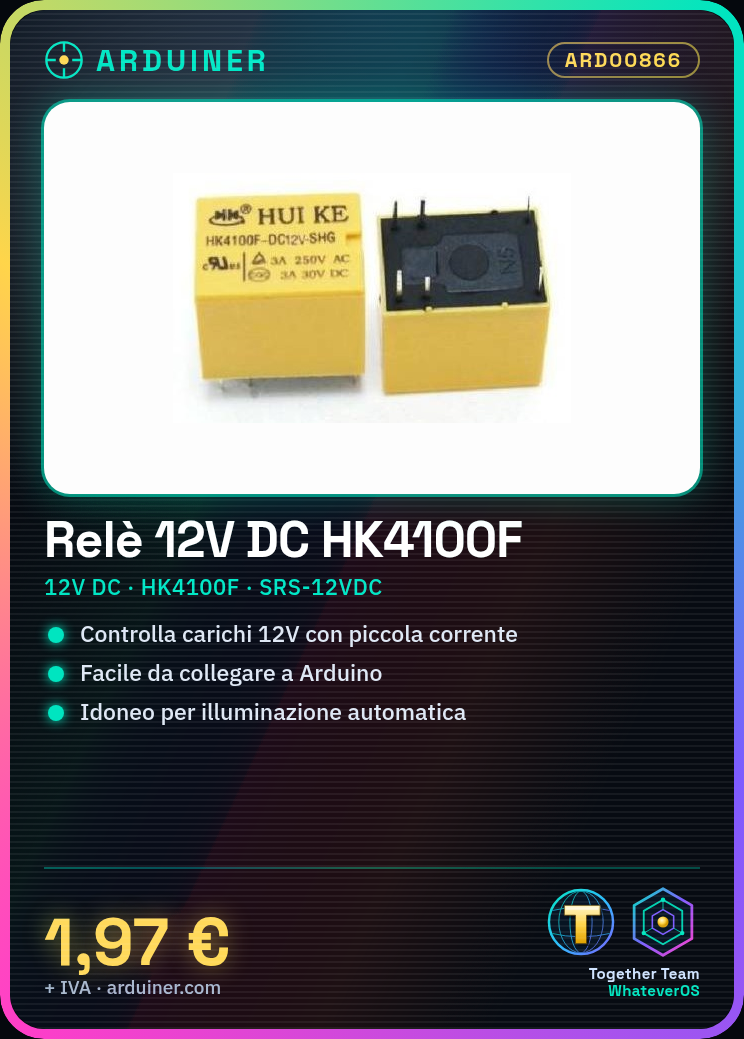
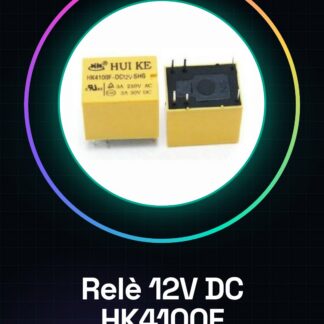
The 12V DC HK4100F-DC12V-SHG SRS-12VDC-SL 4100-12V relay is an electronic device that allows controlling devices powered by direct current (DC) at 12V using a small control current. It is ideal for Arduino, ESP, or other DIY projects where you want to automate the activation and deactivation of electrical loads.
Features
- Operating voltage: 12V DC
- Relay type: HK4100F-DC12V-SHG SRS-12VDC-SL 4100-12V
What it is for
This relay is perfect for projects that require the activation or deactivation of 12V electrical devices. For example, it can be used to control automatic lighting systems, activate them via a motion detector, or regulate other home or industrial applications.
Tutorial: How to use 12V DC HK4100F-DC12V-SHG Relay
The 12V DC relay is an electronic device that allows controlling devices powered by direct current (DC) at 12V using a small control current. It is ideal for beginner and intermediate makers who want to automate home systems or DIY projects.
What you need
- Arduino Uno
- Breadboard
- Connection between Arduino and relay
- 12V Power Supply
Steps
- Check the relay specifications on the datasheet to understand the control and power pins.
- Connect the relay control line to the Arduino digital pin.
- Connect the 12V power supply to the relay power socket, ensuring that the positive pole is correctly identified.
- Verify the connections with a multimeter to ensure electrical continuity.
- Write an Arduino sketch to control the relay state (ON/OFF).
- Upload the sketch to Arduino and test the relay functionality.
- If necessary, adjust the connections or optimize the Arduino sketch.
- Once everything works correctly, you can integrate this system into larger projects.
Example code
// Esempio di codice per controllare il relè
int relayPin = 2; // Pin digitale collegato al relè
void setup() {
    pinMode(relayPin, OUTPUT);
}
void loop() {
    digitalWrite(relayPin, HIGH); // Accende il relè
    delay(1000);
    digitalWrite(relayPin, LOW); // Spegne il relè
    delay(1000);
}
Mini project
Design an automatic lighting system that turns on and off a 12V lamp when a motion sensor is activated.
Common mistakes
- Incorrect connection between Arduino and relay
- Inadequate power supply for the relay
- Unoptimized choice of digital pin
- Ignore checking connections before use
Recommended accessories
- PIR motion sensor
- 12V lamp
- Portable 12V battery
- Multimeter
Frequently asked questions
Can the relay handle currents above 1A?
Check the datasheet for the relay’s load capacity.
Can I use a power supply lower than 12V?
No, make sure the power supply provides exactly 12V to avoid damaging the relay.
What is the lifespan of the relay?
The duration varies based on usage and the quality of the device. Check the datasheet for specific details.

Reviews
There are no reviews yet.