 EN
 IT Italiano
 ES Español
 FR Français
 DE Deutsch
Description
What it is
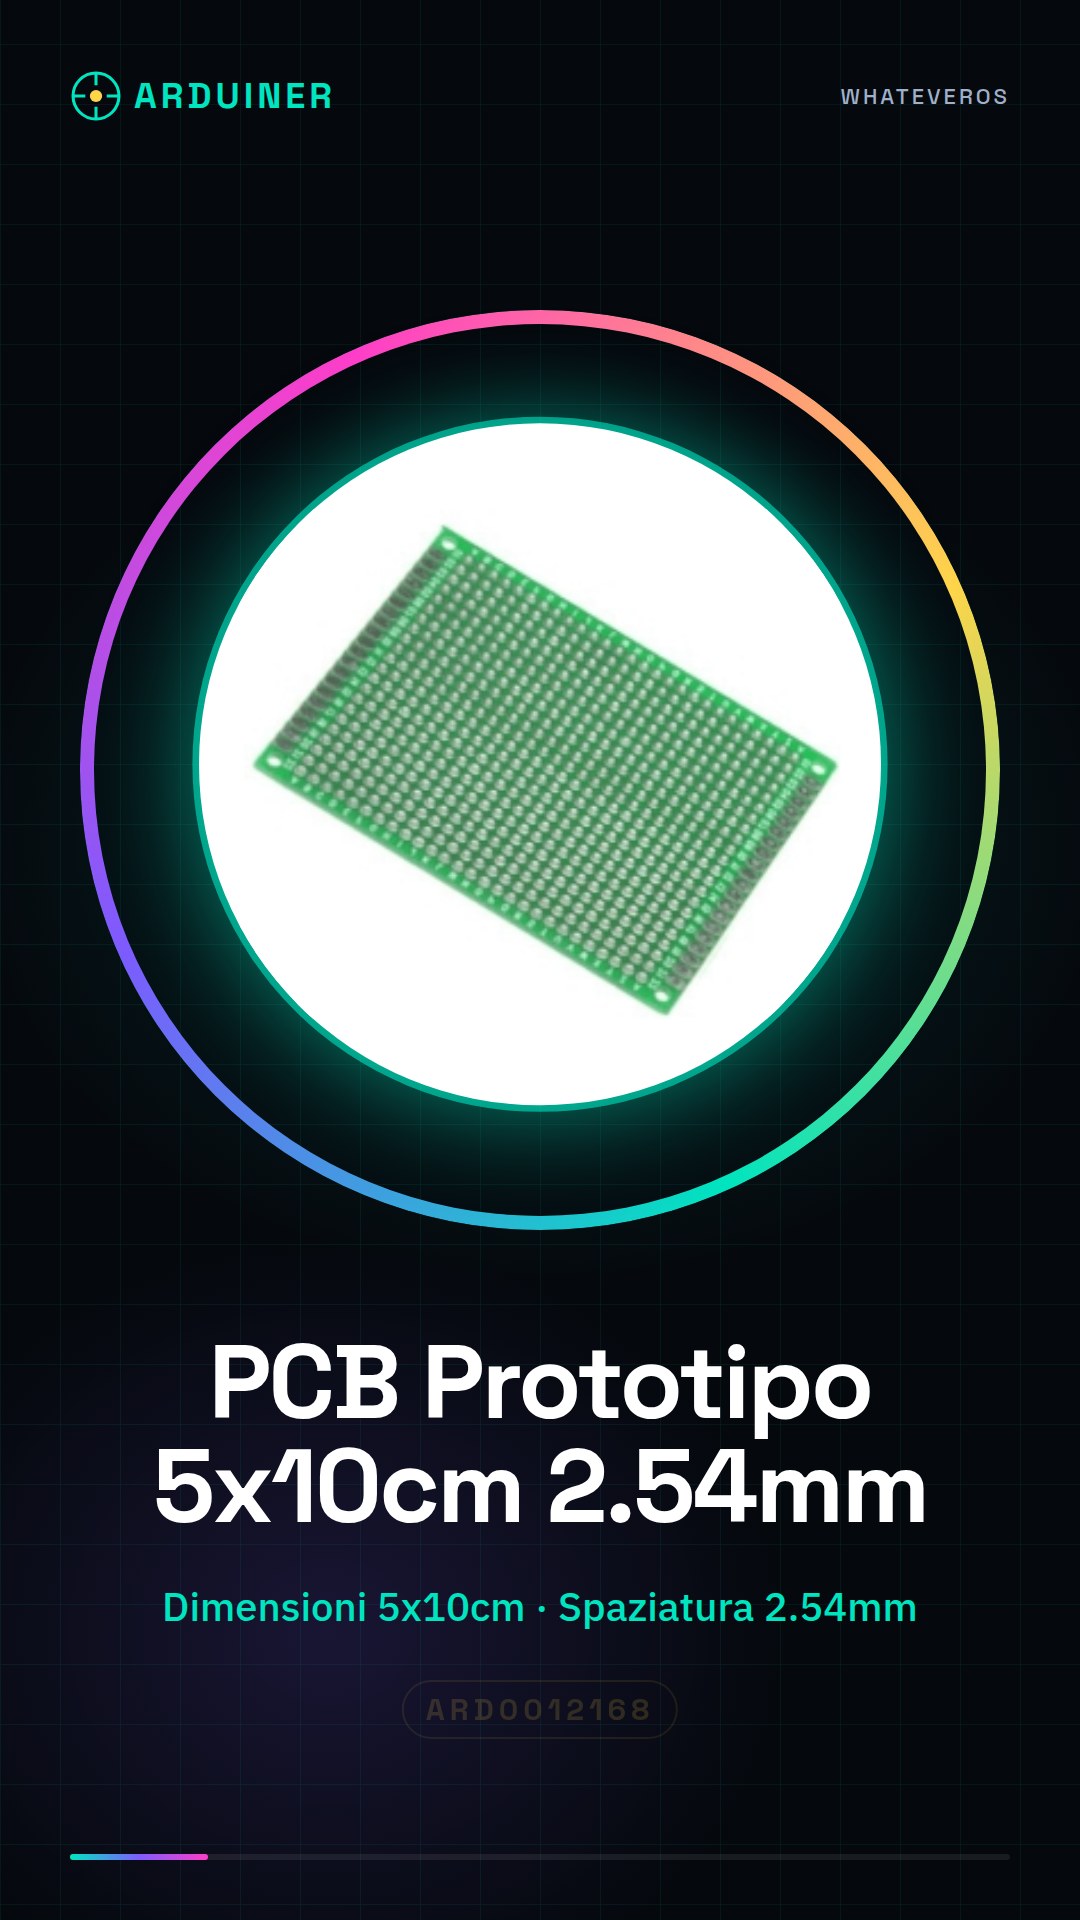
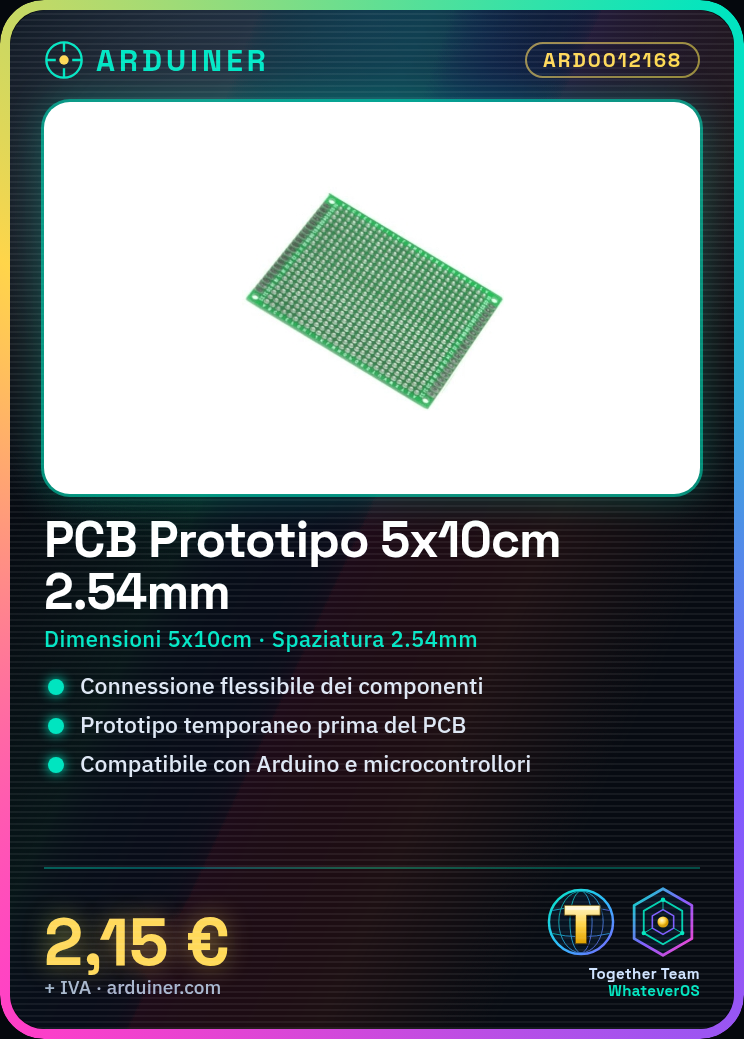
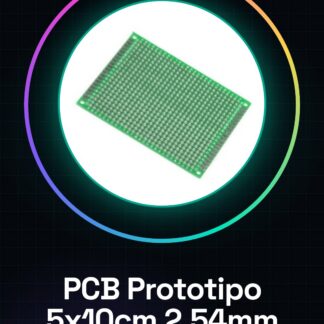
The Single-Sided PCB Prototype 5x10cm 2.54mm is an essential support for makers and electronics enthusiasts who want to quickly create electronic prototypes. This PCB prototype offers a flexible and temporary base for connecting electronic components before moving to a final solution on a printed PCB.
Features
- Type: Single-Sided PCB Prototype
- Dimensions: 5x10cm
- Hole Spacing: 2.54mm
- SKU: ARD0012168
What it is for
PCB prototypes are useful for creating electronic circuit prototypes, such as a home alarm with a motion detector and an LED. They are compatible with Arduino and other microcontrollers for managing electronic projects.
Tutorial: How to use Single-Sided PCB Prototype 5x10cm 2.54mm
The Single-Sided PCB Prototype is an essential support for makers who want to quickly create electronic prototypes. Ideal for beginners and experts, it allows to flexibly and temporarily connect electronic components before moving on to a final solution on a printed circuit board.
What you need
- Arduino
- Electronic Components (resistors, capacitors, LEDs, etc.)
- Soldering Pliers
- Solder Wire
- Soldering Iron
- Prototype Breadboard
Steps
- 1. Prepare the PCB: clean the surface to remove any impurities.
- 2. Arrange the components on the PCB: position the components according to the project.
- 3. Solder the components: use the soldering iron to solder the components.
- 4. Check the connections: ensure that all connections are secure.
- 5. Connect the PCB to the Arduino: use the connectors to connect the PCB to the Arduino.
- 6. Test the circuit: run a simple sketch to test the circuit.
- 7. Fix any errors: if necessary, remove and resolder any incorrect components.
- 8. Preserve the PCB: remove the components and preserve the PCB for future projects.
Example code
void setup() {
  pinMode(LED_BUILTIN, OUTPUT);
}

void loop() {
  digitalWrite(LED_BUILTIN, HIGH);
  delay(1000);
  digitalWrite(LED_BUILTIN, LOW);
  delay(1000);
}
Mini project
Create a simple home security alarm prototype with a motion sensor and an LED. Connect the sensor and the LED to the PCB and use Arduino to manage the alarm.
Common mistakes
- Insufficient or excessive soldering
- Incorrect placement of components
- Broken or shorted connections
- Use of incompatible components
Recommended accessories
- Arduino Uno
- PIR motion sensor
- Variable resistors
- Connector kit
Frequently asked questions
How can I clean the PCB?
Use a damp soft cloth to remove dust and impurities.
What tools are needed to solder components?
Soldering iron, solder wire, and soldering station.
Can I use the PCB multiple times?
Yes, remove the components and keep the PCB for future projects.
Reviews
There are no reviews yet.