 EN
 IT Italiano
 ES Español
 FR Français
 DE Deutsch
Description
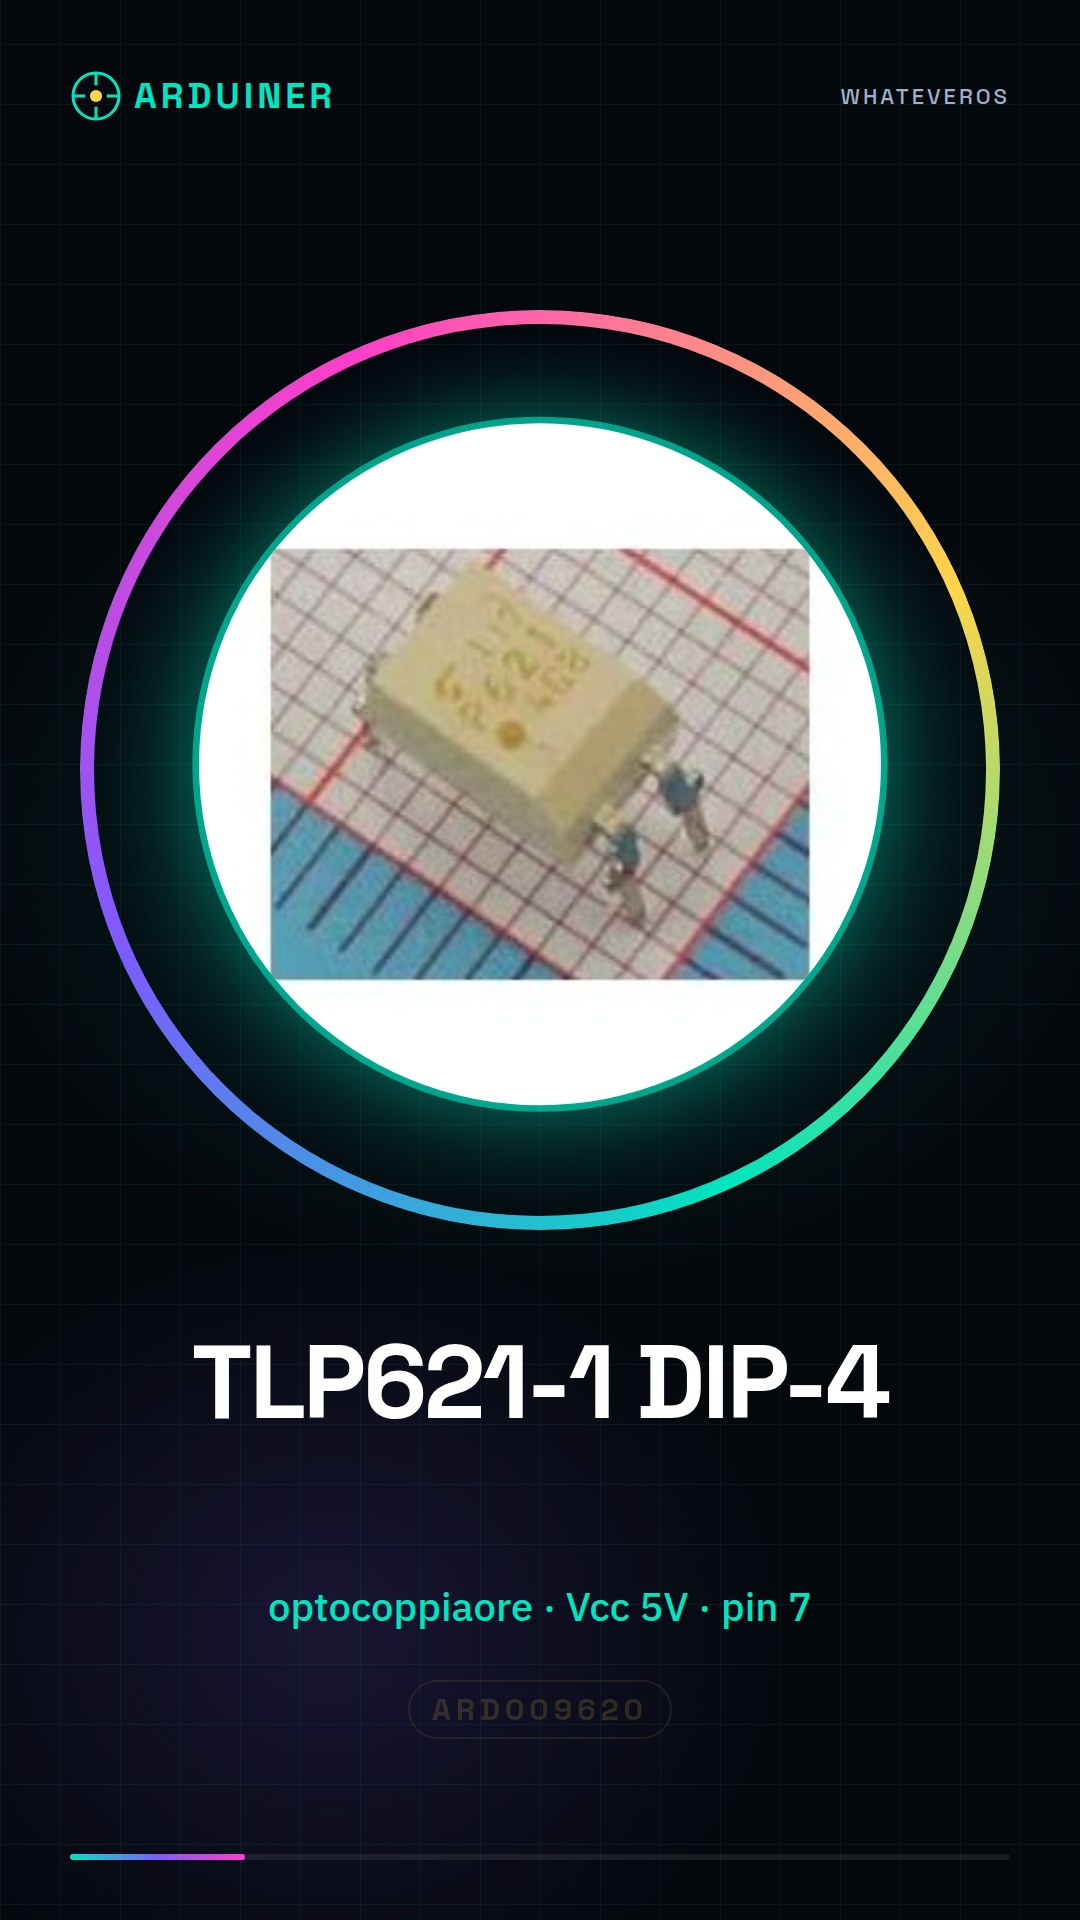
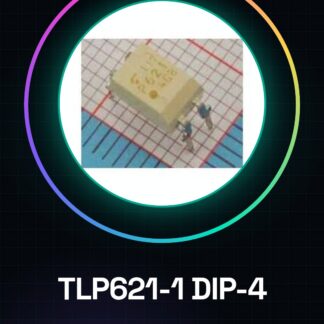
TLP621-1 DIP-4
Tutorial: How to use TLP621-1 DIP-4
The TLP621-1 is an optocoupler used to isolate electronic circuits. It is ideal for those designing systems that require separation between the power supply level and the input.
What you need
- Arduino Uno
- LED
- Resistor
Steps
- Install the TLP621-1 optocoupler in the DIP slot of the circuit.
- Connect the Vcc pin of the optocoupler to the 5V of Arduino.
- Connect the base of the internal transistor to the digital output of Arduino (e.g., Pin 7).
- Connect the emitter of the transistor to ground (GND) and the collector to the required input port in the external circuit.
- Check the specifications on the datasheet for the correct resistor between base and Vcc.
- Test the operation of the optocoupler with an LED connected to the isolated end of the circuit.
Example code
void setup() {
  pinMode(7, OUTPUT);
}

void loop() {
  digitalWrite(7, HIGH); // accende l'led collegato all'optocoppiaore
  delay(1000);
  digitalWrite(7, LOW); // spegne l'led collegato all'optocoppiaore
  delay(1000);
}
Mini project
Design a remote control system to activate a lamp with Arduino and TLP621-1.
Common mistakes
- Incorrect connection between Vcc and Emitter
- Using incompatible voltage with the optocoupler
- Omitting the correct resistor between base and Vcc.
- Ignoring the necessary circuit separation for the optocoupler to function.
Recommended accessories
- Arduino Uno R3
- LEDs of various colors
- Resistors of various values
- Connection wire
Frequently asked questions
What is the purpose of the isolation between circuits?
Isolation prevents possible electrical damage between different power levels.
How can I verify if the TLP621-1 is functioning correctly?
Check that the LED connected to the isolated end lights up when the base of the internal transistor is activated.
Reviews
There are no reviews yet.