 EN
 IT Italiano
 ES Español
 FR Français
 DE Deutsch
Description
What it is
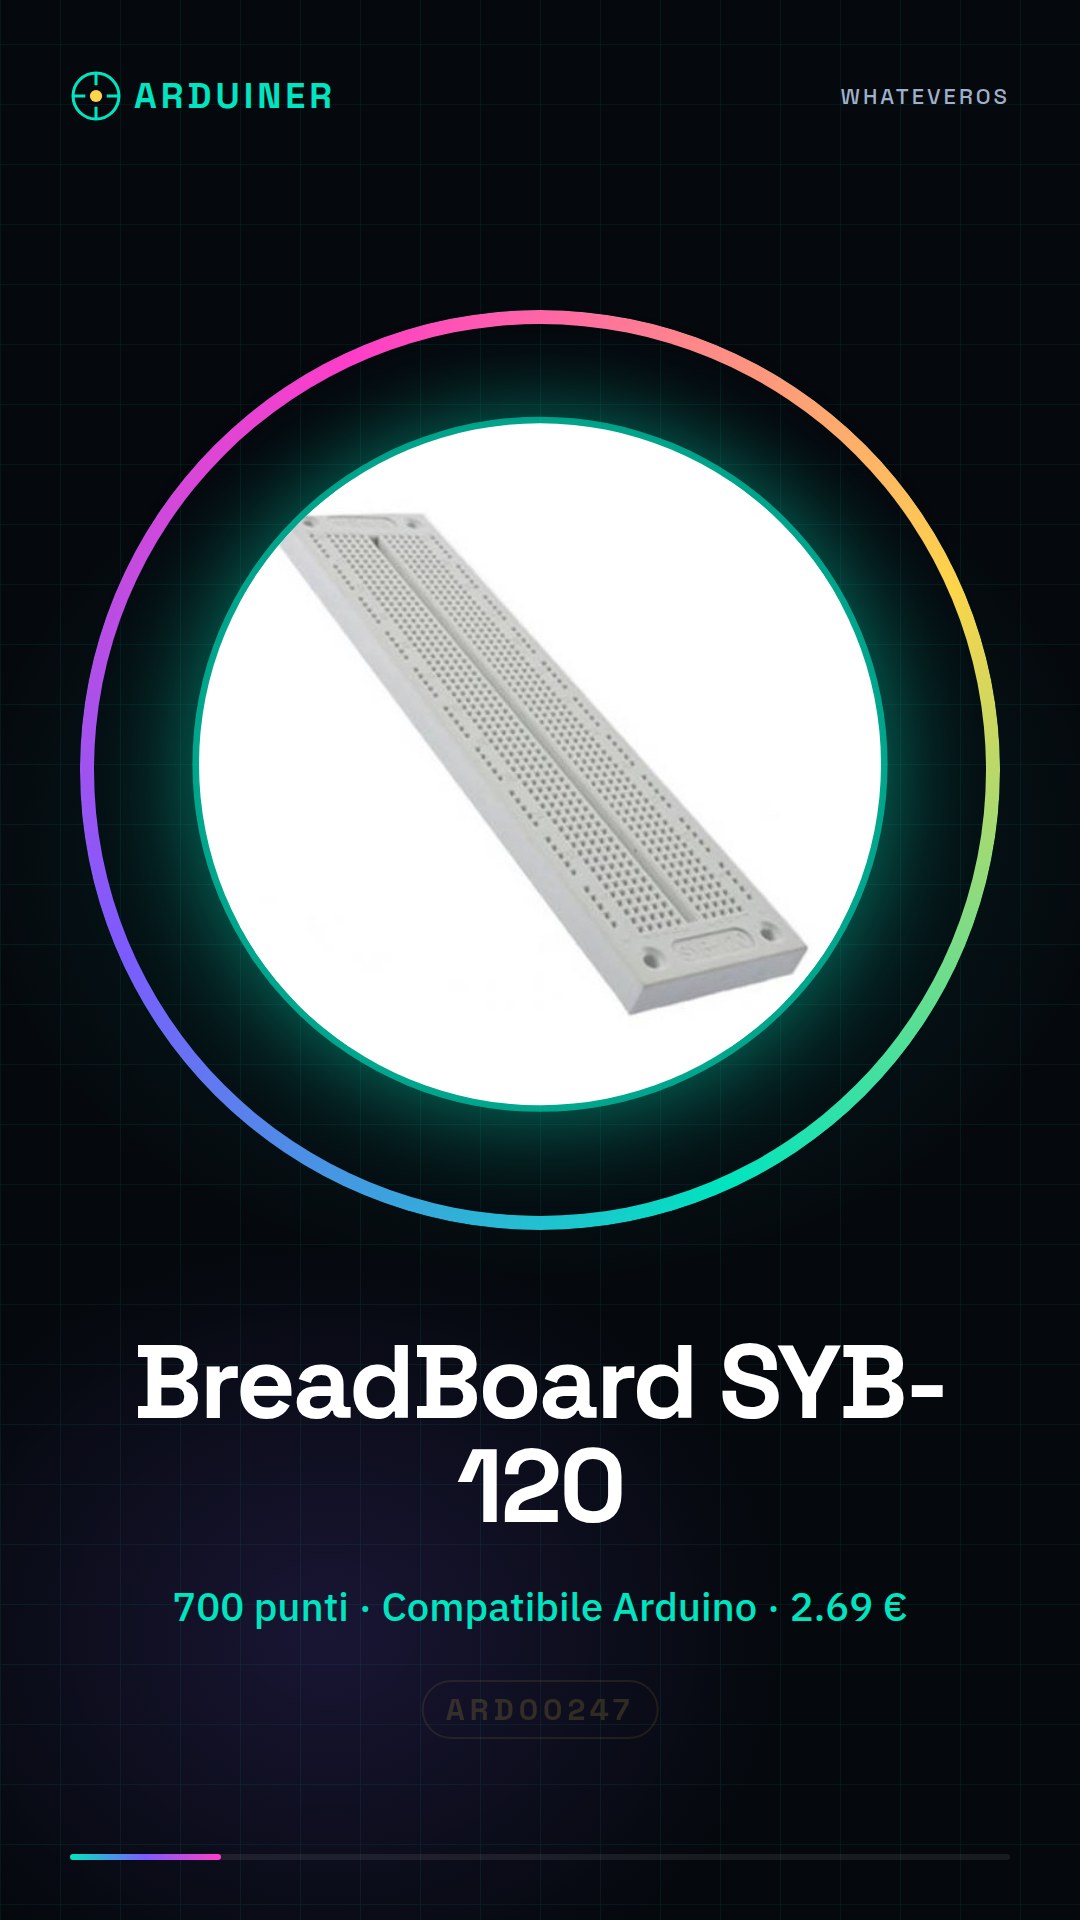
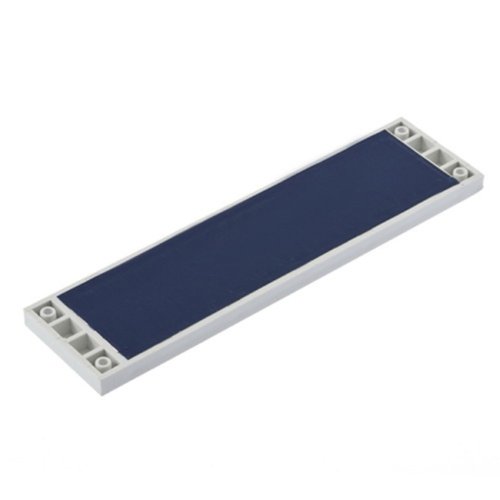
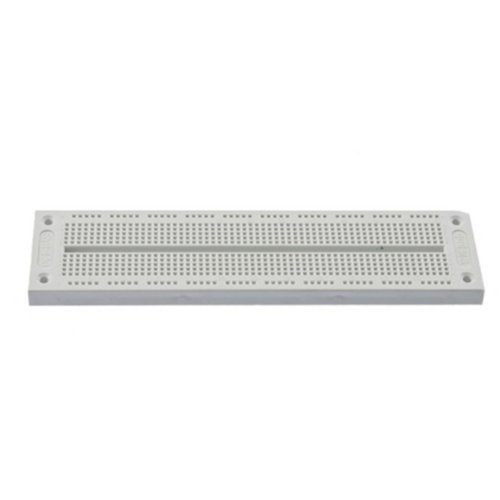
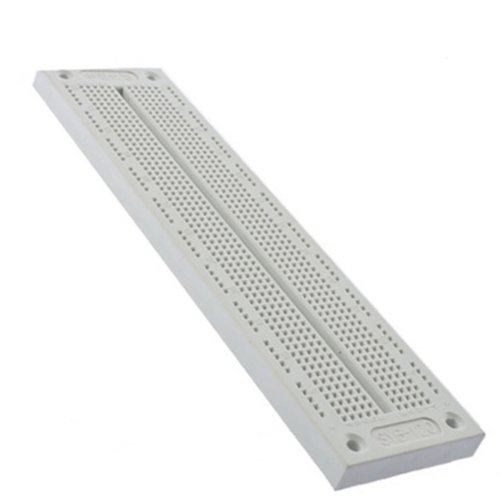
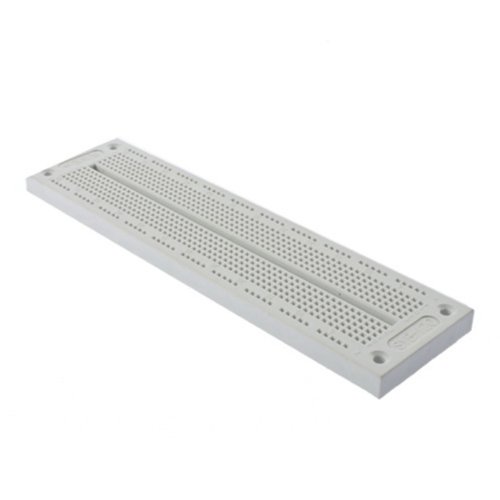
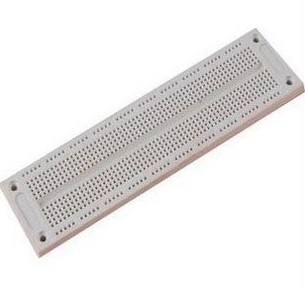
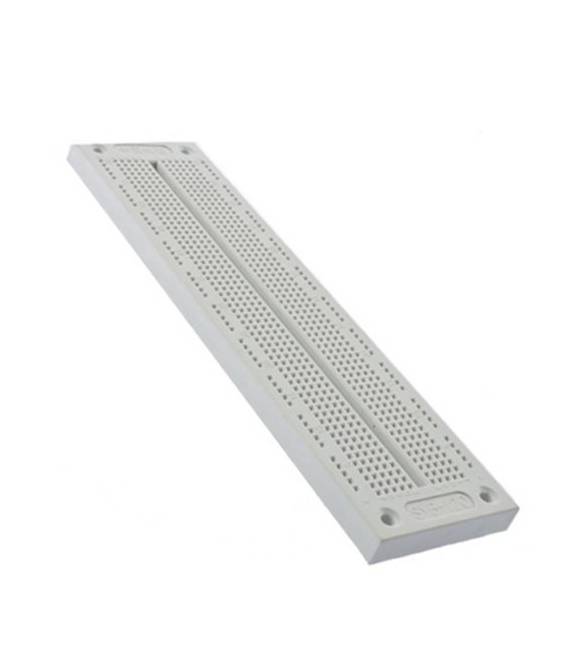
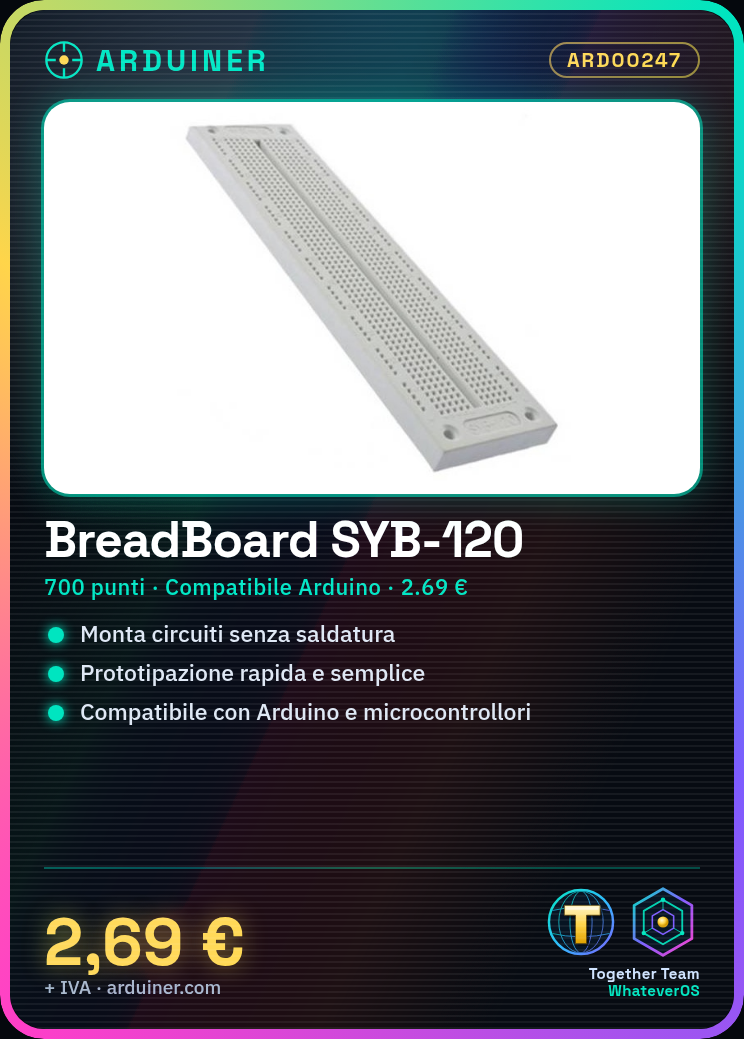
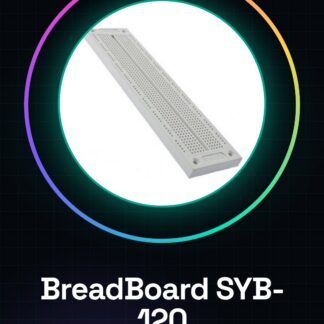
The SYB-120 Breadboard is a universal electronics board with 700 connection points. It allows for the quick construction and testing of prototype circuits without the need for soldering.
Features
- 700 connection points
- Dimensions: check the datasheet
- SKU: ARD00247
- Price: 2.69 €
What it is for
The SYB-120 Breadboard is a fundamental tool for makers and electronics students. It allows for the assembly of temporary circuits, ideal for experimentation and the creation of prototypes. It is compatible with Arduino and other microcontrollers.
Tutorial: How to Use the SYB-120 Universal Electronics Breadboard
The SYB-120 Breadboard is a fundamental tool for makers and electronics students, allowing for the assembly of temporary circuits without soldering. It is ideal for Arduino projects and prototypes.
What you need
- Arduino Uno
- LED
- Resistors
- Connectors
- Jumper wires
Steps
- Step 1: Identify the vertical contact rails (columns) of the breadboard. The red and blue columns are connected to each other.
- Step 2: Connect the Arduino to the breadboard using appropriate connectors.
- Step 3: Check the polarity of the LED before connecting it to the breadboard points.
- Step 4: Connect a resistor between the LED and the Arduino’s digital pin to limit the current.
- Step 5: Connect jumper wires between the resistors, the LED, and the Arduino’s inputs/outputs.
- Step 6: Verify that all connections are secure and there are no short circuits.
- Step 7: Upload the Arduino sketch to turn on the LED.
- Step 8: Test the circuit by adding a button as an input.
Example code
void setup() {
  pinMode(13, OUTPUT);
}

void loop() {
  digitalWrite(13, HIGH);
  delay(1000);
  digitalWrite(13, LOW);
  delay(1000);
}
Mini project
Create a simple PWM lighting circuit using the breadboard and the Arduino. Connect an LED to a resistor and use a potentiometer to adjust the brightness.
Common mistakes
- Do not correctly verify the polarity of the LED.
- Omit the resistor between the LED and the Arduino digital pin.
- Connect the jumper wires incorrectly or uncertainly.
- Ignore the separate contact rows for multi-legged components.
Recommended accessories
- Arduino connector
- Push button
- 10kOhm potentiometer
- Resistor kit
Frequently asked questions
Is the SYB-120 breadboard compatible with Arduino?
Yes, the breadboard is designed to be used with Arduino and other microcontrollers.
Can I use multiple LEDs on the same breadboard?
Certainly, just connect each LED to a separate digital pin on the Arduino.
Reviews
There are no reviews yet.