 EN
 IT Italiano
 ES Español
 FR Français
 DE Deutsch
Description
What it is
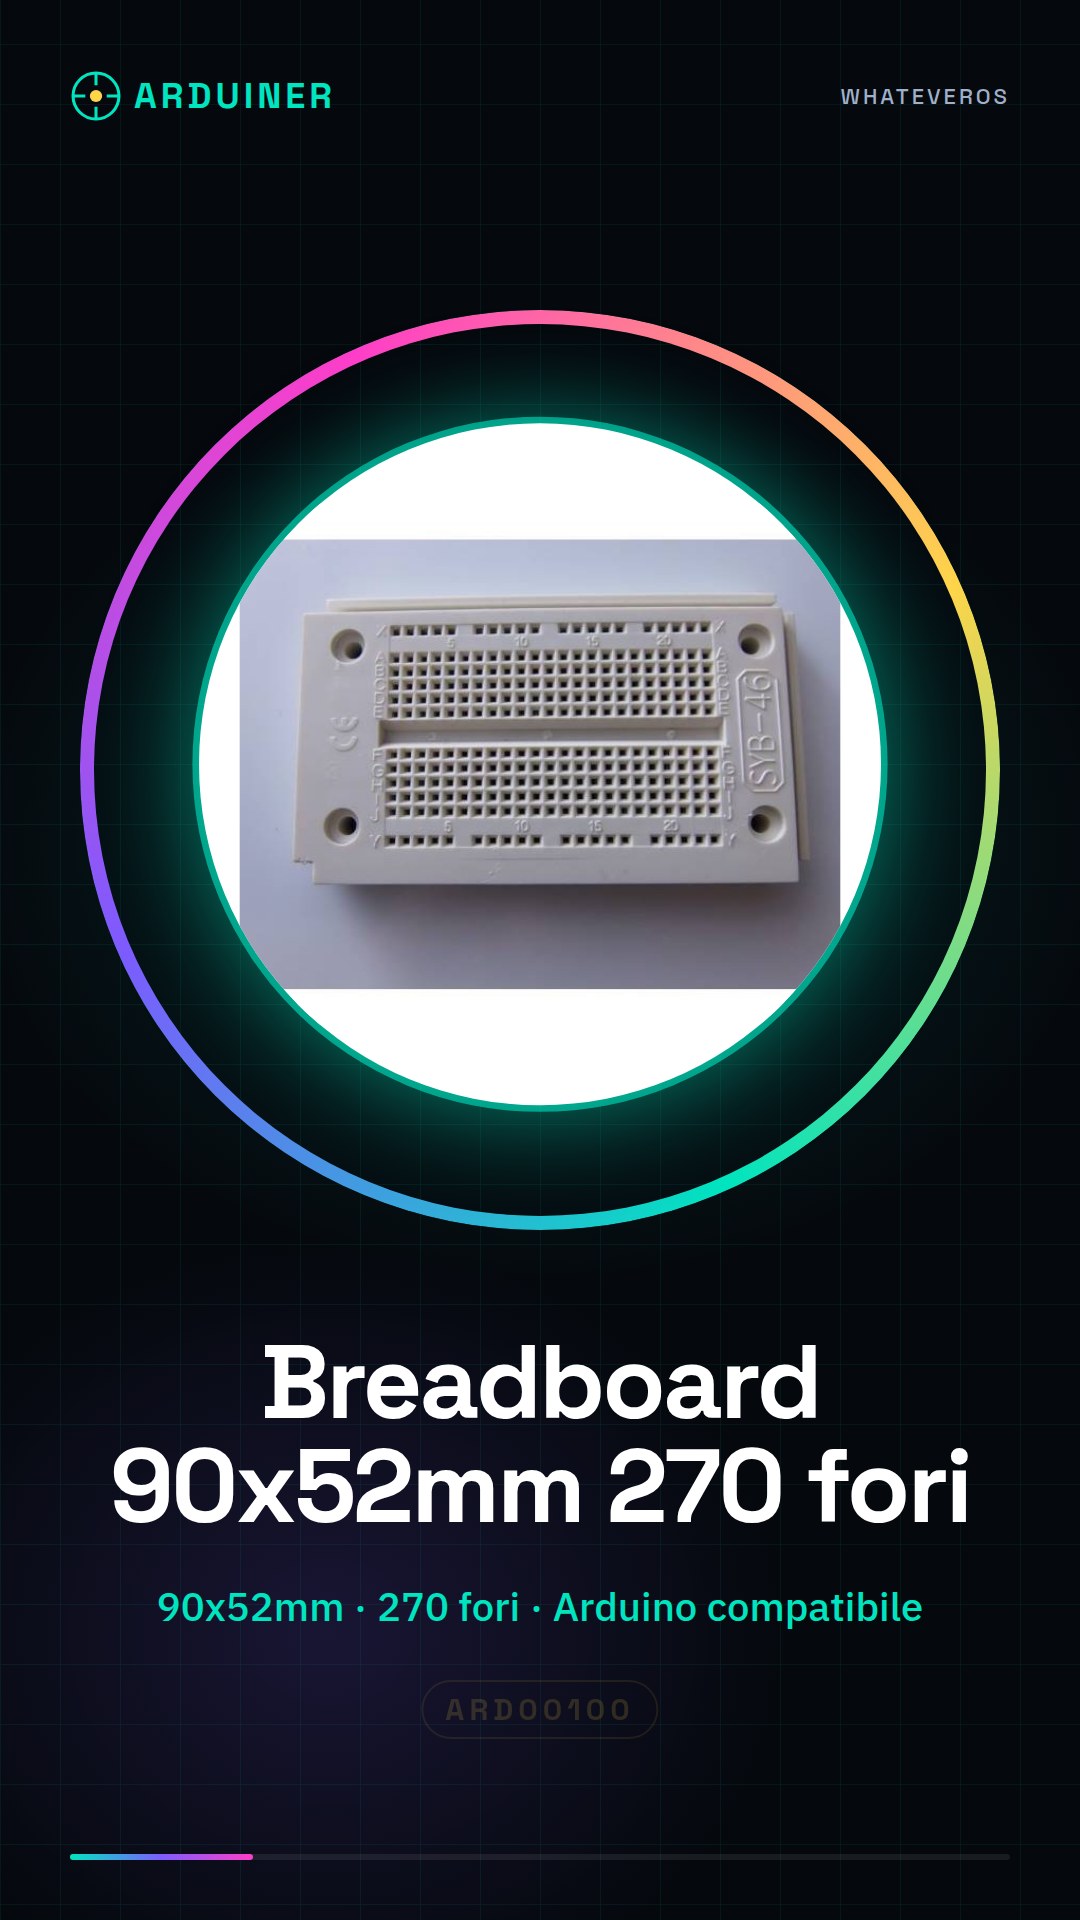
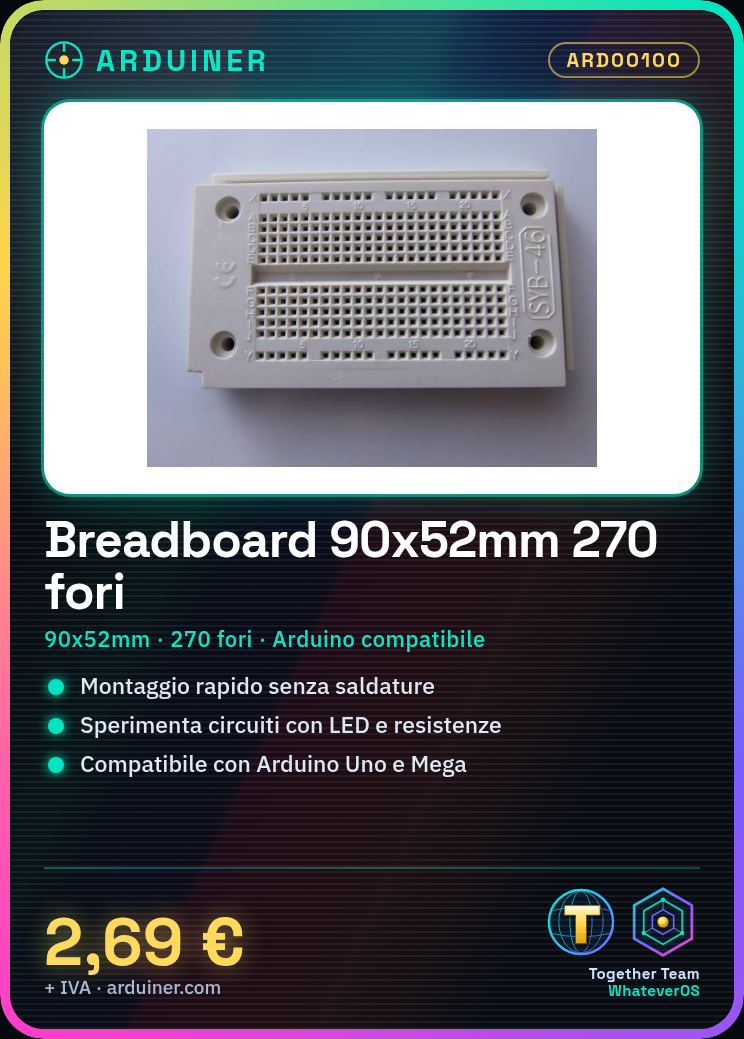
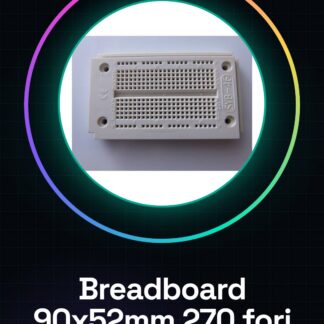
The 90x52mm 270 hole breadboard is an electronic prototyping support that allows you to connect components without soldering. Thanks to its structure with holes and connections, it is possible to create temporary circuits and experiment with various configurations.
Features
- Dimensions: 90x52mm
- Number of holes: 270
- Compatible with Arduino
What it is for
The breadboard is ideal for beginners and prototyping projects. It allows you to build electronic circuits quickly and easily without having to solder the components. It can be used to experiment with LEDs, resistors, transistors, and other electronic components. Compatibility with Arduino makes it an essential component for creating projects based on this platform.
Tutorial: How to use 90x52mm 270 hole breadboard
The 90x52mm 270 holes breadboard is a fundamental element for electronic prototypes. Useful for beginners and intermediates, it allows for easy connection of components without needing to solder them.
What you need
- Breadboard connector
- Electrical cables
- Electronic components
- Arduino
Steps
- 1. Prepare your workspace with a prototype holder.
- 2. Place the breadboard on a holder.
- 3. Connect the cables to the breadboard to establish the current.
- 4. Insert the electronic components into the breadboard.
- 5. Connect the components to each other and to the Arduino microcontroller.
- 6. Check the datasheet for the specifications of the components.
- 7. Test the circuit with the Arduino.
- 8. Correct any connection errors.
Mini project
Build a simple lighting circuit based on a button and an LED.
Common mistakes
- Connecting components incorrectly.
- Omitting the datasheet check.
- Using cables that are too short.
- Forget the breadboard support.
Recommended accessories
- Breadboard connector
- Electrical wires
- Electronic components
- Arduino
Frequently asked questions
How can I establish current in the breadboard?
Connect the wires to the +5V and GND of the Arduino.
Can I use this breadboard with Arduino Uno or Mega?
Yes, it is compatible with both versions.
How many components can I connect?
The maximum number depends on the specifications of the components.
Can I use this breadboard for long-term prototypes?
No, it is designed for temporary prototypes.
Reviews
There are no reviews yet.