 EN
 IT Italiano
 ES Español
 FR Français
 DE Deutsch
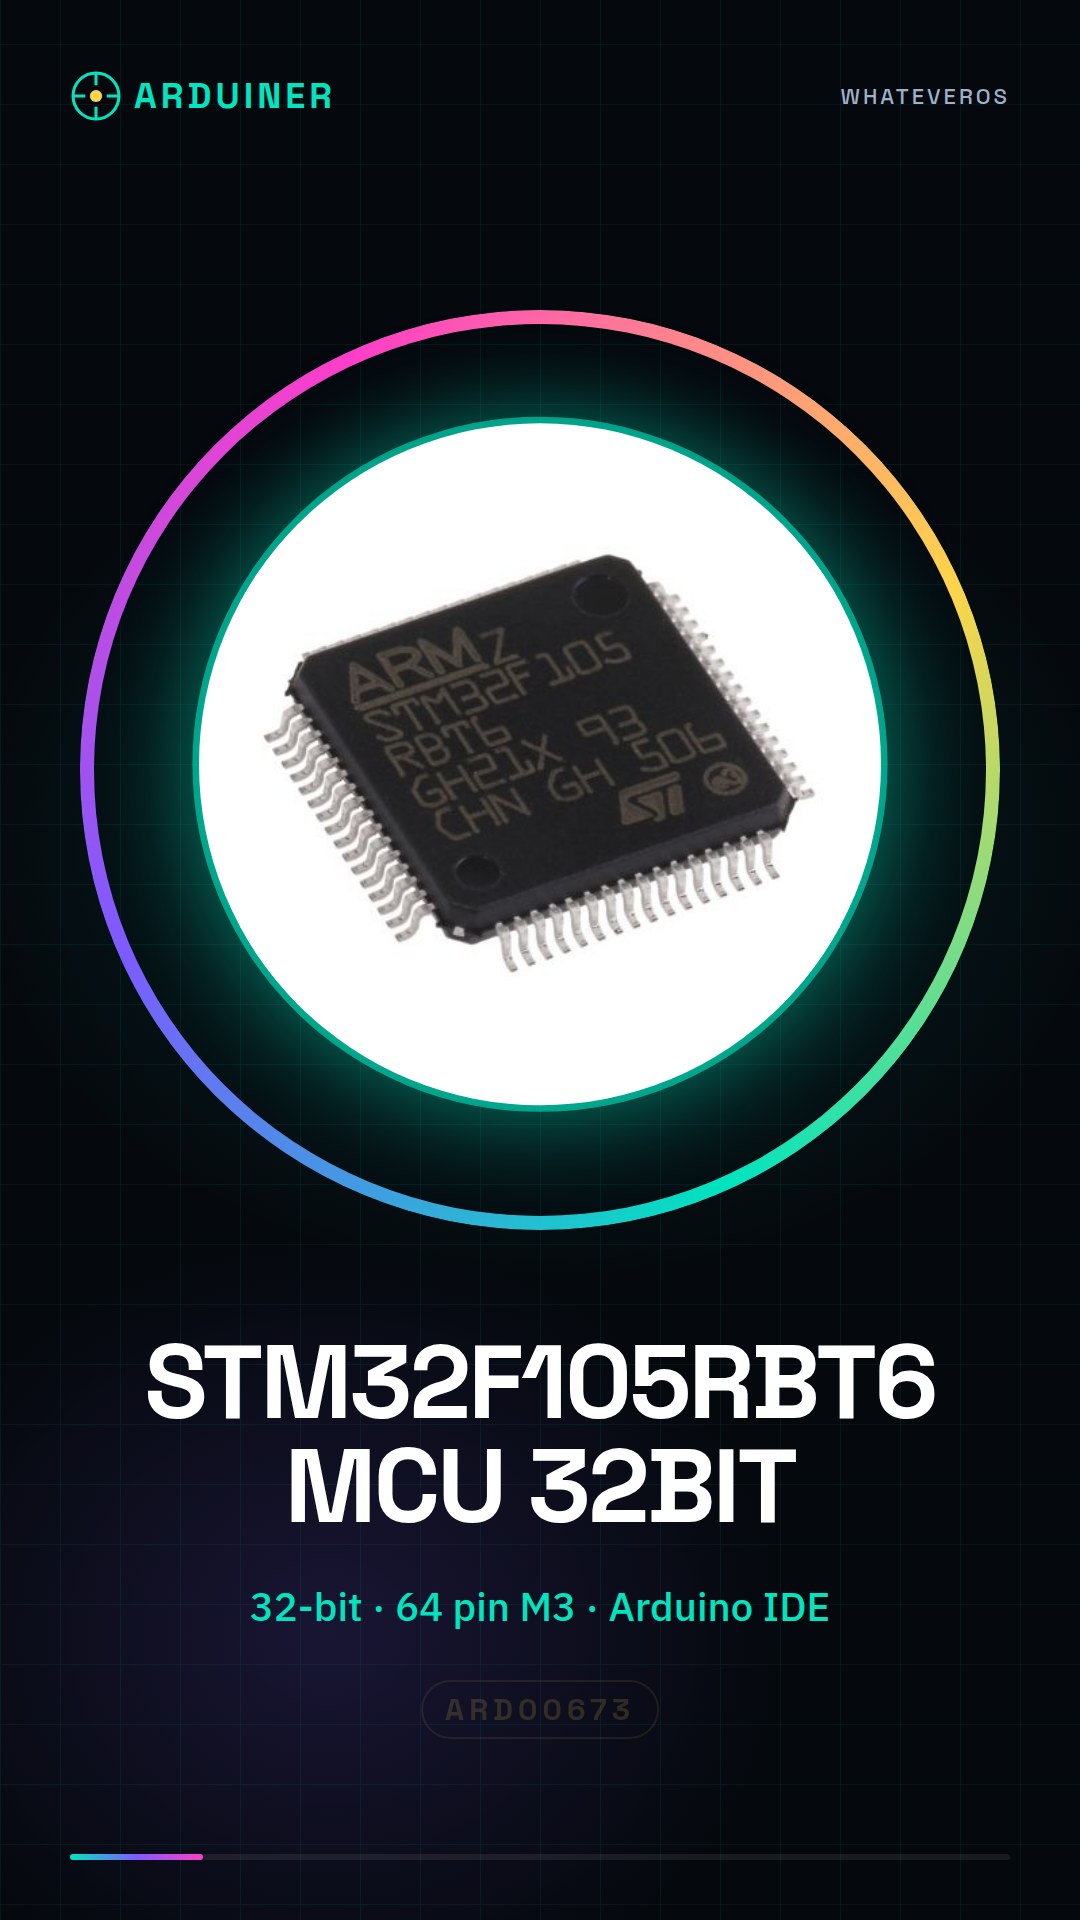

Description
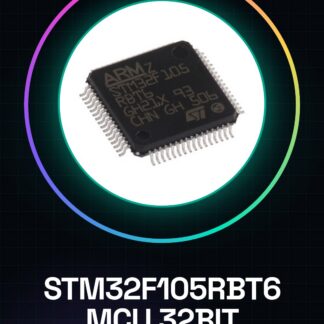
Tutorial: How to use STM32F105RBT6
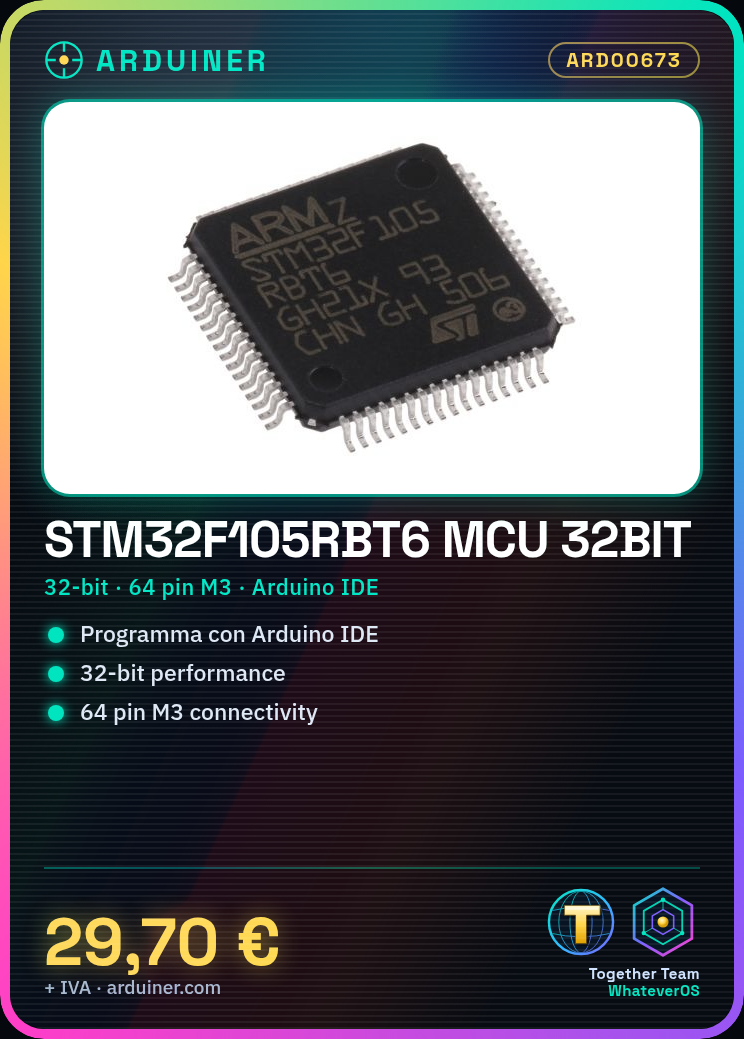
The STM32F105RBT6 MCU is ideal for advanced electronics projects, offering 32-bit performance and robust connectivity. Useful for makers and hardware developers.
What you need
- Arduino IDE
- USB A-B cable
- 10kΩ resistor
- LED
- Multimeter
Steps
- 1. Install Arduino IDE.
- 2. Download and install the STM32 library.
- 3. Connect the MCU to the computer with the USB cable.
- 4. Check the datasheet for power supply specifications.
- 5. Connect the 10kΩ resistor between VCC and GND.
- 6. Connect the anode of the LED to PA8.
- 7. Connect the cathode of the LED to GND.
- 8. Load the example code in Arduino IDE.
- 9. Verify operation with a multimeter.
Example code
```
#include <STM32F10x.h>

void setup() {
  pinMode(8, OUTPUT);
}

void loop() {
  digitalWrite(8, HIGH);
  delay(1000);
  digitalWrite(8, LOW);
  delay(1000);
}
```
Mini project
Create an LED timer that turns an LED on and off every second.
Common mistakes
- Incorrect power supply: check the datasheet.
- Incorrect connections: check the pins carefully.
- Uninstalled library: install the STM32 library.
- Arduino IDE not updated: check the version.
Recommended accessories
- Arduino UNO
- Pressure sensors
- LCD display
- LED diodes
Frequently asked questions
Which power specifications should I verify?
Check the datasheet for power supply voltages and maximum currents.
Can I use this MCU with Arduino IDE?
Yes, install the STM32 library and follow the tutorial steps.
What connectivity does the MCU have?
The MCU has 64 M3 connectivity pins.
Reviews
There are no reviews yet.