 EN
 IT Italiano
 ES Español
 FR Français
 DE Deutsch
Description
What it is
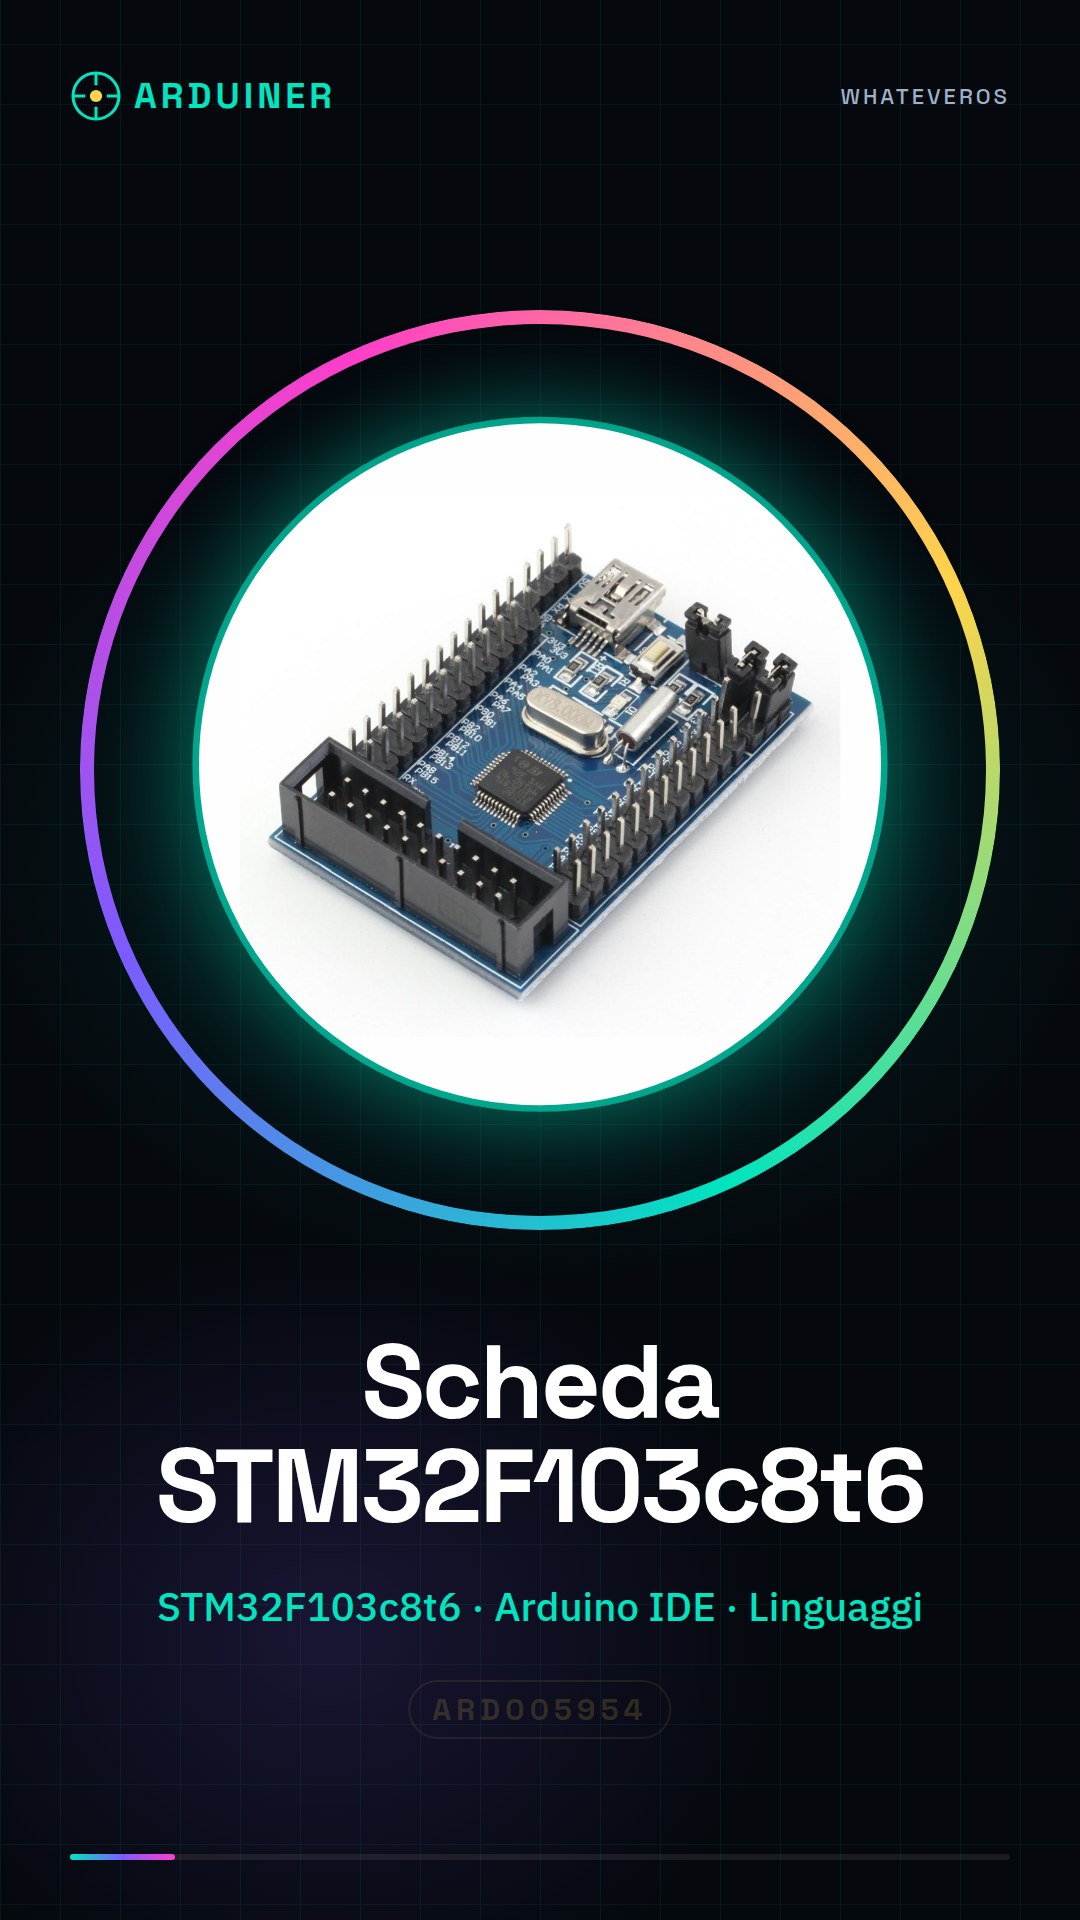
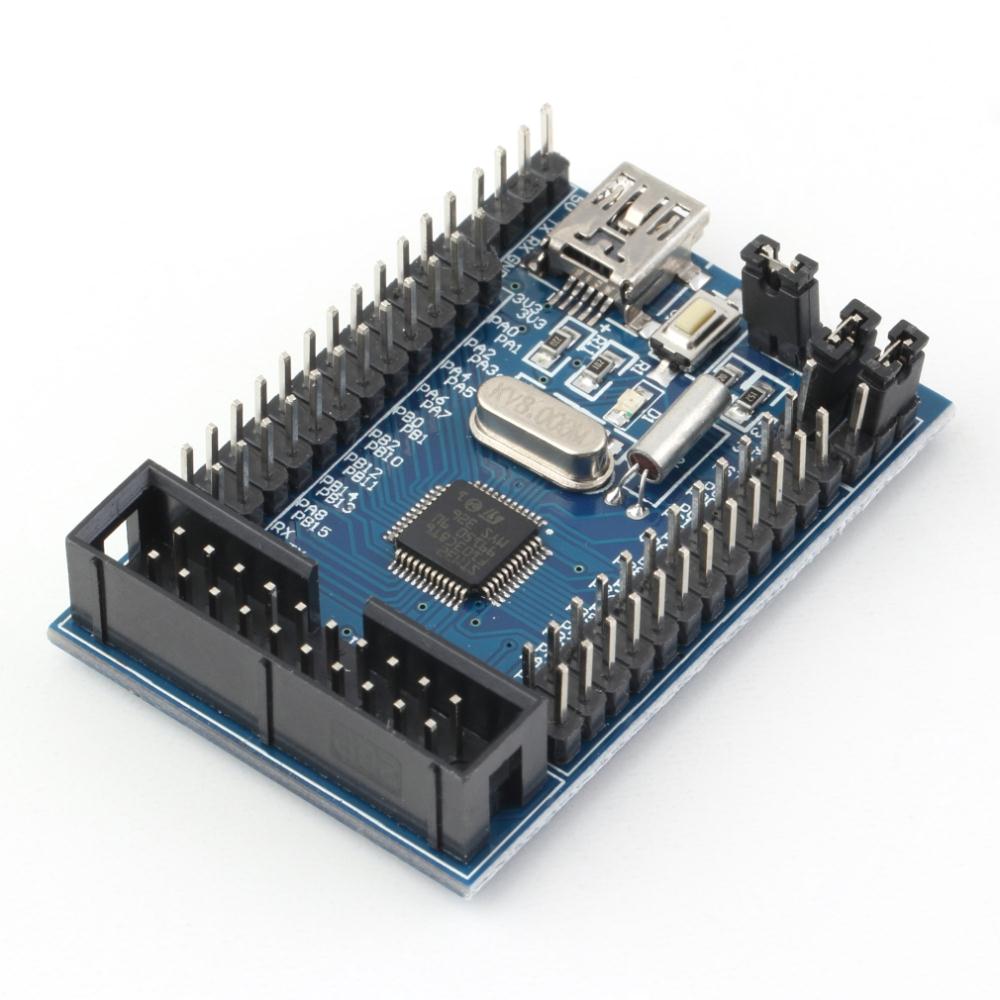
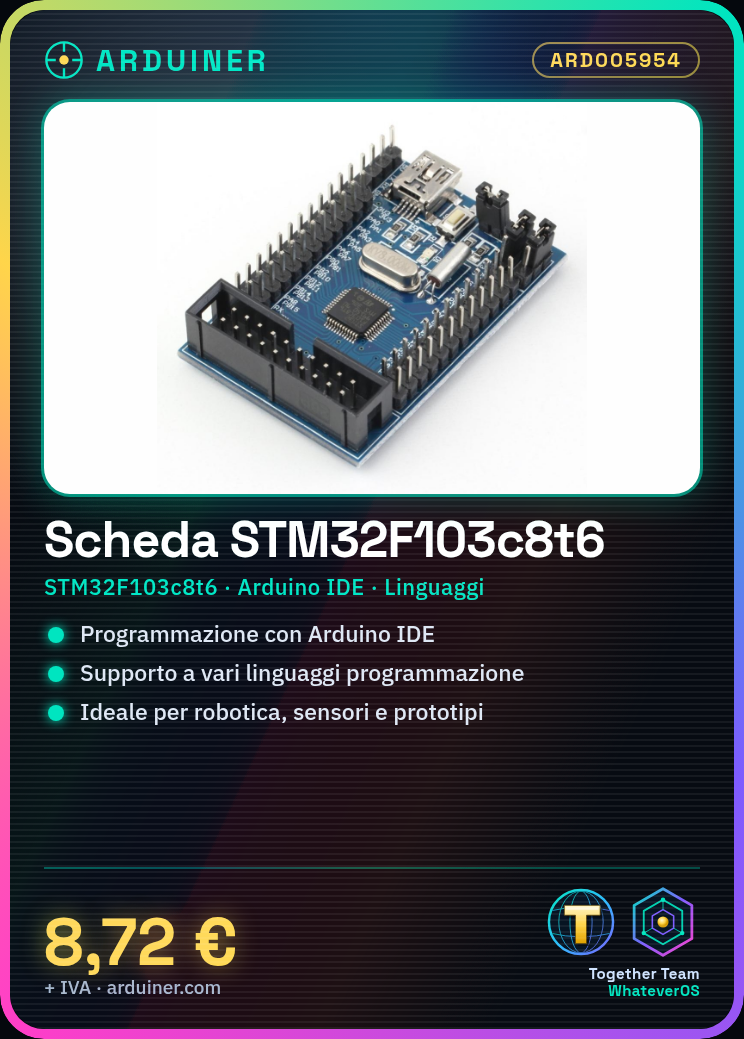
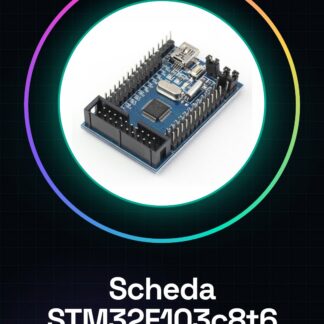
The M3 STM32F103c8t6 Compatible Board is a development board based on the STM32F103c8t6 microcontroller. It offers a wide range of features for electronic and robotic project development.
Features
- Microcontroller: STM32F103c8t6
- Compatible with Arduino IDE (check the datasheet)
- Support for various programming languages (check the datasheet)
What it is for
The board is ideal for projects requiring advanced computing power, such as robotics, sensor management, and interaction with external devices. It can also be used for rapid prototyping projects and learning about the STM32 microcontroller.
Tutorial: How to Use STM32F103c8t6 Board
This STM32F103c8t6 board is ideal for projects requiring advanced computing power. Suitable for beginners and intermediates.
What you need
- STM32F103c8t6 Board
- Arduino IDE
- USB Cable
- 10kΩ Resistor
- LED
Steps
- 1. Install Arduino IDE.
- 2. Connect the board to the computer via USB.
- 3. Check the datasheet for the presence of a bootloader.
- 4. Select ‘STM32F103C8T6’ as the board in the ‘Tools’ menu.
- 5. Load the ‘Blink’ sketch in Arduino IDE.
- 6. Verify that the LED turns on and off.
- 7. Connect the LED to pin 5 with a 10kΩ resistor.
- 8. Verify that the LED turns on when a signal is sent to pin 5.
Example code
```void setup() { pinMode(5, OUTPUT);}void loop() { digitalWrite(5, HIGH); delay(1000); digitalWrite(5, LOW); delay(1000);}```Mini project
Create a simple button counter using the STM32F103c8t6 board.
Common mistakes
- Fail to select the board correctly in the ‘Tools’ menu.
- Fail to connect the LED correctly.
- Omit to load the bootloader.
- Forget to install the USB driver.
Recommended accessories
- Push buttons
- Various resistors
- USB cable
- 16×2 LCD display
Frequently asked questions
How can I verify if the bootloader is present?
Check the datasheet or verify the board configuration in the ‘Tools’ menu of Arduino IDE.
Can I use this board with another IDE?
Yes, but make sure it supports the SWD or USB protocol.
Which pins are available on the board?
Check the datasheet for a complete list of pins.
Reviews
There are no reviews yet.