 EN
 IT Italiano
 ES Español
 FR Français
 DE Deutsch
Description
What it is
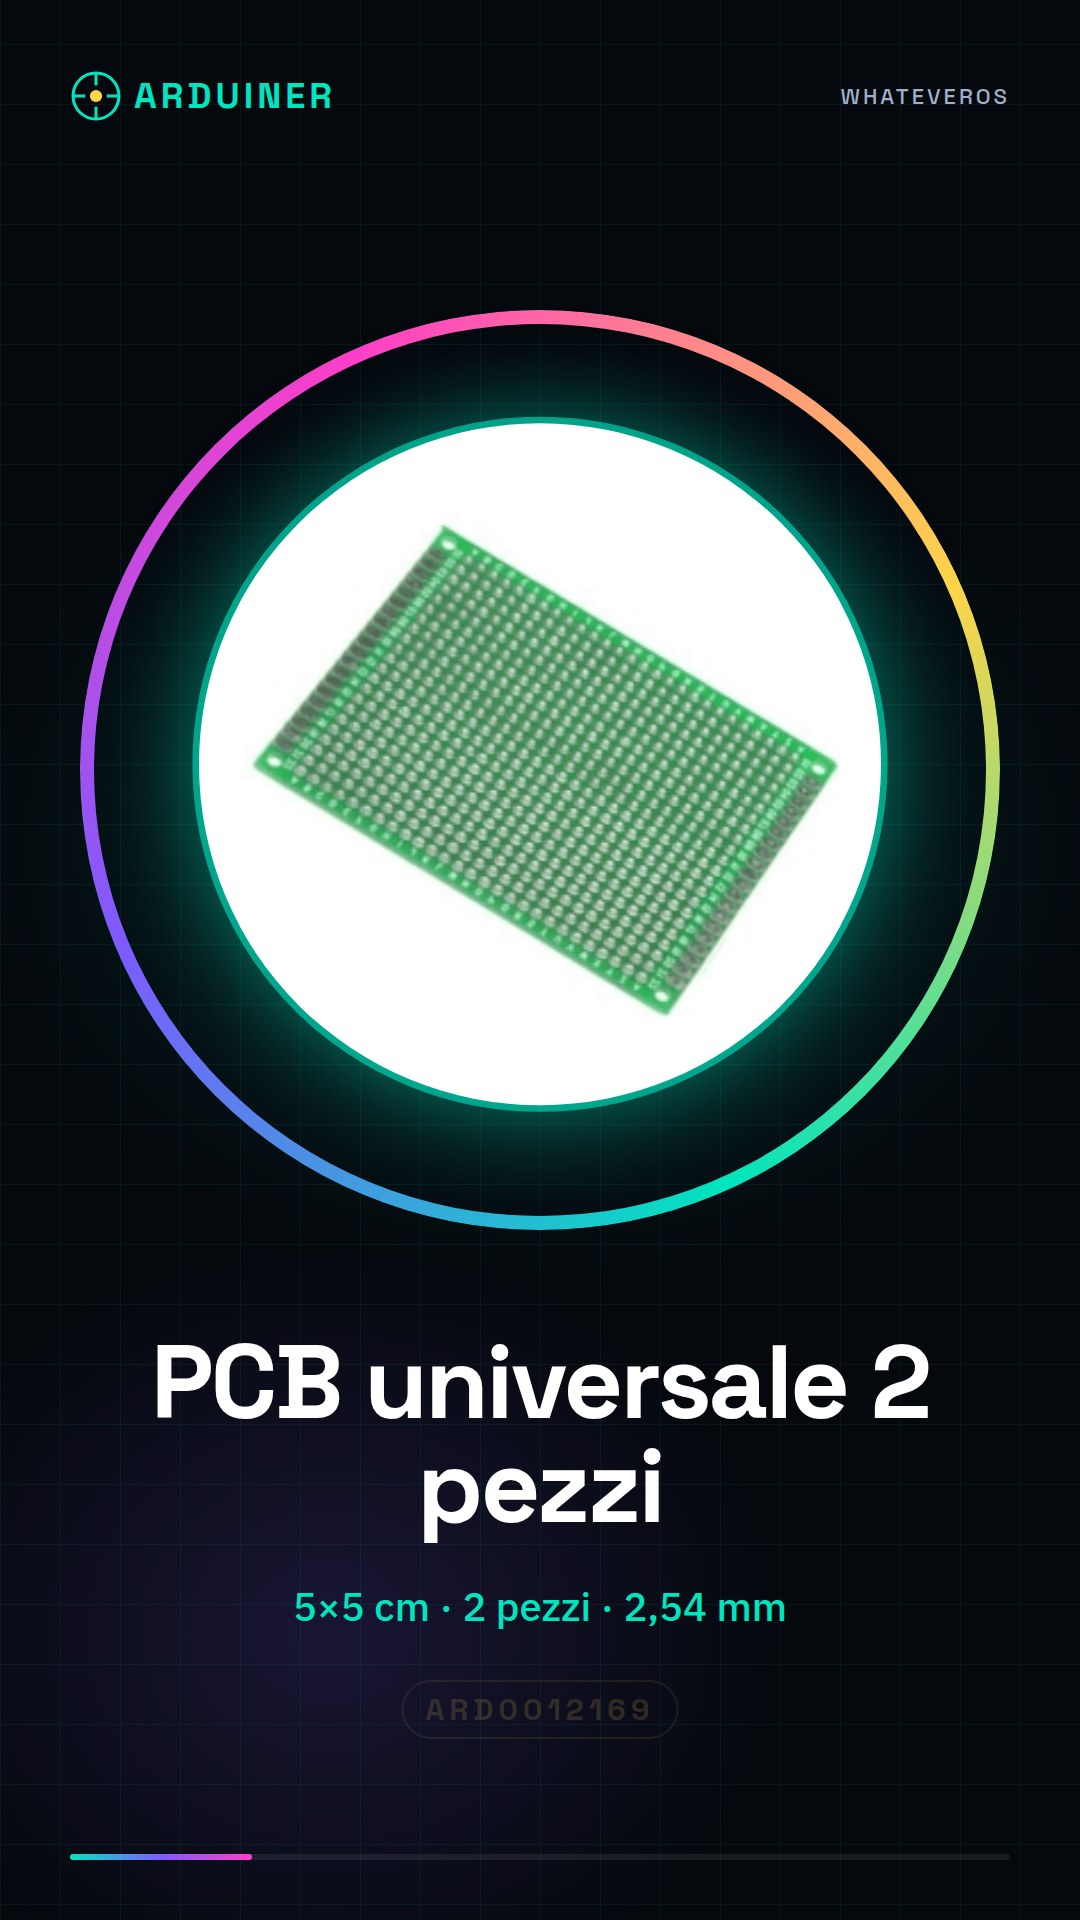
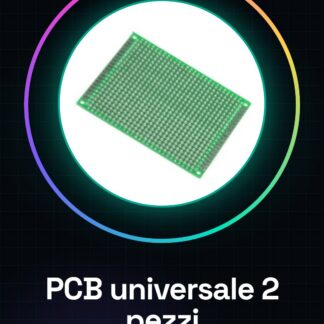
The Universal PCB Set of 2 pieces, 5×5 cm is an ideal product for makers and inventors who want to quickly create prototypes and test small electronic projects. This single-sided PCB offers a practical support for the layout of electronic components without the need to create a final PCB.
Features
- Dimensions: 5×5 cm
- Number of pieces: 2
- Pad spacing: 2.54 mm
- Type: Single-sided prototyping PCB
What it is for
This PCB is perfect for creating prototypes and testing electronic components. It is suitable for small projects that require a flexible configuration. You can use it to create simple prototypes such as a light sensor that turns on an LED when the light decreases. Additionally, it is compatible with standard components and can be easily integrated with Arduino or ESP.
Tutorial: How to use the Universal 5x5cm PCB
The universal PCB is a prototyping printed circuit board ideal for beginner and intermediate makers who want to test and develop small electronic projects without having to worry about creating a final PCB. This PCB is perfect for prototyping and testing electronic components.
What you need
- Arduino
- electronic components
- soldering tweezers
- solder paste
- solder tips
Steps
- Prepare the PCB by cleaning it with a dry cloth to remove any impurities.
- Establish the placement of components on the PCB and position them correctly.
- Solder the components using the soldering tweezers and solder paste.
- Check the soldering and connections of the components.
- Test the circuit with a multimeter to ensure that all connections are correct.
- If necessary, add additional connections using copper wires.
- Recheck the circuit to ensure there are no short circuits or incorrect connections.
- If the circuit works correctly, proceed to the final project or further testing of the prototype.
Mini project
Create a simple prototype of a light sensor that turns on an LED when the light decreases. Use an LDR and a resistor to form a voltage divider circuit, connect the circuit to an Arduino’s analog pin and write a sketch to manage the LED’s activation.
Common mistakes
- Insufficient or excessive soldering.
- Incorrect placement of components.
- Incorrect connections of copper wires.
- Lack of connection testing before completing the prototype.
Recommended accessories
- Soldering kit
- Electronic testing kit
- Electronic components kit
- Arduino Uno
Frequently asked questions
How can I clean the PCB?
You can clean the PCB with a dry cloth or an electronic cleaner to remove any impurities.
Can I use this PCB for larger projects?
Yes, but it may be necessary to use more PCB pieces or a larger PCB for more complex projects.
Reviews
There are no reviews yet.