 EN
 IT Italiano
 ES Español
 FR Français
 DE Deutsch

Description
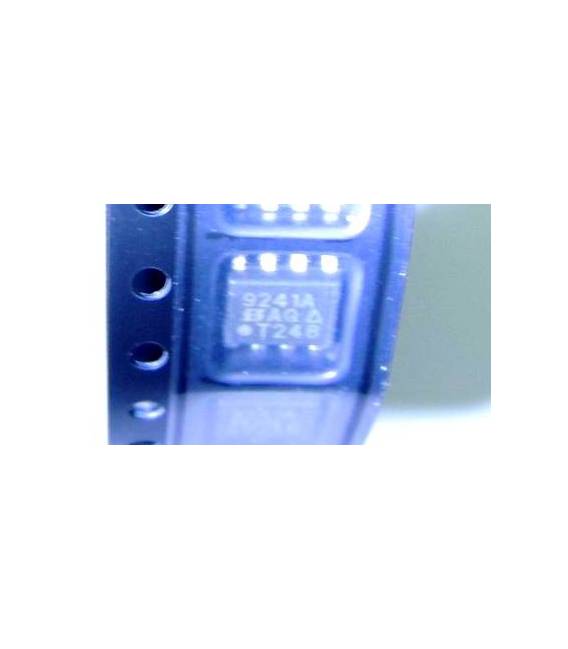
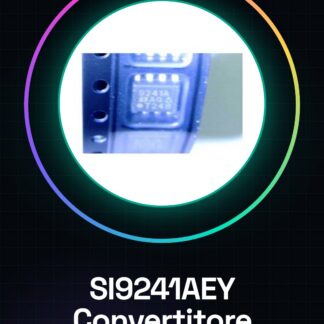
SI9241AEY IC Integrated Circuits
Tutorial: How to Use SI9241AEY IC Integrated Circuits
The SI9241AEY is a linear voltage converter used to convert an input signal into an adjustable output voltage signal. It is useful for projects that require precise voltage control.
What you need
- SI9241AEY IC
- Resistor (10kΩ)
- Resistor (1kΩ)
- Multimeter
- Arduino
Steps
- 1. Connect the SI9241AEY to the Arduino using the VCC and GND pins.
- 2. Connect the IN pin to the Arduino’s analog pin A0.
- 3. Connect the OUT pin to the Arduino’s analog pin A1.
- 4. Connect the 10kΩ resistor between the OUT pin and GND.
- 5. Connect the 1kΩ resistor between the IN pin and VCC.
- 6. Load the Arduino code.
- 7. Check the output voltage with the multimeter.
- 8. Adjust the output voltage by varying the input signal.
Example code
```void loop() { int analogPin = 0; int sensorValue = analogRead(analogPin); float voltage = sensorValue * (5.0 / 1023.0); SI9241AEY.setVoltage(voltage); delay(100);}```Mini project
Create a simple linear voltage converter using the SI9241AEY and an Arduino. Adjust the output voltage by varying the input signal.
Common mistakes
- Do not connect the VCC and GND pins correctly.
- Forget to adjust the input signal to obtain the desired voltage.
- Use incorrect resistors.
- Do not verify the correct connection before uploading the code.
Recommended accessories
- Arduino
- Multimeter
- Resistor (10kΩ)
- Resistor (1kΩ)
Frequently asked questions
How can I check the output voltage?
Use the multimeter to measure the voltage between the OUT pin and GND.
Which resistors should I use?
Use a 10kΩ resistor and a 1kΩ resistor.
Can the SI9241AEY be used with Arduino?
Yes, it is compatible with Arduino and can be controlled via Arduino code.
Can I use any type of Arduino?
Yes, any Arduino with analog pins can be used.
Reviews
There are no reviews yet.