 EN
 IT Italiano
 ES Español
 FR Français
 DE Deutsch
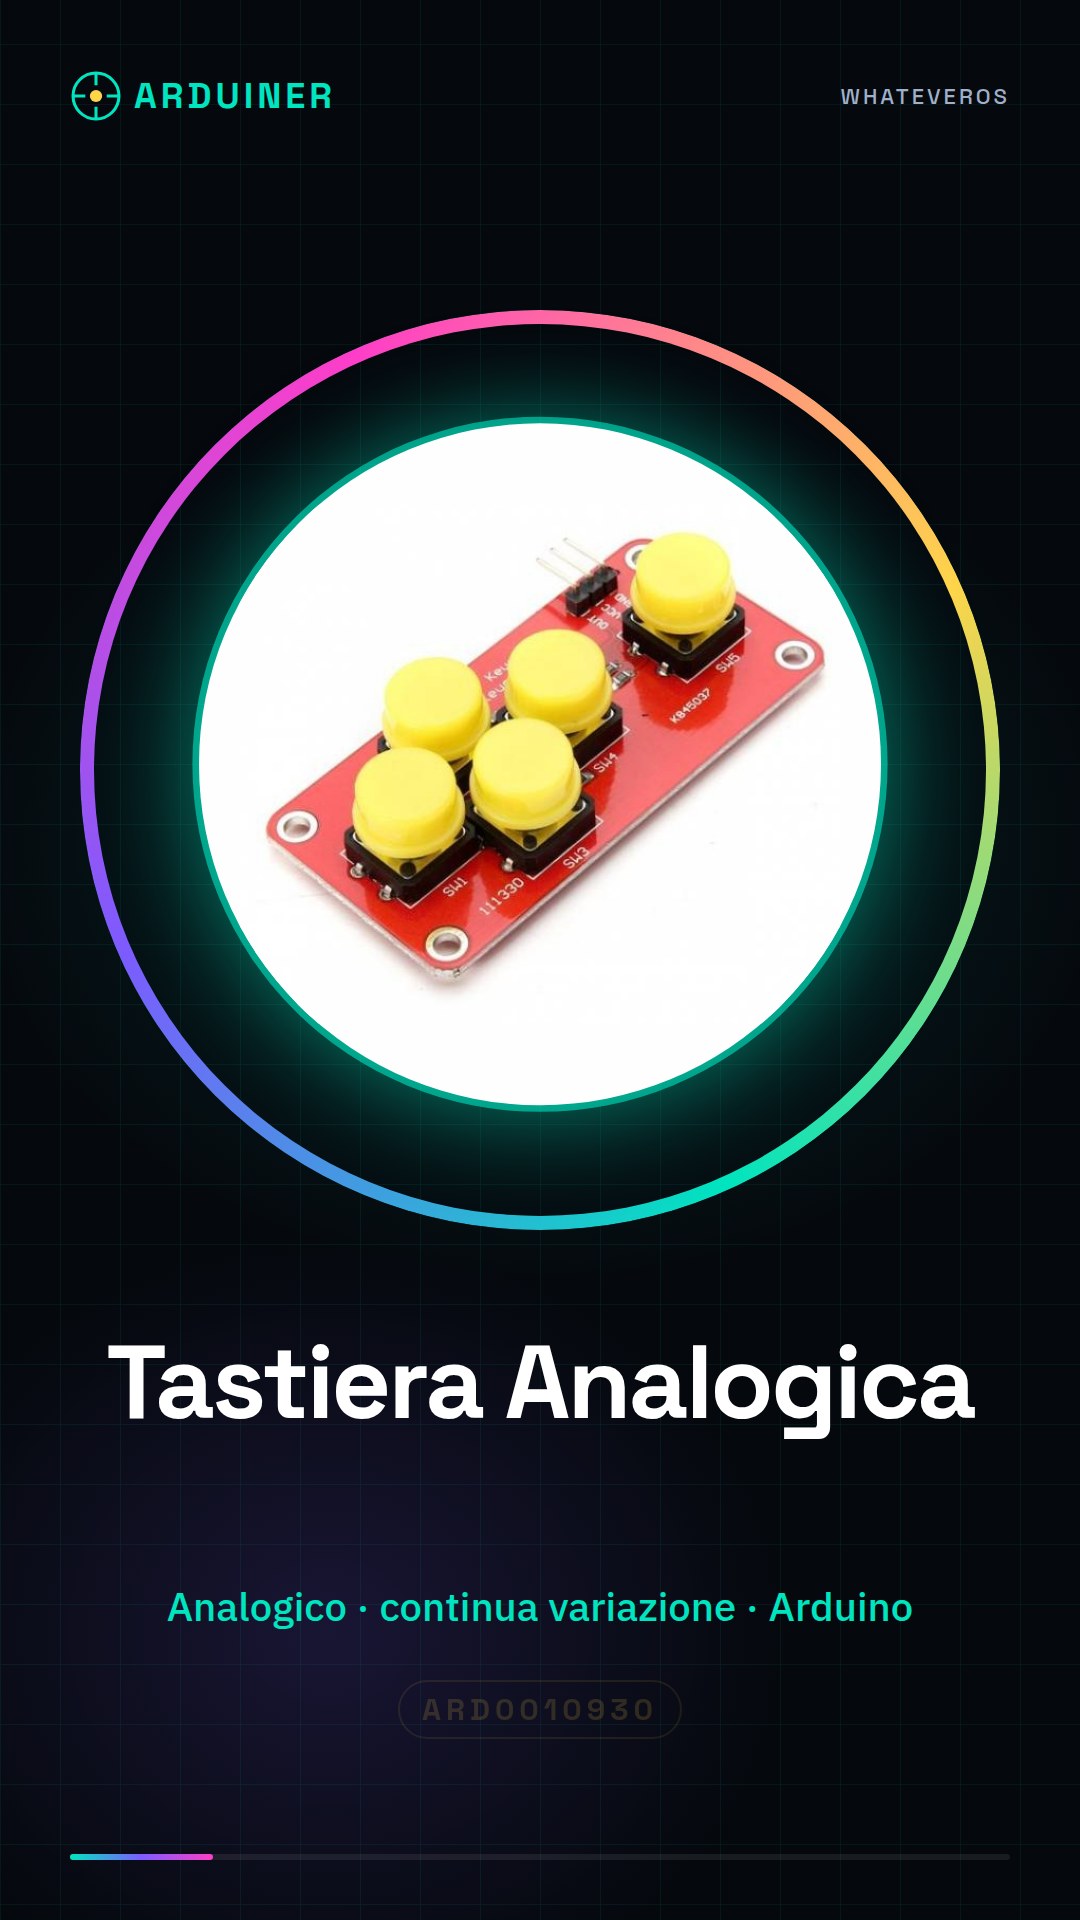
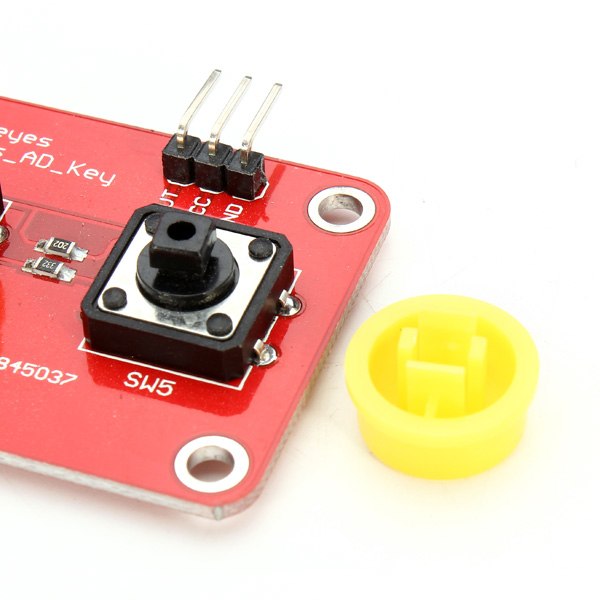
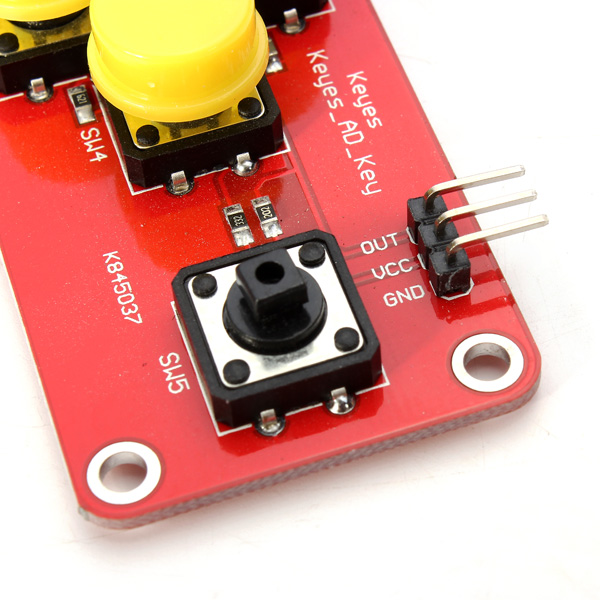
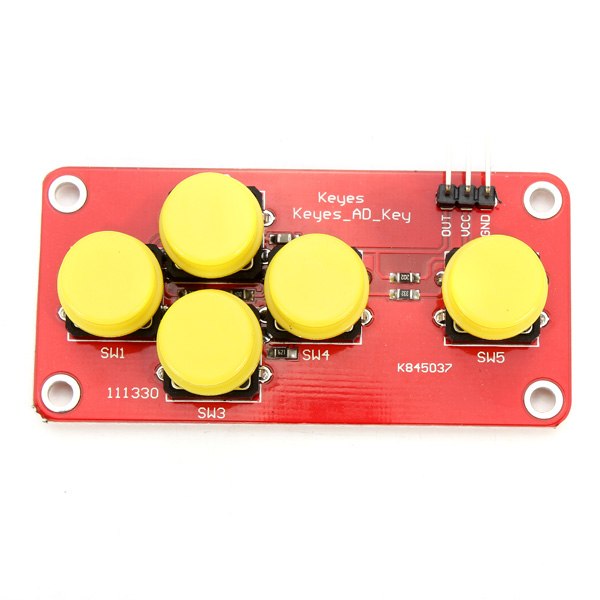

Description
What it is
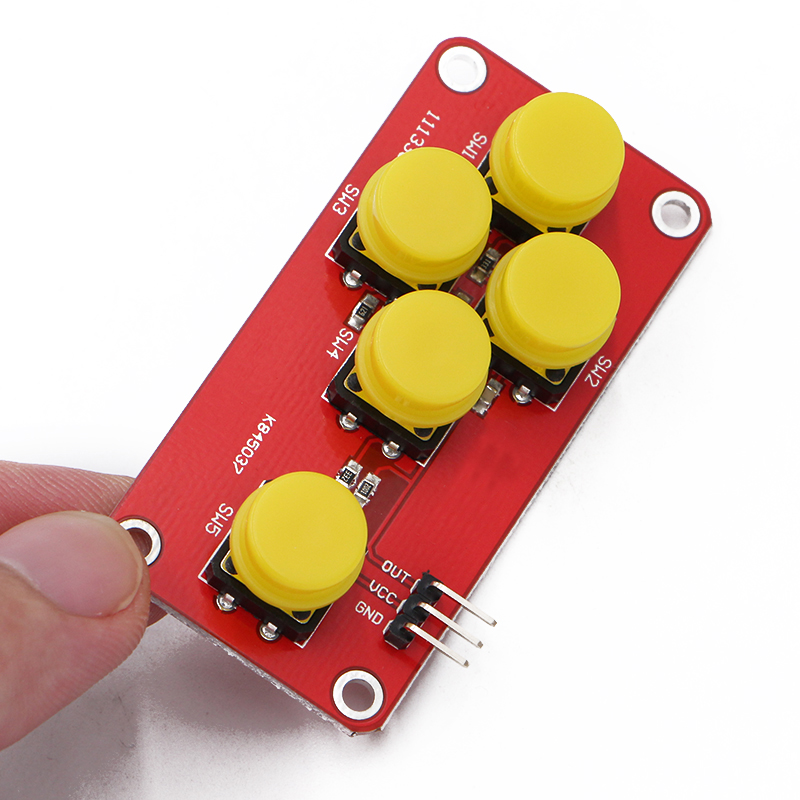
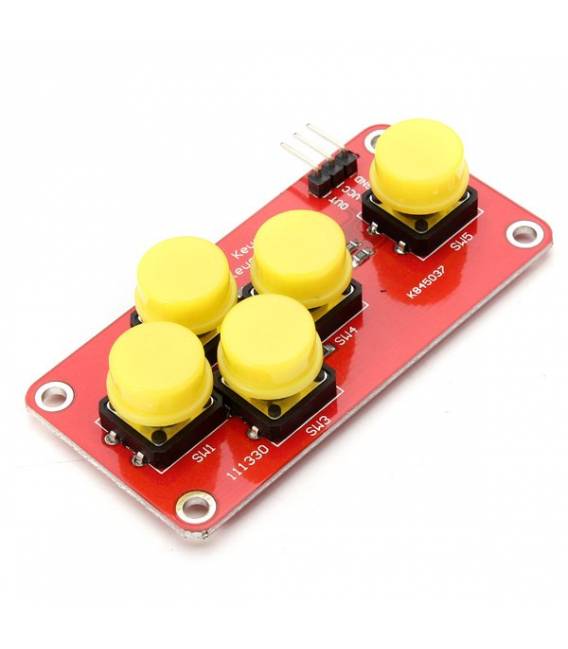
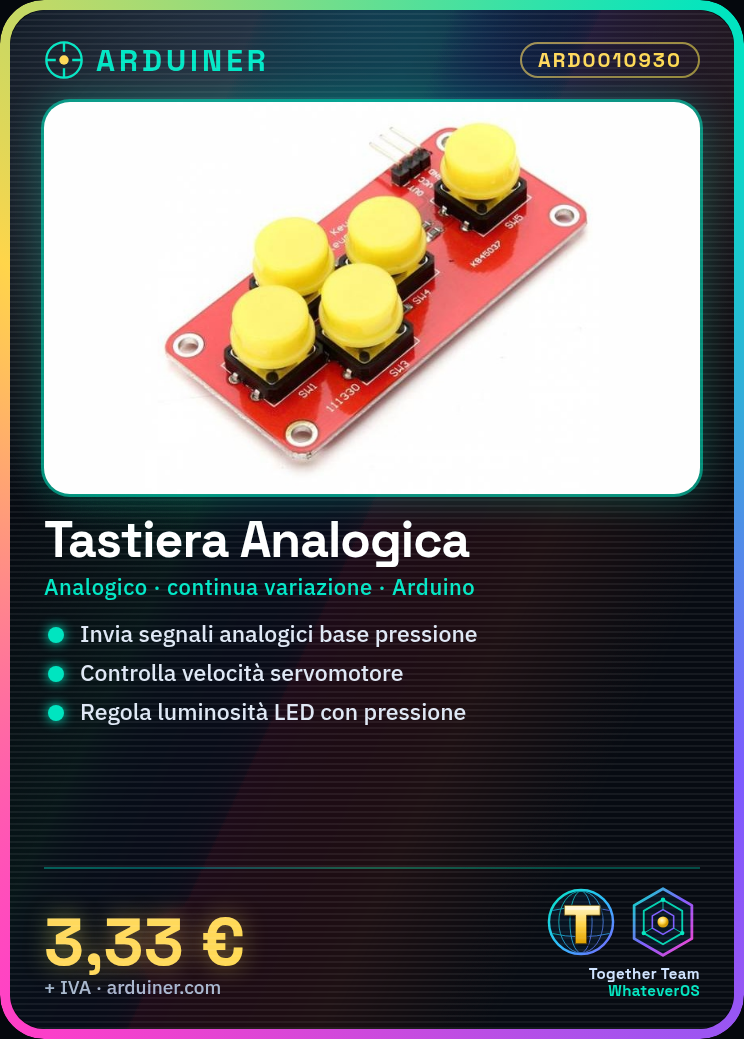
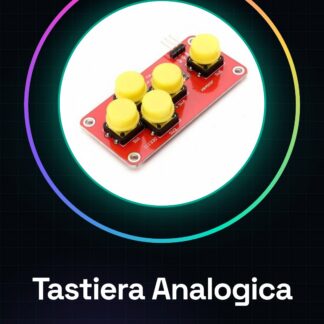
The Analog Keyboard is an electronic device that allows the transmission of analog signals based on the pressure applied to the keys. Unlike a digital keyboard, which sends discrete signals (0 or 1), an analog keyboard produces a continuous signal that varies in intensity based on the force applied to the key.
Features
- Type: Analog Keyboard
- SKU: ARD0010930
- Price: 3.33 €
- Category: Root, Home page
What it is for
The analog keyboard is ideal for projects that require precise control of electronic devices. For example, it can be used to control the speed of a servo or the brightness of an LED based on the pressure applied to the keys. It is a useful component for beginner and intermediate makers who want to experiment with analog signals in Arduino and other microcontrollers.
Tutorial: How to Use Analog Keyboard
The analog keyboard is ideal for controlling various electronic devices with precision. Useful for beginner and intermediate makers.
What you need
- Analog Keyboard ARD0010930
- Arduino or compatible microcontroller
- USB cable
- Soldering iron and solder wire
Steps
- Step 1: Check the datasheet for the keyboard specifications.
- Step 2: Connect the keyboard to the microcontroller using the correct pins.
- Step 3: Solder the pins if necessary, check the stability of the contacts.
- Step 4: Load the provided Arduino code.
- Step 5: Verify the connection and functionality of the keyboard.
- Step 6: Add custom code to use the keyboard values.
- Step 7: Test the keyboard with different devices.
- Step 8: Adapt the code to improve functionality.
Example code
```
void setup() {
  Serial.begin(9600);
}

void loop() {
  int val = analogRead(A0);
  Serial.println(val);
}
```
Mini project
Create an analog control for a servo using the analog keyboard.
Common mistakes
- Connect the keyboard to the microcontroller with incorrect pins.
- Omit stability contact testing.
- Do not use a custom code.
- Ignore functionality tests.
Recommended accessories
- Servo
- Arduino UNO
- USB cable
- 3D printing filament
Frequently asked questions
How can I verify the stability of the contacts?
Solder the pins and check the stability of the contacts with a microcontroller.
Which pins should I use for the keyboard?
Check the datasheet for the correct pins.
Can I use the keyboard with a different microcontroller?
Check compatibility on the datasheet.
Reviews
There are no reviews yet.