 EN
 IT Italiano
 ES Español
 FR Français
 DE Deutsch
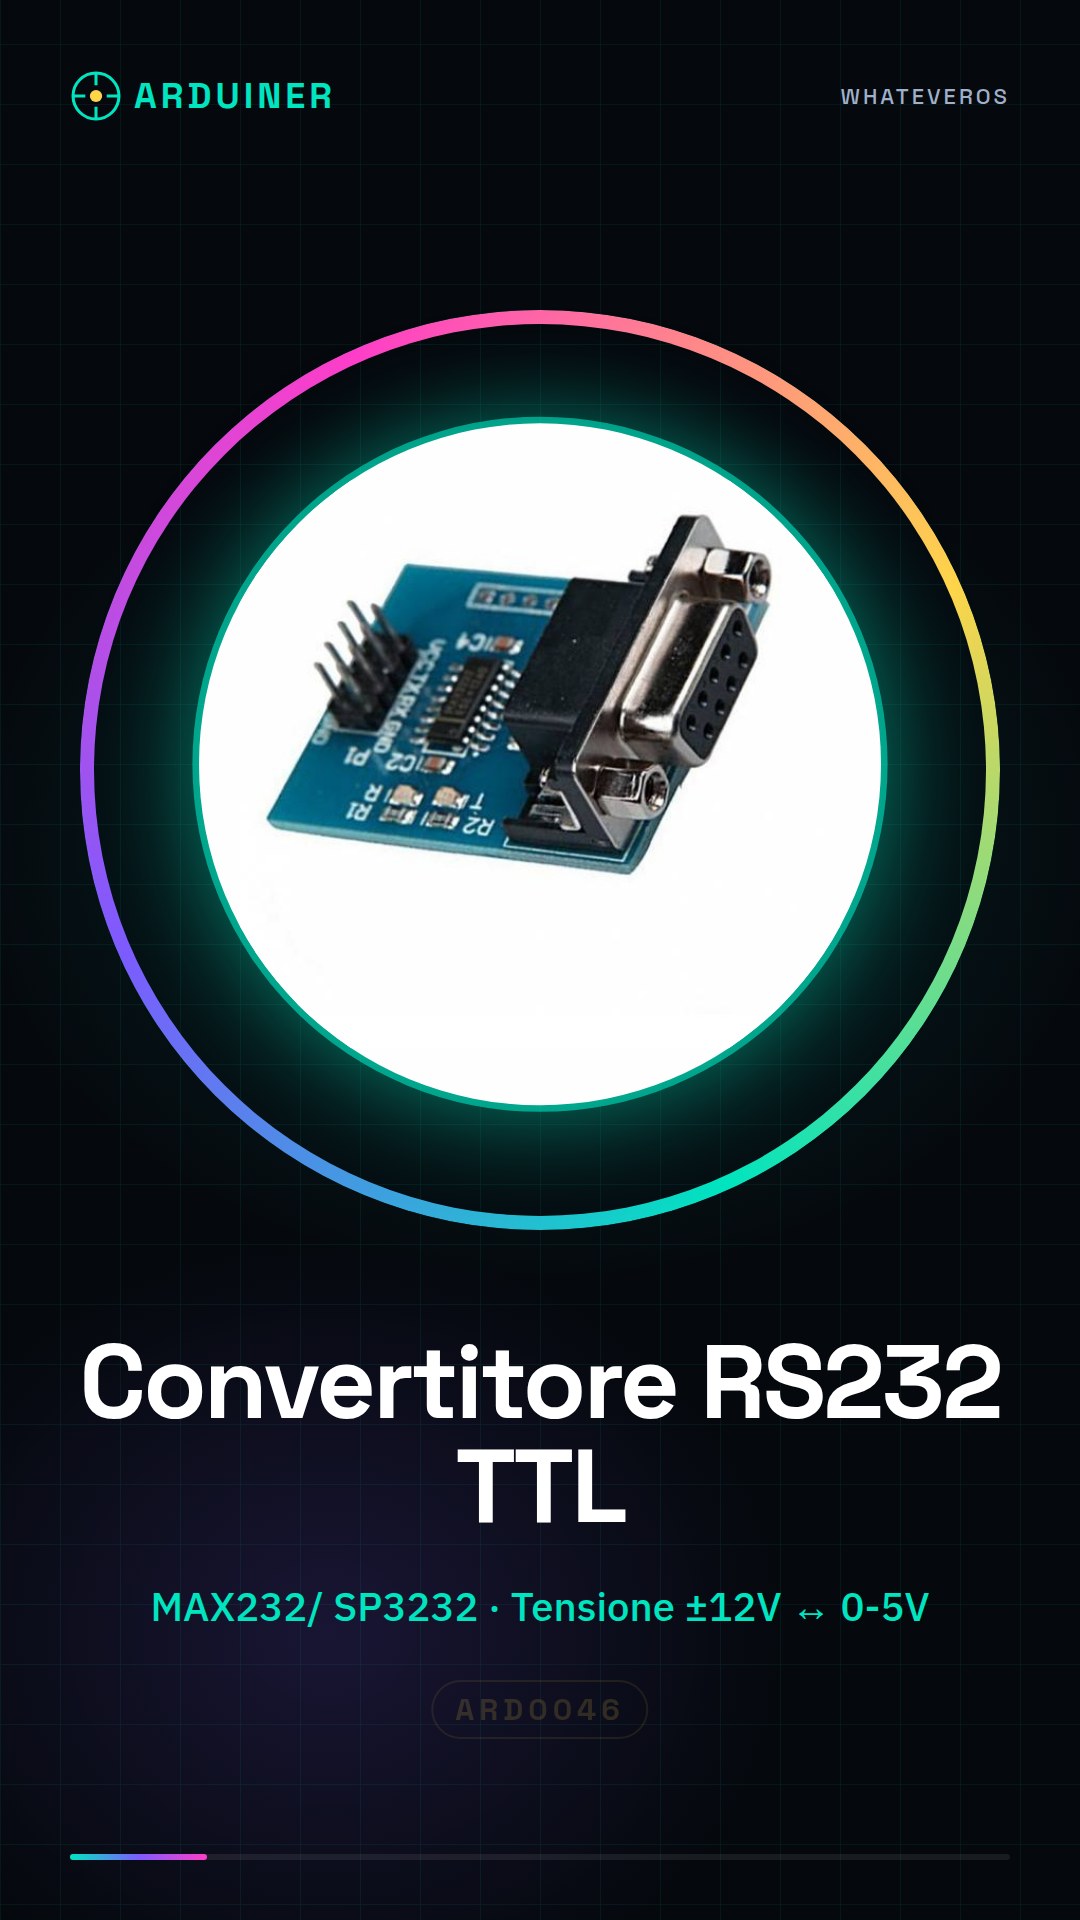
Description
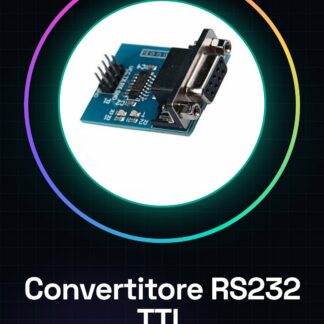
Here is a complete description of the module Serial RS232 – TTL Converter, a usage guide with Arduino, practical examples and programming instructions.
🧾 Module Description: Serial RS232 – TTL Converter
✅ Main Features
The Serial RS232 to TTL Converter is an electronic module that allows communication between RS232 devices (such as PCs, PLCs, serial printers) and microcontrollers or logic modules at the (as PC, PLC, serial printers) and microcontrollers or logic modules level level (such as Arduino, ESP32, STM32). Feature
| Detail | Detail |
|---|---|
| Main Chip | MAX232 or SP3232 (varies by model) |
| Voltage Levels | RS232 (±12V) ↔ TTL (0-5V or 0-3.3V depending on the model) |
| Power Supply | 5V (some also support 3.3V) |
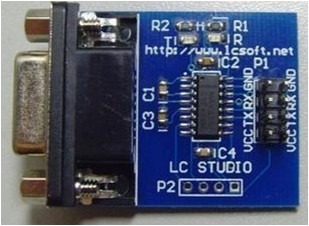
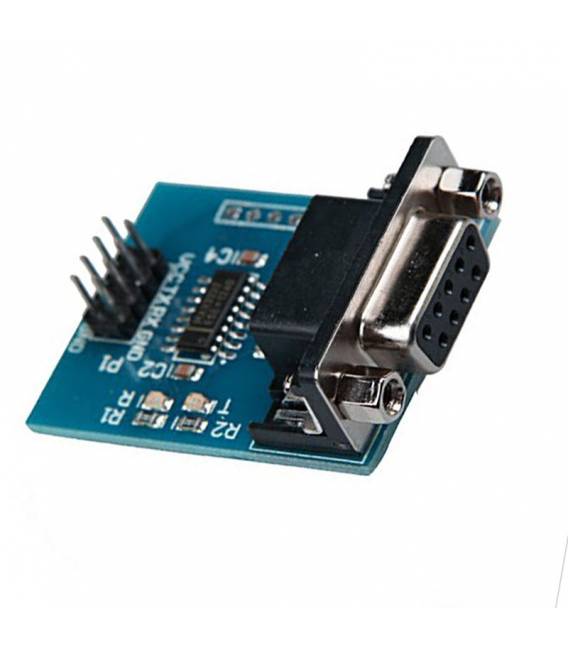
| Interfaces | DB9 female connector + TTL header (4 pin) |
| Supported Signals | TX, RX, GND, VCC |
| Supported Baud Rate | Up to 115200 bps |
| LED Indicators (optional) | TX, RX to indicate transmission/reception |
🔌 Module Connections
🟦 RS232 side (DB9 female)
Connect this side to a standard RS232 device, such as a PC or industrial equipment.
🟩 TTL side (4 pin header)
Typically marked as:
| Pin | Description |
|---|---|
| VCC | Power supply (5V or 3.3V) |
| GND | Ground |
| TXD | Data transmission from the module to the microcontroller (received from the RS232 device) |
| RXD | Data reception from the microcontroller (sent to the RS232 device) |
🔁 TX ↔ RX: When connecting to an Arduino, the pin TXD of the module goes to the RX pin of the Arduino, e RXD of the module goes to the TX pin of the Arduino.
🤖 Guide for use with Arduino
🔧 Required components
- Arduino UNO (or similar)
- RS232-TTL Converter Module
- DB9 male serial cable
- PC with serial port or USB-RS232 converter
- jumper wires
📈 connection diagram
| RS232-TTL module | Arduino UNO |
|---|---|
| VCC | 5V |
| GND | GND |
| TXD | Pin 0 (RX) |
| RXD | Pin 1 (TX) |
⚠️ Warning: If you use pins 0 and 1 on Arduino, they are shared with the USB serial port. During sketch upload disconnect the module, or use a library like
SoftwareSerial.
🧪 Example usage 1: Receiving data from PC via RS232
📝 Basic Arduino code (with SoftwareSerial)
#include <SoftwareSerial.h>

SoftwareSerial serialRS232(10, 11); // RX, TX (collega il modulo qui)

void setup() {
  Serial.begin(9600);             // Serial monitor USB
  serialRS232.begin(9600);        // Porta seriale RS232
  Serial.println("Avvio comunicazione RS232...");
}

void loop() {
  if (serialRS232.available()) {
    char c = serialRS232.read();
    Serial.print("Ricevuto via RS232: ");
    Serial.println(c);
  }

  if (Serial.available()) {
    char c = Serial.read();
    serialRS232.write(c);
  }
}
⚙️ Explanation:
- The module receives data from a PC via RS232.
- Arduino receives the data and prints it on the serial monitor.
- It can also transmit characters to the RS232 device (echo).
🧪 Example of use 2: Bidirectional communication between Arduino and PLC/serial printer
Suppose we want to send commands (e.g. "STATUSn") and receive a response from an RS232 device (such as a PLC).
#include <SoftwareSerial.h>
SoftwareSerial serialRS232(10, 11); // RX, TX

void setup() {
  Serial.begin(9600);
  serialRS232.begin(9600);
  delay(1000);
  serialRS232.println("STATUS");
}

void loop() {
  if (serialRS232.available()) {
    String risposta = serialRS232.readStringUntil('n');
    Serial.print("Risposta dal dispositivo RS232: ");
    Serial.println(risposta);
    delay(1000);
  }
}
📌 Useful tips
- Check the TTL logic level of the module: if Arduino is at 5V, the module must be compatible.
- Some RS232 devices require control signals (RTS, CTS). This module manages only TX/RX/GND.
- If you use a USB-Seriale RS232 converter from PC, make sure Windows recognizes it correctly (FTDI or CH340 drivers).
🧪 Module test with serial terminal (on PC)
You can test the module by sending data from a software like:
- PuTTY
- Tera Term
- RealTerm
Connect the converter to a PC and observe the data flow in and out from Arduino.
📘 Conclusion
The RS232-TTL Converter module is a simple and effective solution for integrating legacy devices with modern microcontrollers like Arduino. With a few connections and support from SoftwareSerial, you can read data from industrial sensors, PLCs, or old serial peripherals.
Tutorial: How to Use RS232 – TTL Serial Converter
The RS232-TTL serial converter module is an essential tool for connecting devices with RS232 protocol to microcontrollers like Arduino that use the TTL protocol. Ideal for beginners and makers who want to explore serial communication.
What you need
- Arduino Uno or compatible
- USB-A to B cable
- Computer with RS232 COM port
Steps
- Connect the module to your Arduino using the provided connectors.
- Check the power and ground signals between Arduino and the converter.
- Connect the RS232 part of the converter to an external device via a DB9 jack.
- Open the Arduino IDE and select ‘File > Preferences’, then add https://arduino.esp8266.com/stable/package_esp8266com_index.json as an additional repository URL for the required libraries.
- Install the SoftwareSerial library from the ‘Tools > Manage Libraries’ menu.
- Upload the provided sketch to the Arduino.
- Open the Serial Monitor in the Arduino IDE and set it to 9600 baud.
- Check that the data sent from the RS232 device is displayed in the Serial Monitor.
Example code
// Includi la libreria SoftwareSerial
#include <SoftwareSerial.h>
// Definisci le pin per il modulo convertitore TTL-RS232
#define RX 10
#define TX 11
SoftwareSerial mySerial(RX, TX);
void setup() {
  Serial.begin(9600); // Imposta la velocità di trasmissione del monitor seriale
  mySerial.begin(9600); // Imposta la velocità di trasmissione del modulo convertitore
}
void loop() {
  if (mySerial.available()) {
    Serial.write(mySerial.read());
  }
}
Mini project
Create a serial interface between an Arduino and an RS232 thermal printer to send text data.
Common mistakes
- Set the baud rate incorrectly in the Serial Monitor.
- Connect the TTL and RS232 signals in reverse.
- Do not install the required libraries in the Arduino IDE.
- Use an incompatible USB cable to connect the Arduino to the computer.
Recommended accessories
- USB-A to B cable
- Thermal matrix printer with RS232 interface
- Temperature and humidity sensors
- LCD display with RS232 interface
Frequently asked questions
What is the supply voltage of the module?
Check the datasheet.
What baud rate does the converter support?
Check the datasheet.
Reviews
There are no reviews yet.