 EN
 IT Italiano
 ES Español
 FR Français
 DE Deutsch
Description
What it is
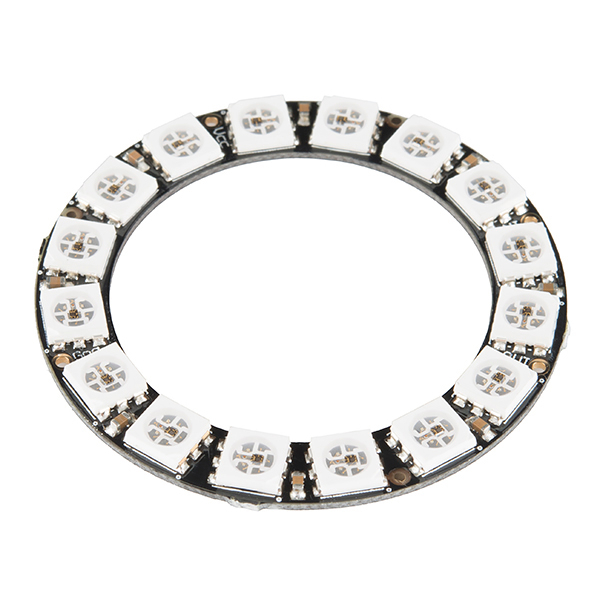
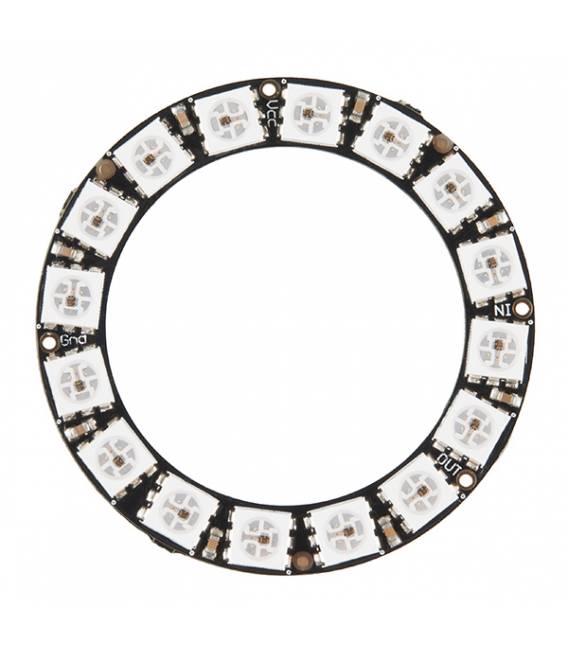
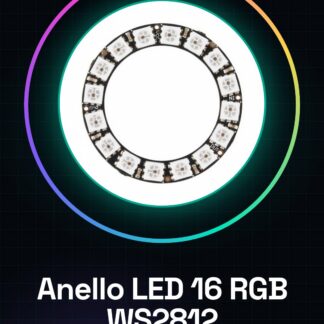
The RGB WS2812 LED ring with 16 LEDs and integrated driver is a versatile component for custom lighting projects. This LED ring allows the creation of multicolor lighting effects, ideal for both beginners and experts.
Features
- RGB WS2812 LED Ring with 16 LEDs 5050
- Integrated Driver
What it is for
The LED ring is perfect for custom lighting projects, color visualization, and lighting effects. You can use it with Arduino or ESP to control colors and transitions in a simple and efficient way.
Tutorial: How to Use WS2812 LED Ring
The RGB WS2812 LED ring is ideal for lighting and color visualization projects. Perfect for beginners and intermediates.
What you need
- Arduino
- USB cable
- Arduino IDE software
Steps
- 1. Download and install the Arduino IDE.
- 2. Connect the LED ring to the Arduino via the following pins: VCC to 5V, GND to GND, DATA to a digital pin.
- 3. Open a new sketch in the Arduino IDE.
- 4. Enter the following code: `#include
#define PIN 6
Adafruit_NeoPixel pixels(16, PIN, NEO_GRB + NEO_KHZ800);
void setup() {
pixels.begin();
}
void loop() {
pixels.setPixelColor(0, pixels.Color(255, 0, 0));
pixels.show();
delay(1000);
pixels.setPixelColor(0, pixels.Color(0, 255, 0));
pixels.show();
delay(1000);
pixels.setPixelColor(0, pixels.Color(0, 0, 255));
pixels.show();
delay(1000);
}` - 5. Compile and upload the code to the Arduino.
- 6. Check that the LED ring changes color as expected.
- 7. Try modifying the code to create custom effects.
- 8. Check the datasheet for further settings.
Example code
```
#include <Adafruit_NeoPixel.h>
#define PIN 6
Adafruit_NeoPixel pixels(16, PIN, NEO_GRB + NEO_KHZ800);
void setup() {
  pixels.begin();
}
void loop() {
  pixels.setPixelColor(0, pixels.Color(255, 0, 0));
  pixels.show();
  delay(1000);
  pixels.setPixelColor(0, pixels.Color(0, 255, 0));
  pixels.show();
  delay(1000);
  pixels.setPixelColor(0, pixels.Color(0, 0, 255));
  pixels.show();
  delay(1000);
}
```
Mini project
Create a simple color cycle that changes every second. It only takes 30 minutes.
Common mistakes
- Do not correctly connect the LED ring to the Arduino.
- Use the wrong pin for the DATA.
- Omit the installation of the Adafruit_NeoPixel driver.
- Do not check the code before uploading it.
Recommended accessories
- Arduino Nano
- USB cable
- LCD display
- LiPo battery
Frequently asked questions
How can I change the colors?
Modify the RGB values in the code to change color.
Does the LED ring work with Arduino Uno?
Yes, but make sure to use a pin compatible with the clock frequency.
How long does the battery last?
Check the datasheet for battery specifications.
Reviews
There are no reviews yet.