 EN
 IT Italiano
 ES Español
 FR Français
 DE Deutsch
Description
What it is
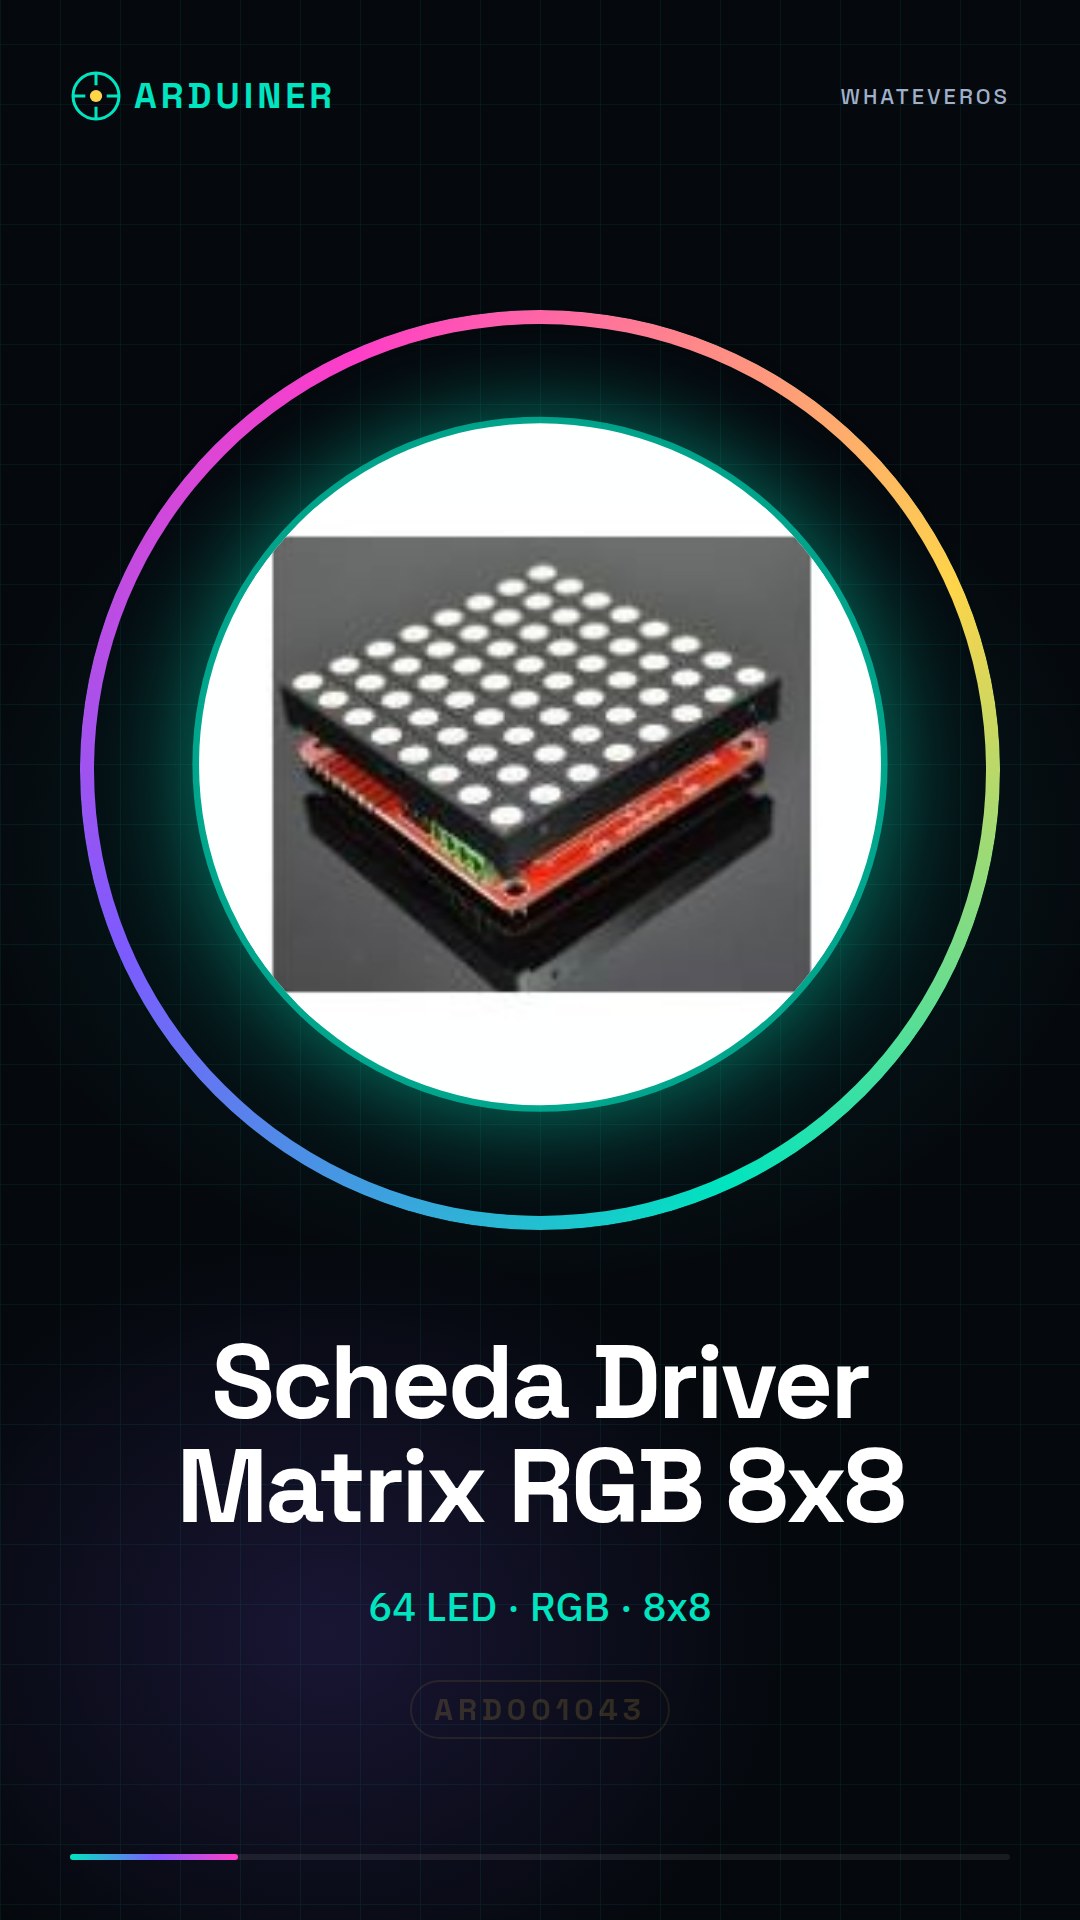
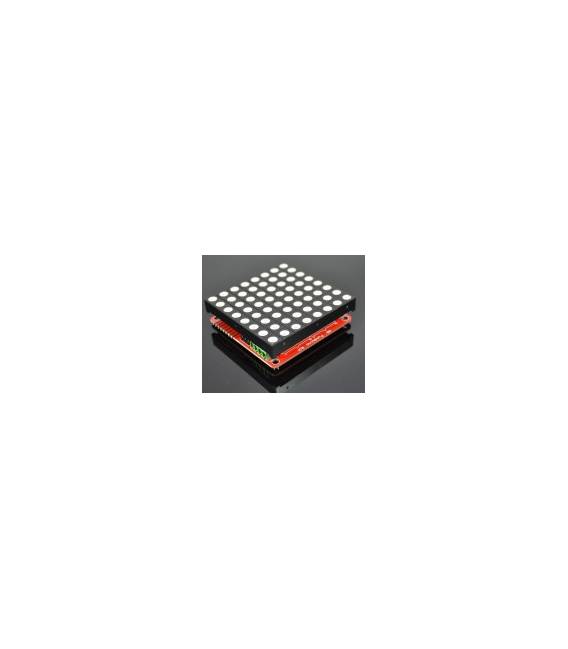
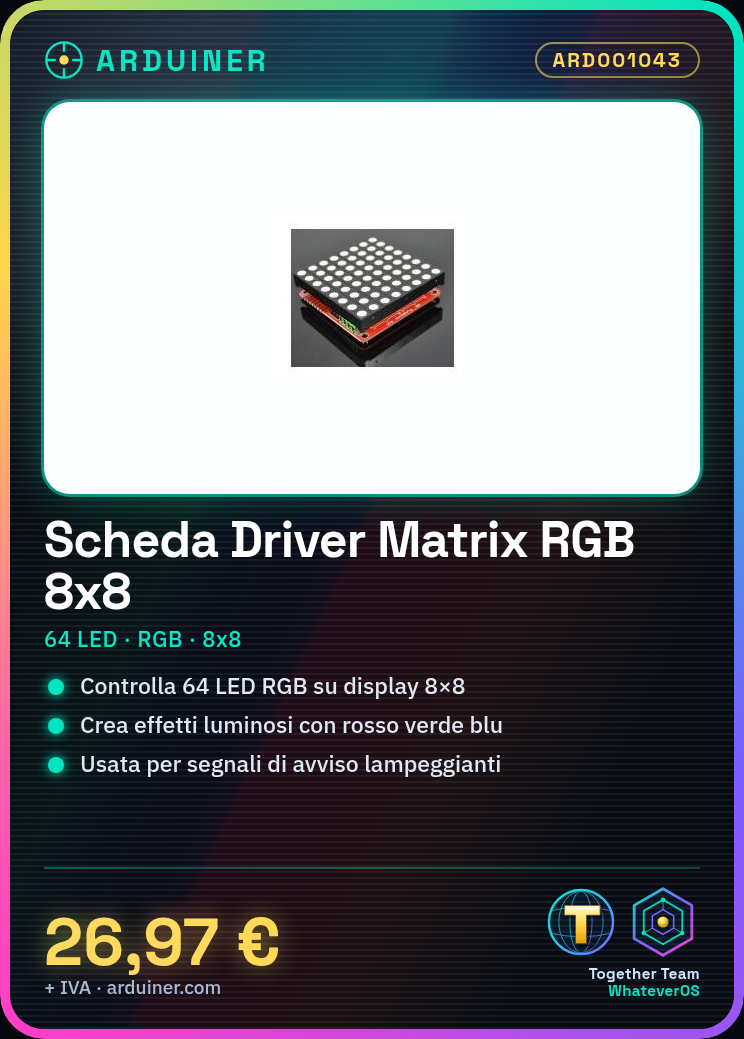
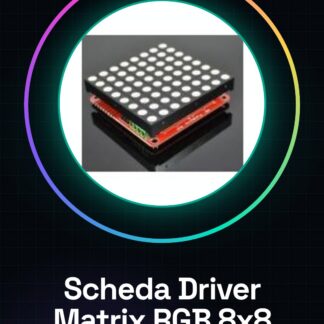
The RGB 8×8 LED Matrix Driver Board is an electronic module that allows controlling an LED display consisting of 8 rows and 8 columns of RGB LEDs. Each LED can be illuminated in red, green, or blue, or in combinations of these colors, to create a wide range of lighting effects and visualizations.
Features
- Dimensions: check the datasheet
- Number of LEDs: 64 (8×8)
- LED Type: RGB
- Compatibility: Arduino
What it is for
The board is ideal for Arduino projects that require a color LED display. It can be used to create flashing warning signals, display images and animations, or to compose custom displays for games, user interfaces, or artistic installations.
Tutorial: How to use the RGB 8×8 LED Matrix Driver Board
The RGB 8×8 LED Color Matrix Driver Board is ideal for projects requiring a color LED display. Useful for beginners and intermediates, it allows displaying images and animations on an 8×8 pixel display.
What you need
- Arduino
- 40-pin connections
- Connecting cables
- Arduino IDE software
Steps
- 1. Installation: Download and install the latest version of Arduino IDE.
- 2. Connection: Connect the board to your Arduino using the 40 pins.
- 3. Configuration: Open a new sketch in Arduino IDE.
- 4. Code: Insert the following code to initialize the display.
- 5. Run the code: Compile and upload the code to your Arduino.
- 6. Check: Ensure the display works correctly.
- 7. Animation: Add code to create simple animations.
- 8. Customization: Modify the code to customize the display.
Example code
```
#include <Adafruit_GFX.h>
#include <Adafruit_RGBmatrix.h>

Adafruit_RGBmatrix matrix = Adafruit_RGBmatrix(8, 8);

void setup() {
  matrix.begin();
}

void loop() {
  matrix.fillScreen(0x000000);
  matrix.drawPixel(0, 0, 0x00FF00);
  delay(1000);
}
```
Mini project
Create a simple green flashing warning signal.
Common mistakes
- Check the datasheet: make sure you are using the correct pins.
- Check the datasheet: verify the power supply voltage.
- Check the datasheet: ensure the code is correct.
- Check the datasheet: check the display configuration.
Recommended accessories
- RGB LED
- Motion sensors
- Control panel
- Batteries
Frequently asked questions
How can I connect the board?
Connect it to pin 40 of your Arduino.
Which codes should I use?
Use the Adafruit code provided.
Can I use a different power supply?
Check the datasheet for power supply voltage.
What are the usage limits?
Follow the datasheet instructions to avoid damage.
Reviews
There are no reviews yet.