 EN
 IT Italiano
 ES Español
 FR Français
 DE Deutsch
Description
What it is
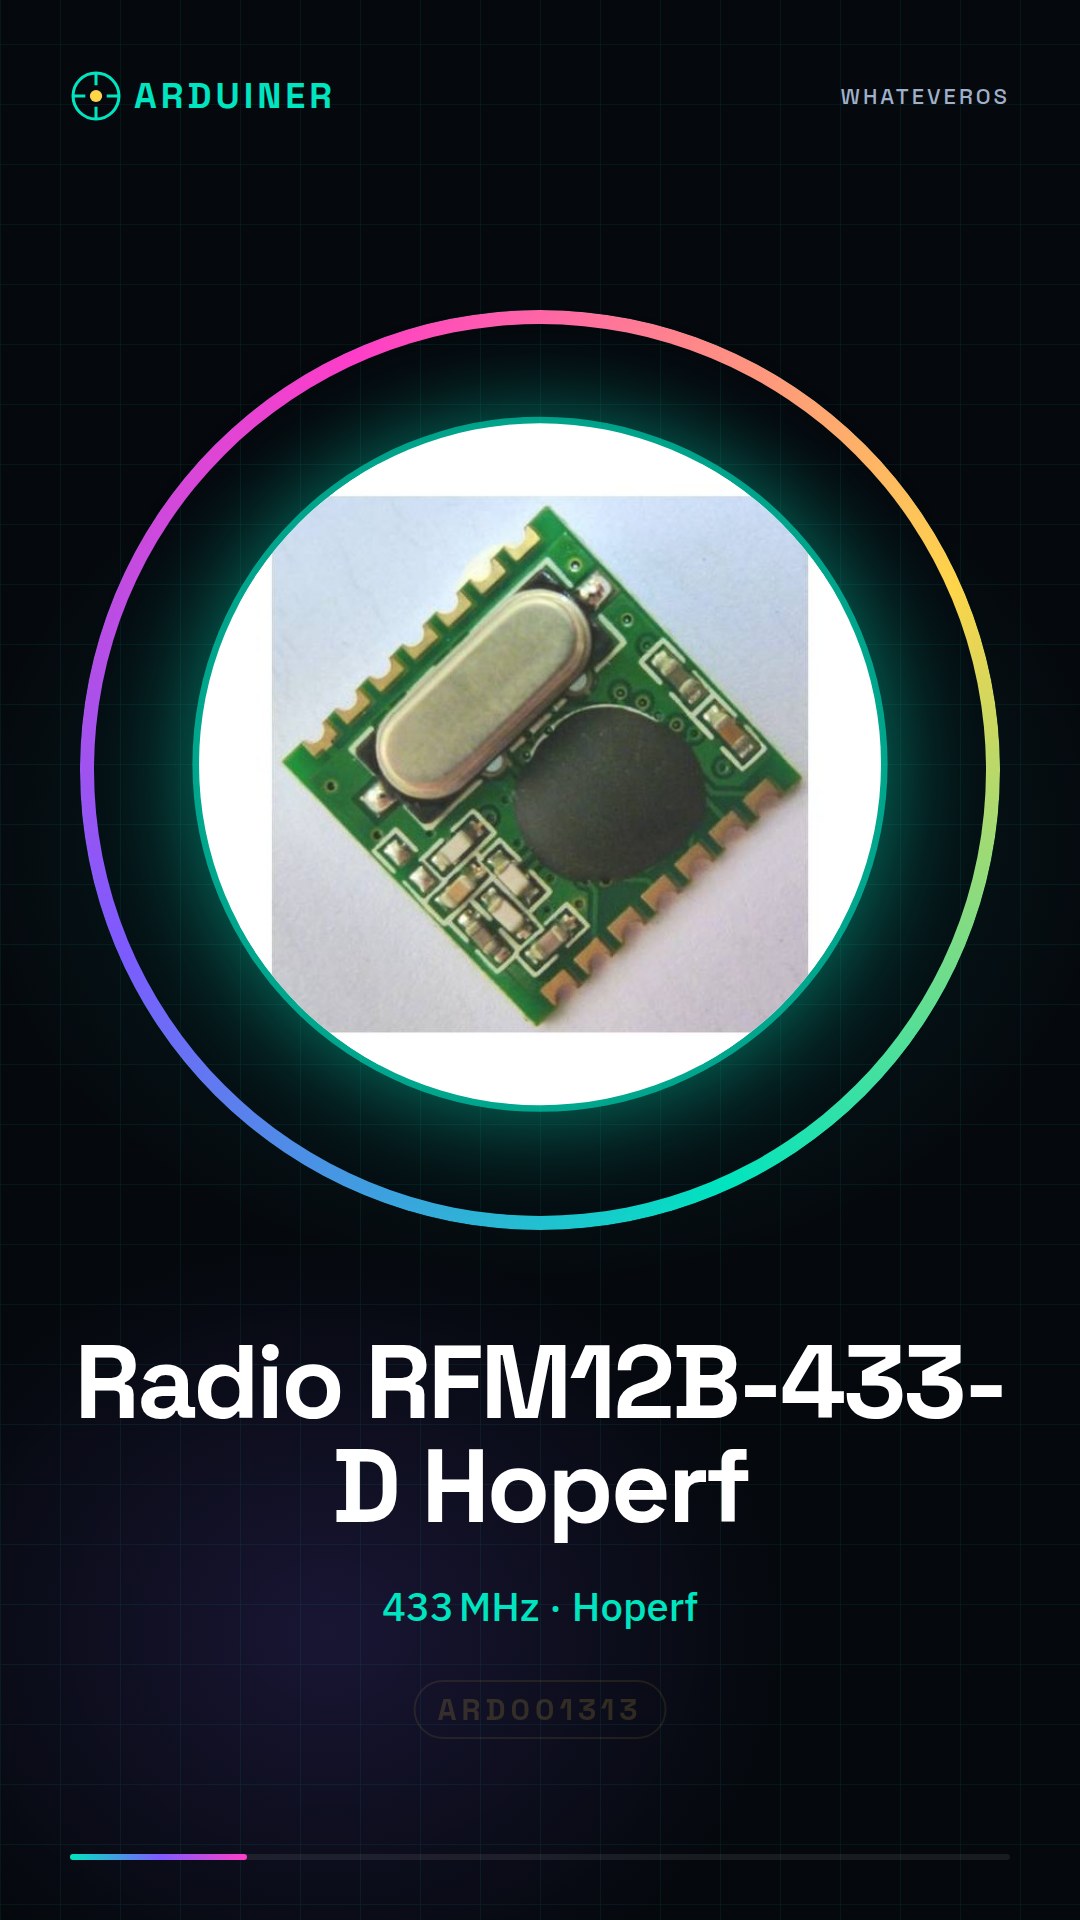
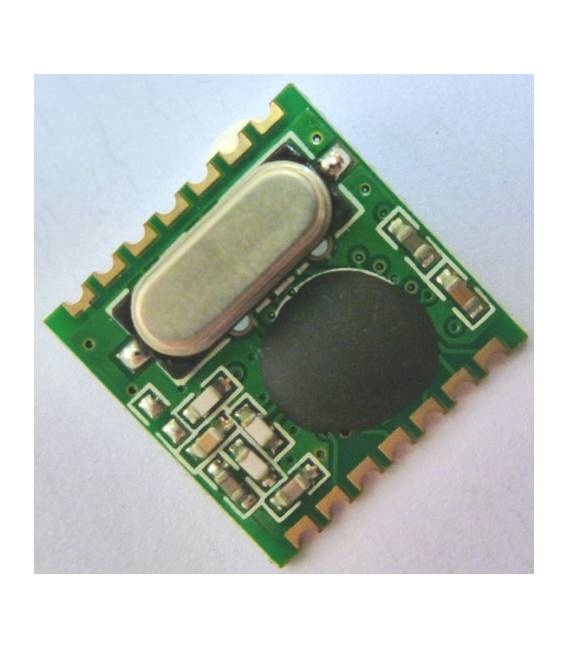
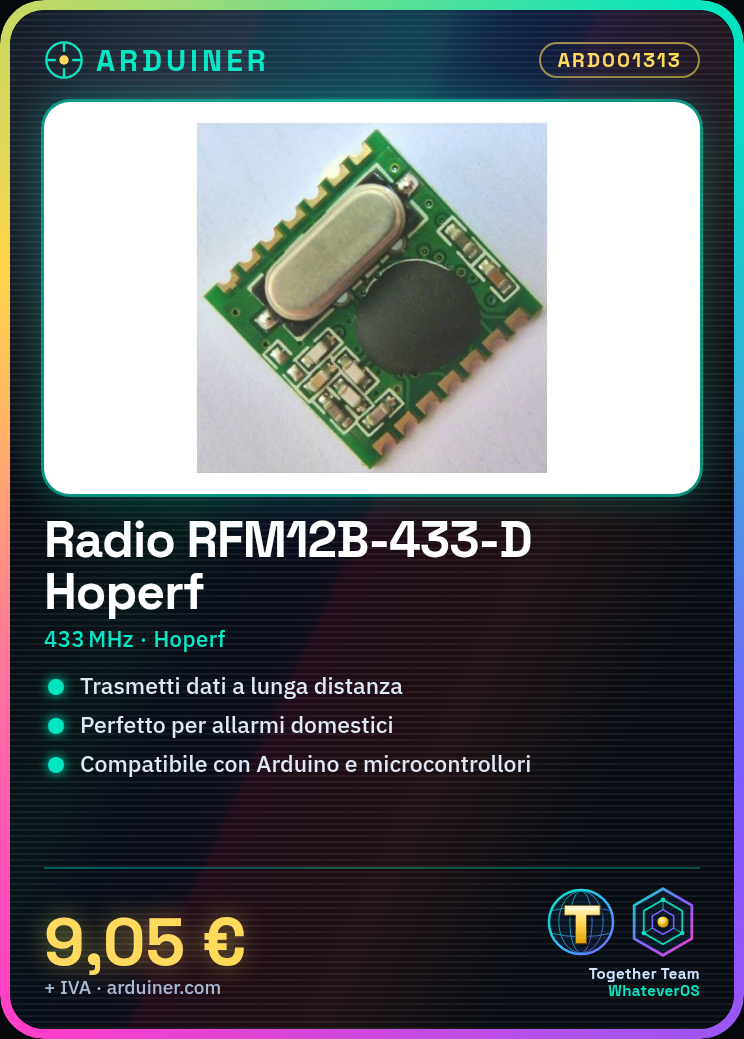
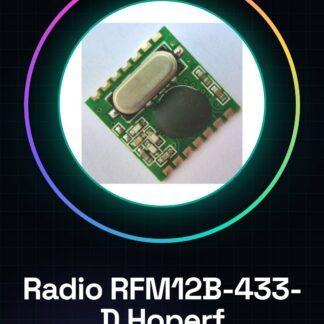
The RFM12B-433-D is a wireless communication module that allows long-range data transmission between Arduino devices. This component is ideal for projects requiring stable and reliable connections.
Features
- Frequency: 433MHz
- Brand: Hoperf
What it is for
The RFM12B-433-D module can be used to create home alarm systems, remote monitoring, and any other project that requires long-distance data transmission. It is compatible with Arduino and other microcontrollers.
Tutorial: How to Use Radio RFM12B-433-D
The RFM12B-433-D is a wireless communication module ideal for Arduino projects that require long-distance data transmission. It is suitable for both beginners and more experienced makers.
What you need
- Arduino Uno or compatible
- USB Type B cable
- Connect to computer
Steps
- Install the necessary driver for Arduino in the computer’s operating system.
- Connect the Arduino to the RFM12B-433-D following the documentation provided by the manufacturer (check the datasheet).
- Download and install the RFM12B library from GitHub or through Arduino’s library manager.
- Open a new sketch in Arduino IDE and include the RFM12B library.
- Configure the RFM12B-433-D module with the appropriate settings (check the datasheet).
- Write the sketch to send data from your Arduino to another device connected to the same RFM12B-433-D module.
- Save and upload the code to the Arduino.
- Verify that the data is transmitted correctly between the devices.
Example code
// Includere la libreria RFM12B
#include <RFM12.h>
// Configurazione del modulo RFM12B-433-D (verifica sul datasheet)
RFM12 rf(RFM12_RF, RFM12_ADDRESS, RFM12_SPEED);
void setup() {
  Serial.begin(9600);
}
void loop() {
  if (rf.available()) {
    // Leggi i dati dal modulo
    byte data[5];
    rf.read(data, sizeof(data));
    Serial.println((char*)data);
  }
}
Mini project
Create a home security system that sends a radio notification when windows or doors are opened.
Common mistakes
- Set the RFM12B-433-D module to the wrong frequency.
- Do not configure the RFM12B-433-D module correctly in the Arduino library.
- Use an outdated version of the RFM12B library.
- Connect the power and data pins incorrectly.
Recommended accessories
- JST Connections
- External antenna for RFM12B-433-D
- Arduino Nano
- PIR motion sensors
Frequently asked questions
What is the maximum transmission range?
The range varies depending on the environment and interference, but it extends up to 100 meters in ideal conditions (check the datasheet).
How can I increase the transmit power of the RFM12B-433-D module?
Use a signal amplifier or an external antenna to improve the transmission range.
Can I use this module with other wireless prototypes?
Yes, but make sure they are compatible in terms of frequency and communication protocol.
Reviews
There are no reviews yet.