 EN
 IT Italiano
 ES Español
 FR Français
 DE Deutsch
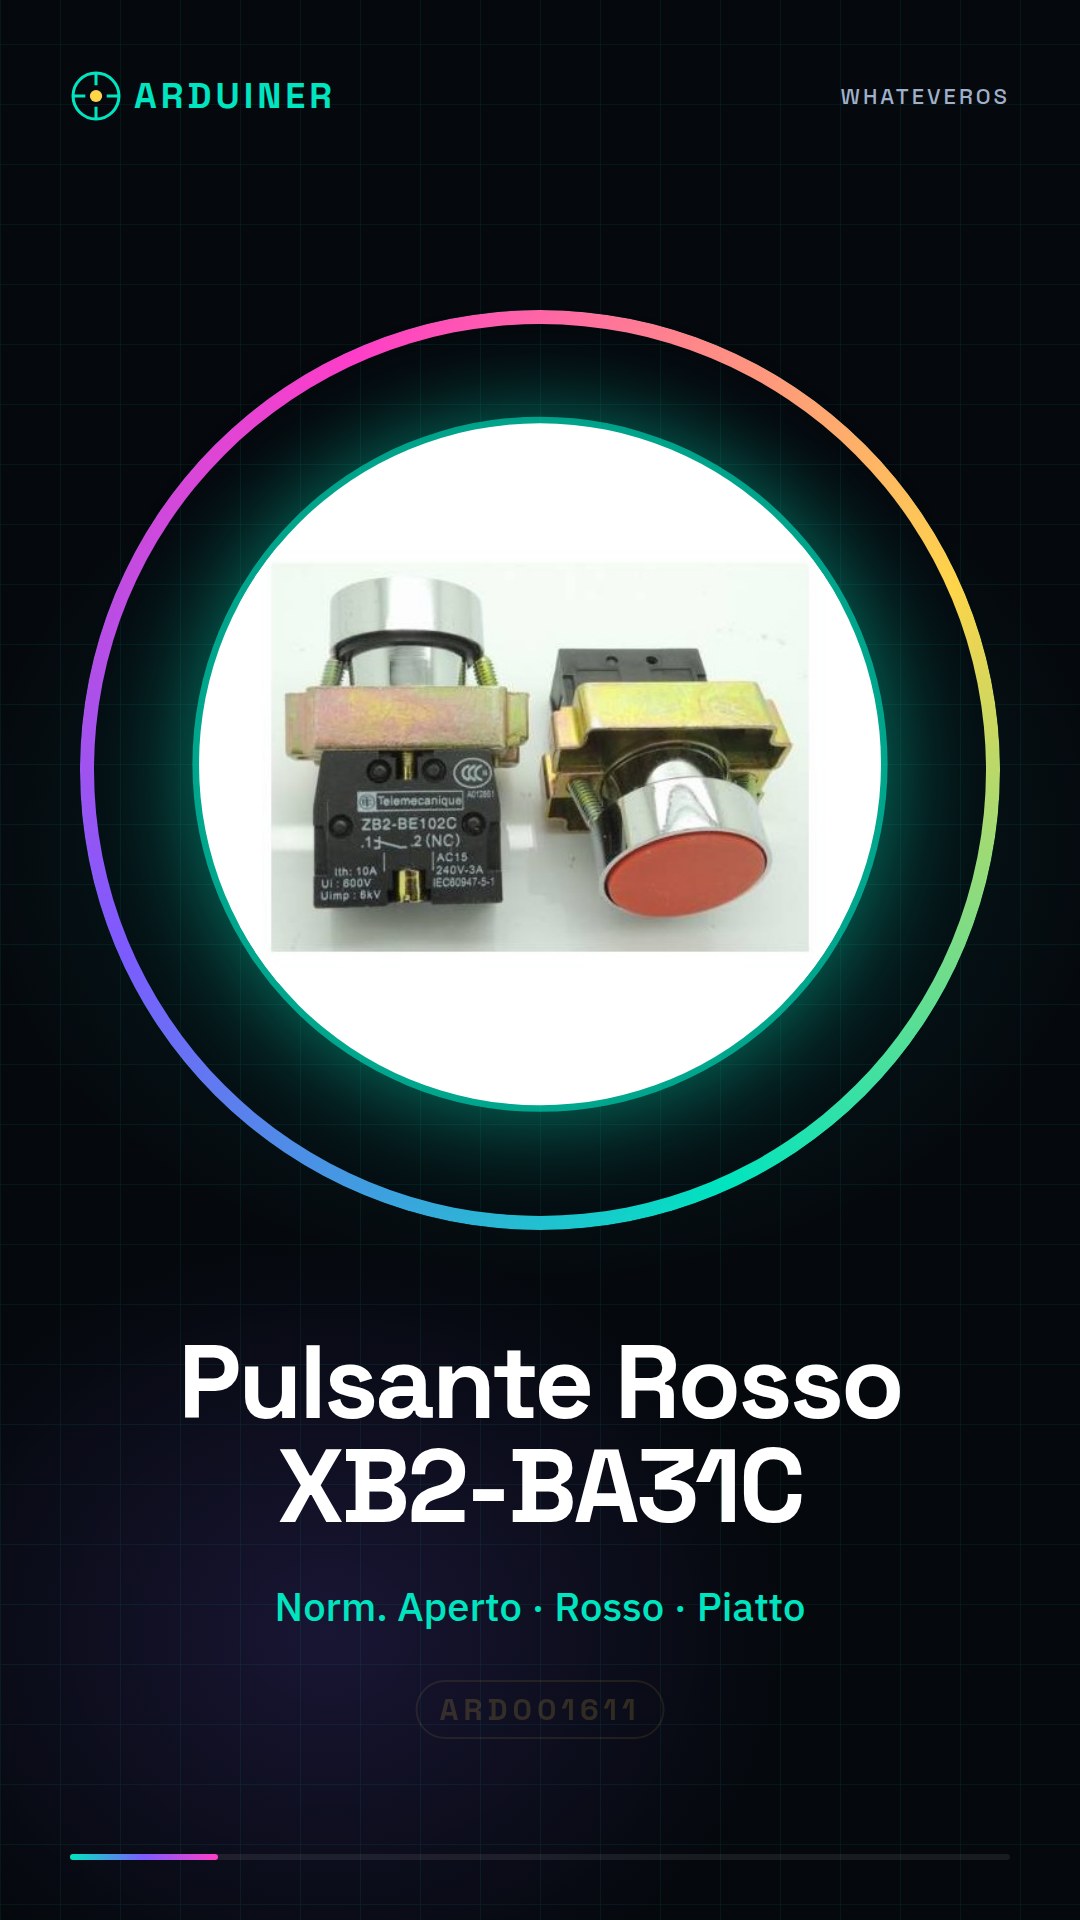
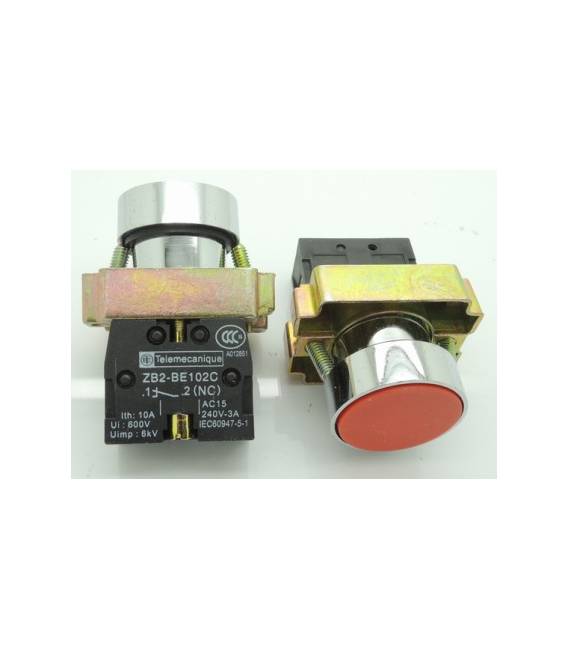
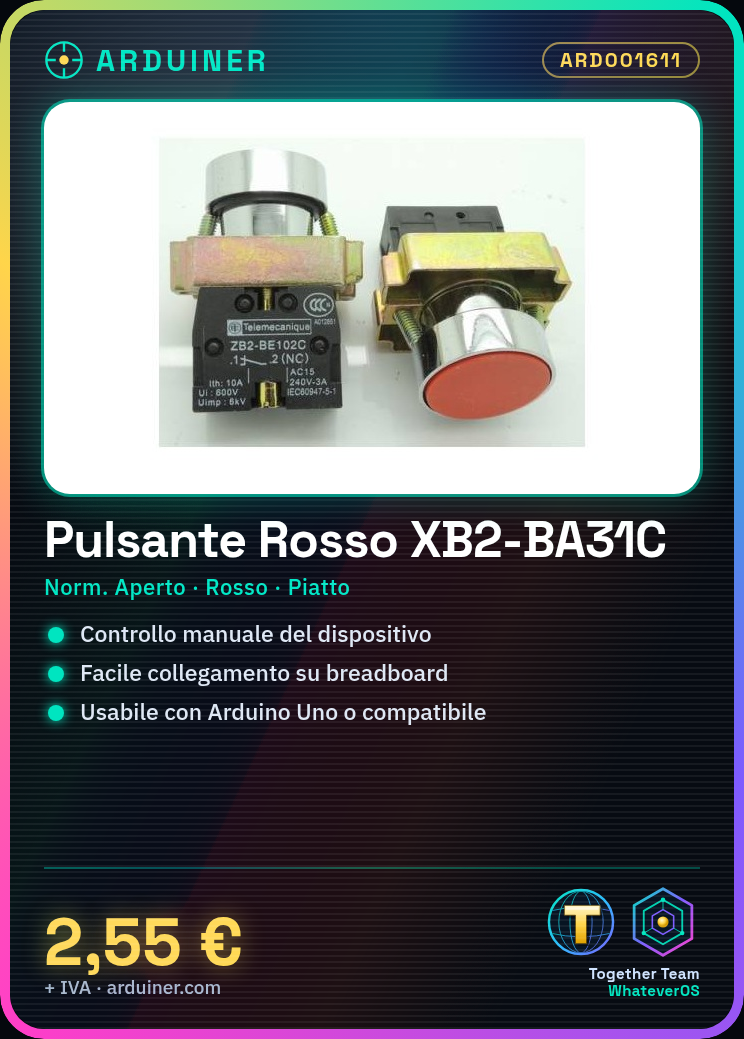
Description
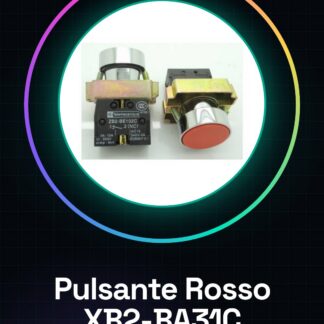
Normally closed red XB2 -BA31C/flat button – ZB2 -BE101C RED We have datasheets for all components, if not available in the product download sheet, please send us a message through the contact form and we will publish it as soon as possible on our website. Tutorial: How to use Red Button XB2-BA31C The XB2-BA31C button is an essential electronic component for Arduino projects. It mainly serves to control your device functions via manual interaction. What you need Arduino Uno or compatible Jumper connections (various colours) Breadboard USB Power Steps Connect the XB2-BA31C button to the breadboard. Connect the button pins to ground and a digital input of the Arduino (e.g., PIN 2). Ensure that the connection between the switch and the input port is stable. Write an Arduino sketch to read the state of the button. Upload the code to the Arduino. Open the Serial Monitor and perform a test by pressing the button. Example Code const int button = 2; void setup() { pinMode(button, INPUT); Serial.begin(9600); } void loop() { if (digitalRead(button) == LOW) { Serial.println(“Button pressed”); } } Mini-project Create a switch to turn on and off an LED with the XB2-BA31C button. Connect the LED to one of the Arduino output pins and control it via the state of the button. Common mistakes Not verifying that the button is correctly connected to the breadboard. Using pull-up or pull-down resistors without necessity, check specifications in the datasheet. Forgetting to upload the sketch to Arduino before testing. Ignoring configuring the digital port as input. Recommended accessories RGB LED 220 Ohm Resistor Large Breadboard Multicolour Jumper Wires Frequently Asked Questions The button does not work. Check all connections and re-upload the sketch to Arduino. What is the power supply voltage for the button? Check the component datasheet.
Reviews
There are no reviews yet.