 EN
 IT Italiano
 ES Español
 FR Français
 DE Deutsch
Description
What it is
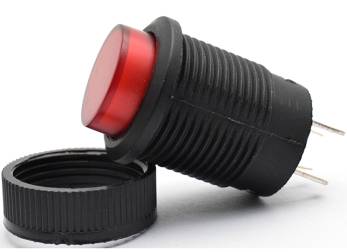
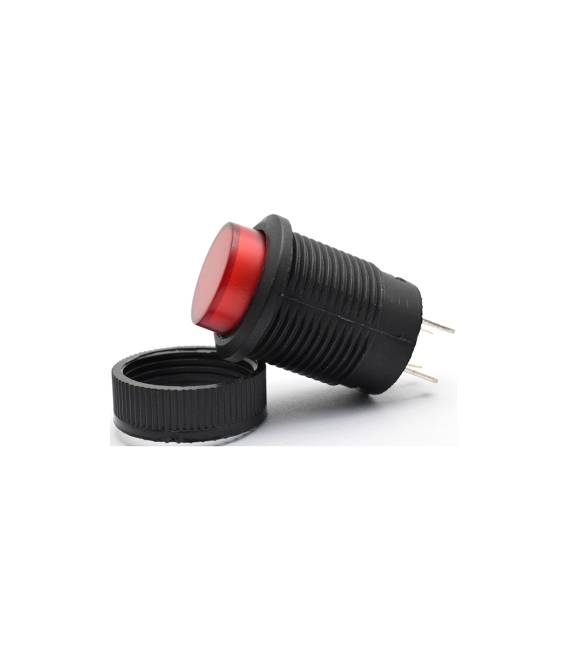
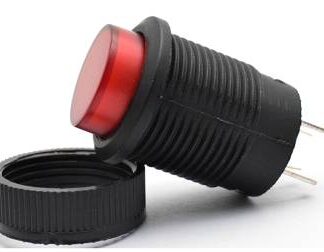
The red 16mm momentary switch is an electronic component that allows the interruption or resetting of the current flow in a circuit when pressed.
Features
- Color: red
- Dimensions: 16mm
- Maximum current: 3A
- Maximum voltage: 250V
- Type: momentary
- Product code: R16-503AD
What it is for
This switch is ideal for Arduino and similar projects that require manual and safe control of the current flow. It can be used to turn on or off LEDs, motors, or other electronic components.
Tutorial: How to use the Red 16MM 3A 250V Momentary Switch R16-503AD
This momentary switch is ideal for projects that require manual and safe control. Useful for beginner and intermediate makers.
What you need
- Red 16MM Momentary Switch R16-503AD
- Arduino
- Power supply cable
- Resistor (1kΩ)
- Battery or 5V power supply
Steps
- 1. Connect the 5V power supply to the 5V pin of the Arduino.
- 2. Connect a cable to the GND pin of the Arduino.
- 3. Connect pin 2 of the Arduino to the input pin of the switch.
- 4. Connect the output pin of the switch to pin 13 of the Arduino.
- 5. Connect a resistor (1kΩ) between the output pin of the switch and pin 13 of the Arduino.
- 6. Load the source code.
- 7. Execute the code to check the state of the switch.
- 8. Test the functionality of the switch.
Example code
void setup() {
  pinMode(2, INPUT);
  pinMode(13, OUTPUT);
}

void loop() {
  digitalWrite(13, digitalRead(2));
}
Mini project
Create a simple alarm circuit that turns on an LED when the switch is pressed.
Common mistakes
- Do not connect the power supply directly to the switch without a resistor.
- Check that the power supply is compatible with the maximum current value (3A).
- Verify from the datasheet if the button can handle the pressing frequency required for your project.
- Ensure the switch is properly installed to avoid intermittent contact.
Recommended accessories
- LED
- LED Resistor (220Ω)
- 3V Battery
- Test Lead
Frequently asked questions
How can I test the switch before connecting it to the Arduino?
Connect the battery directly to the button and manually check if it works.
Can the switch handle more than 3A?
Check the datasheet for higher values.
Which resistor to use for the LED?
Use a 220Ω resistor for the LED.
Reviews
There are no reviews yet.