 EN
 IT Italiano
 ES Español
 FR Français
 DE Deutsch
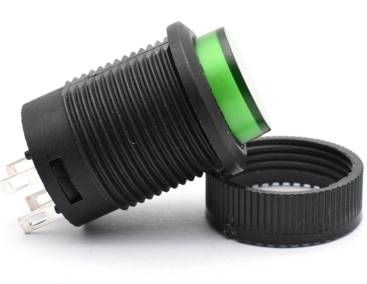
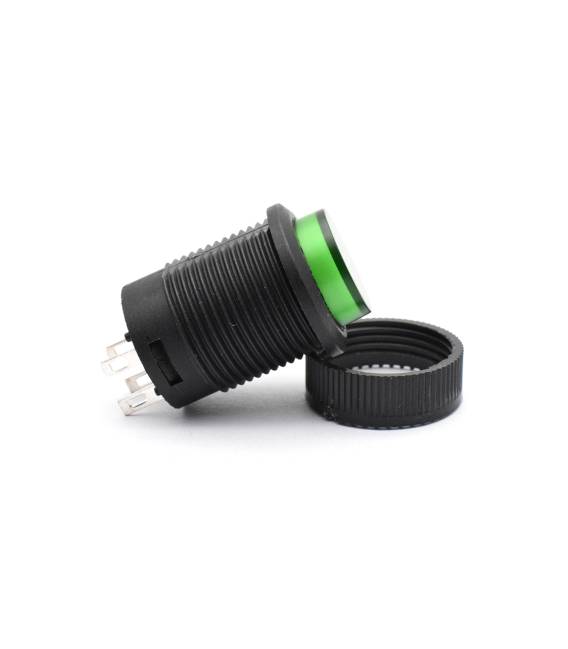
Description
What it is
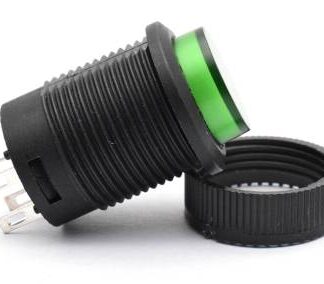
The green 16mm momentary switch is an electronic component that allows the interruption or restoration of current flow in a circuit when pressed and released.
Features
- Dimensions: 16mm
- Color: Green
- Type: Momentary
- Maximum Current: 3A
- Maximum Voltage: 250V
- Product Code: R16-503AD
What it is for
This switch is ideal for controlling electronic circuits, both for home and professional projects. It can be used to activate or deactivate devices such as lights, motors, or other electronic components. Its momentary nature means that the circuit remains active until the button is released. It is particularly useful for makers creating devices with Arduino or other microcontrollers.
Tutorial: How to Use Green 16MM Momentary Switch
The green 16MM momentary push button switch is ideal for controlling electronic circuits, both for home and professional projects. This component is particularly useful for makers creating devices with Arduino or other microcontrollers.
What you need
- Arduino Uno
- Jumper wire
- Breadboard
- Power supply
Steps
- Connect the common terminal of the switch to a digital pin on the Arduino.
- Connect the NO (Normally Open) terminal of the switch to ground.
- Connect the NC (Normally Closed) terminal of the switch to a resistor and then to a digital pin on the Arduino.
- Write and upload the Arduino sketch that reads the state of the switch.
- Check that the switch locks correctly when pressed.
- Check that the circuit turns off when the switch is locked.
- Check that the circuit turns on when the switch is released and returns to the resting position.
- Test the project with various states of the switch.
Example code
void setup() {
  pinMode(2, INPUT_PULLUP);
}

void loop() {
  int buttonState = digitalRead(2);
  if (buttonState == LOW) {
    Serial.println("Interruttore premuto");
  }
}
Mini project
Create a home security system that activates when the switch is pressed and deactivates when it is released. The system sends a signal to the microcontroller which can be connected to a display or a notification service.
Common mistakes
- Do not correctly verify the polarity of the switch.
- Do not correctly connect the NC pole to the power supply.
- Do not verify that the switch blocks correctly.
- Do not test the circuit with various states of the switch.
Recommended accessories
- Arduino Uno
- Breadboard
- Jumper wire
- Variable resistors
Frequently asked questions
What is the maximum voltage I can apply?
Check the datasheet.
How much current can it handle?
Check the datasheet.
Can it be used with other microcontrollers besides Arduino?
Yes, it can be used with other microcontrollers that support digital input.
Reviews
There are no reviews yet.