 EN
 IT Italiano
 ES Español
 FR Français
 DE Deutsch
Description
What it is
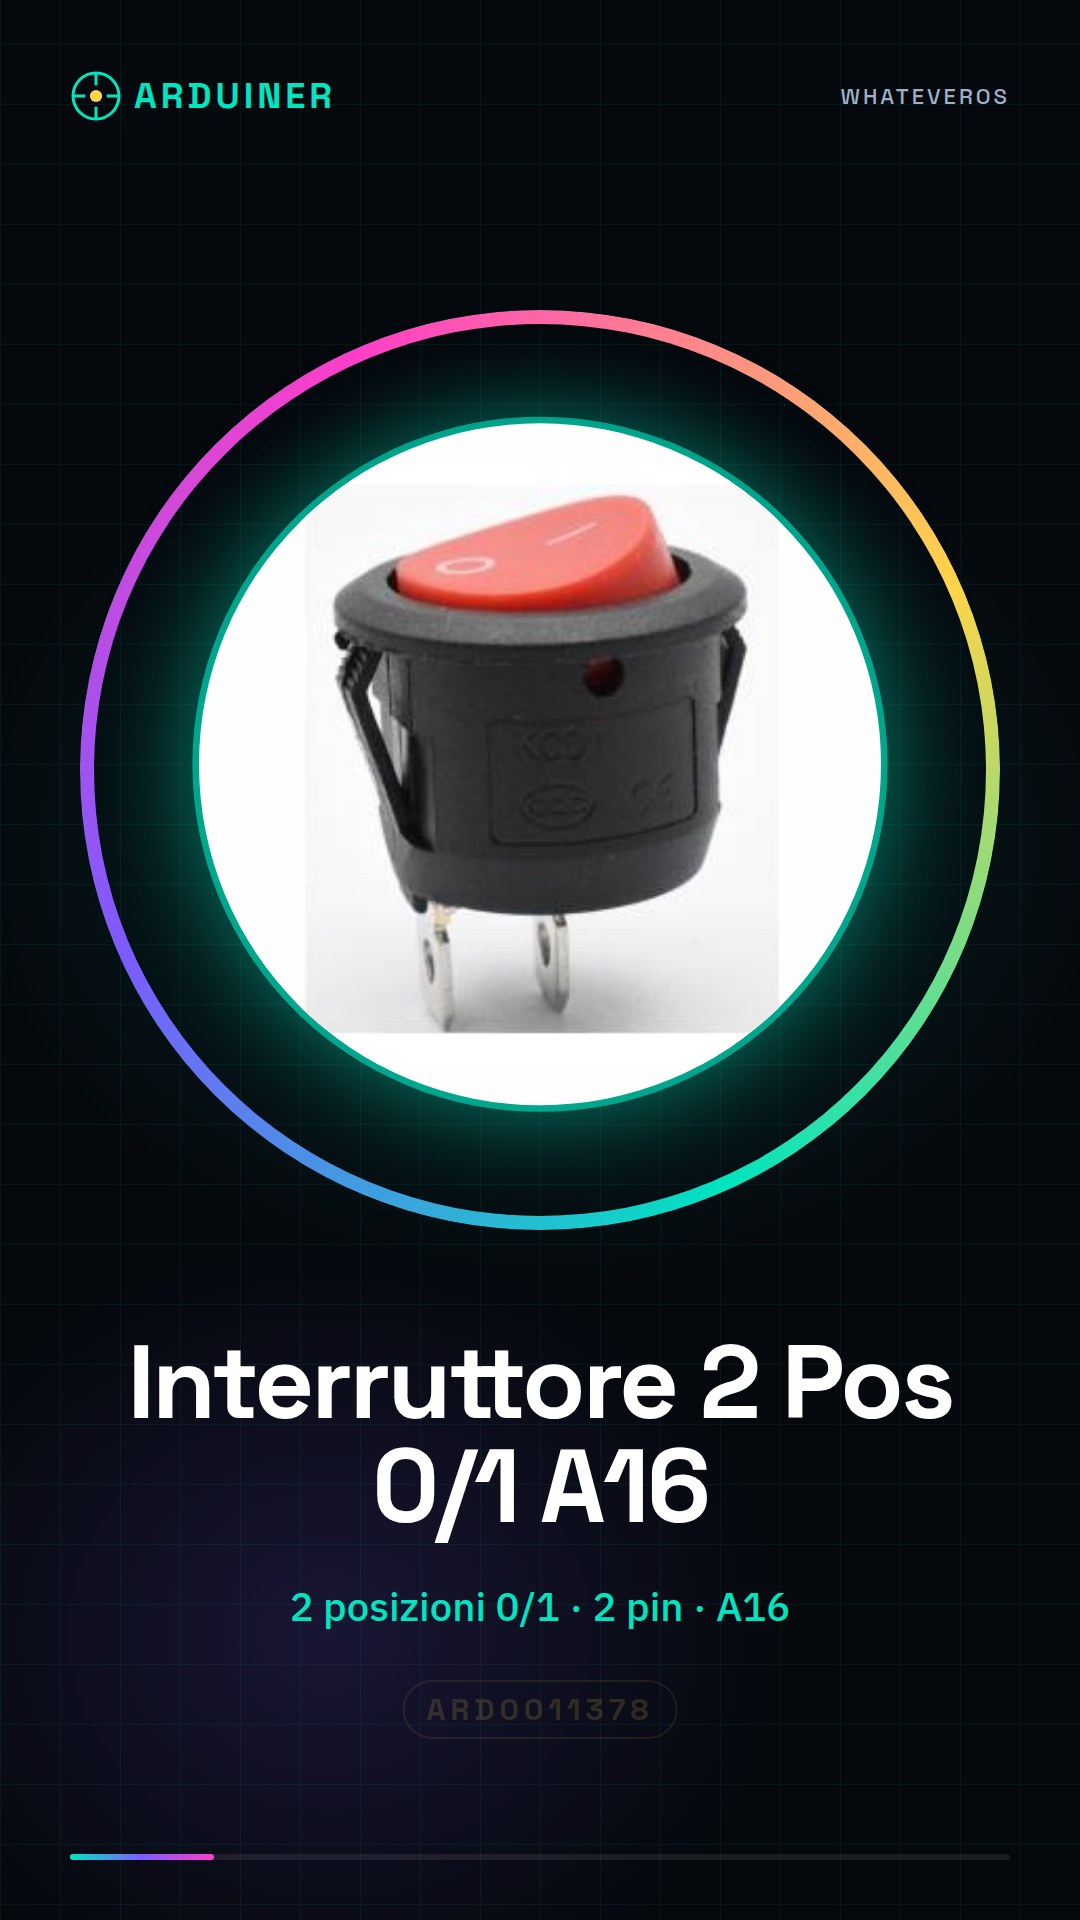
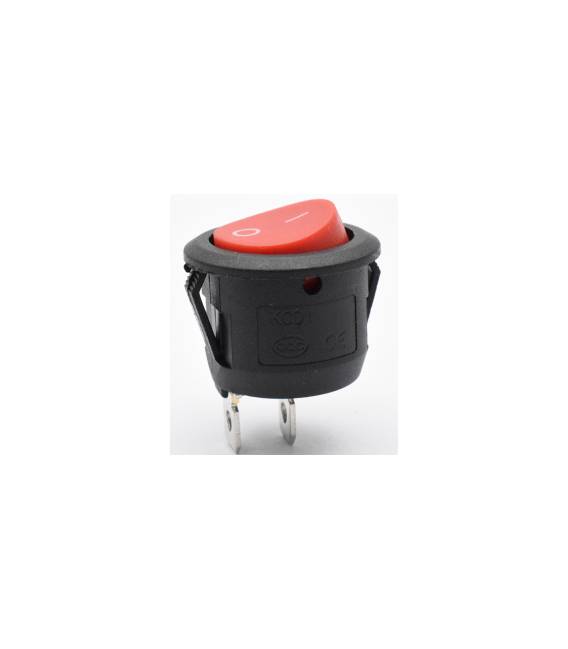
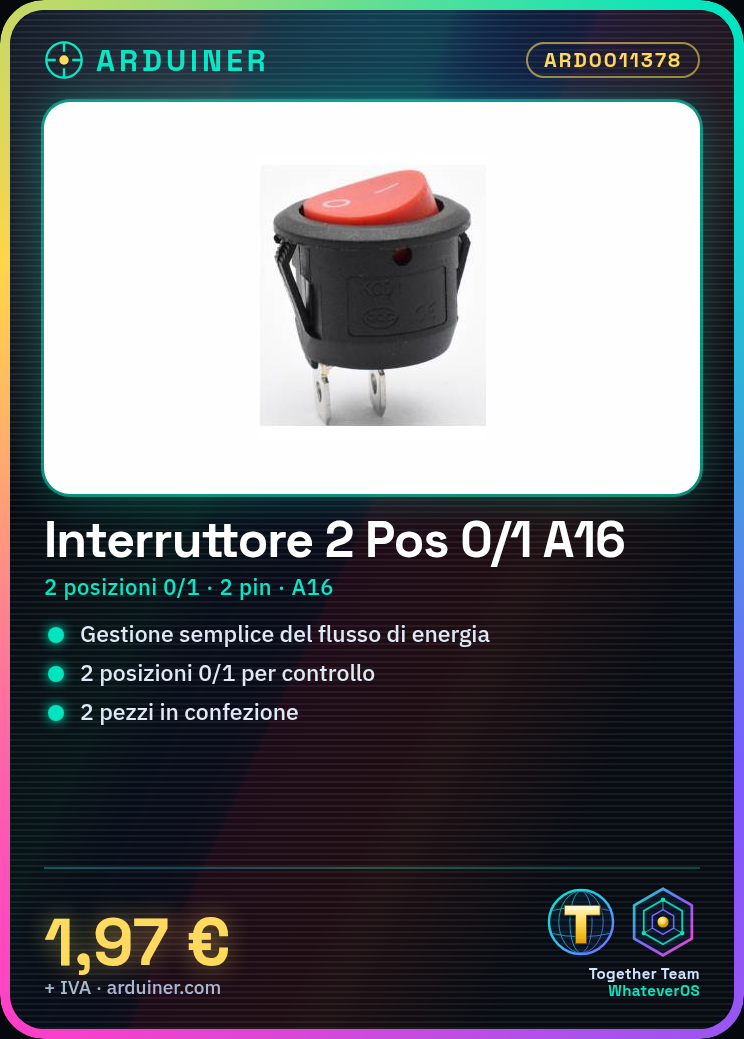
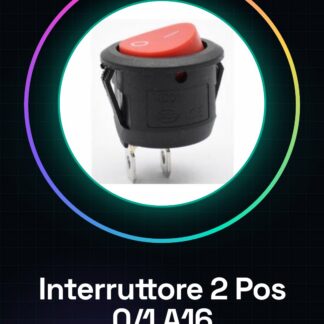
Panel switch 2 positions 0/1 with 2 pins, model A16. Sold in packs of 2.
Features
- 2 positions (0/1)
- 2 pins
- Model A16
- Pack of 2
What it is for
Ideal for controlling the flow of energy in electronic projects such as Arduino prototypes or small interactive installations. It can be used to manage user input across a wide range of applications, from simple glowing clocks to more complex circuits.
Tutorial: How to use Panel Switch 2 Positions 0/1 2 Pins A16
This panel switch 2 positions is ideal for controlling the flow of energy in electronic projects such as Arduino prototypes or small interactive installations. It is suitable for both beginners and more experienced makers looking for a simple way to manage user input.
What you need
- Arduino Uno
- Connection cable
- Pull-up resistor (check datasheet)
- Arduino IDE software
Steps
- Connect the switch to the Arduino input pin using a connection wire.
- Check the polarity of the switch: connect the common pin to ground and the signal pins to the Arduino input pins.
- Insert a pull-up resistor between the signal pin and the power supply (check the datasheet).
- Open the Arduino IDE software and load a test sketch.
- In the code, use the pinMode() function to set the input pin as INPUT.
- Use the digitalRead() function to read the state of the switch.
- Display the state of the switch on the serial monitor of the Arduino IDE software.
- Modify the code to perform specific functions when the switch changes state.
Example code
void setup() {
  pinMode(2, INPUT_PULLUP);
}

void loop() {
  int buttonState = digitalRead(2);
  Serial.println(buttonState);
}
Mini project
Create a small illuminated clock that turns on and off with the switch. Connect an LED to an Arduino output pin and use the code to control its state.
Common mistakes
- Do not connect the pull-up resistor correctly.
- Do not check the polarity of the switch.
- Do not set the input pin as INPUT in the Arduino code.
- Do not update the code to handle the state of the switch correctly.
Recommended accessories
- Pull-up resistor
- LED
- Arduino battery
- USB power cable
Frequently asked questions
What is the difference between this switch and a button?
This switch has a push feel and a central neutral position, while a button is more suitable for pressing and releasing.
Can I use this switch with a Raspberry Pi?
Yes, but you will need to modify the Python code to read the state of the switch.
Reviews
There are no reviews yet.