 EN
 IT Italiano
 ES Español
 FR Français
 DE Deutsch
Description
What it is
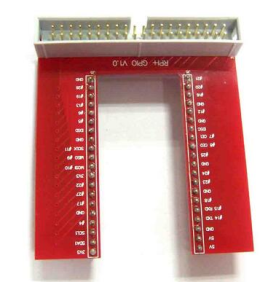
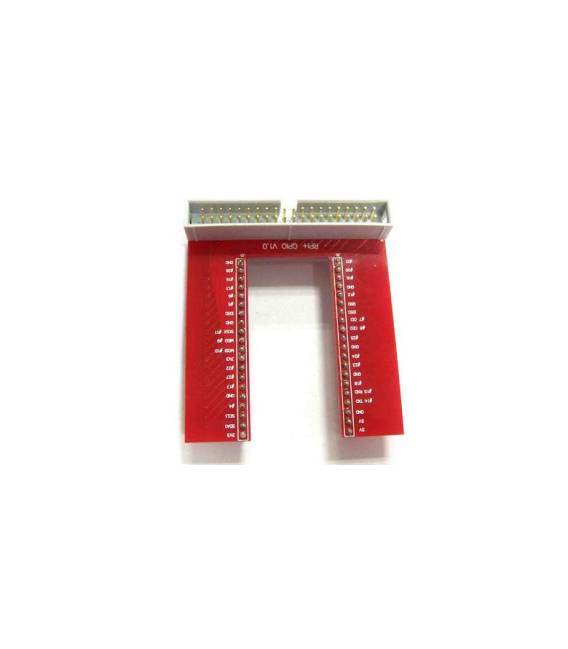
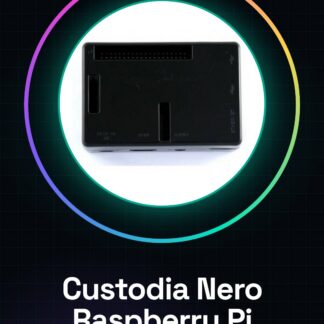
The Raspberry PI 3 U Type Red GPIO is an expansion board for Raspberry Pi 3. It provides a GPIO (General Purpose Input/Output) interface that allows connecting and controlling external electronic devices.
Features
- Type: U Type
- Color: Red
- Compatible with Raspberry Pi 3
What it is for
The Raspberry PI 3 U Type Red GPIO is ideal for electronic projects that require interfacing with sensors, actuators, displays, and other devices. Example usage: create an automatic lighting system with a light sensor and a relay.
Tutorial: How to use Raspberry PI 3 U Type Red GPIO
The Raspberry PI 3 U Type Red GPIO is an essential component for electronic projects that require GPIO interfaces. Useful for beginners and intermediates, it allows controlling various external devices.
What you need
- Raspberry PI 3 U Type Red GPIO
- USB Power Cable
- GPIO Connection Cables
- GPIO Devices (e.g., relay, sensor)
Steps
- 1. Check the datasheet for GPIO specifications.
- 2. Power up the Raspberry PI with the USB cable.
- 3. Connect the GPIO connection wires to the correct pins.
- 4. Verify the correct polarity of the connectors.
- 5. Configure the Raspberry PI to enable GPIO pins.
- 6. Write a simple Arduino sketch to control a relay.
- 7. Connect a relay to a GPIO pin and a power source.
- 8. Try to run the Arduino sketch to control the relay.
Example code
int ledPin = 18;
void setup() {
  pinMode(ledPin, OUTPUT);
}
void loop() {
  digitalWrite(ledPin, HIGH);
  delay(1000);
  digitalWrite(ledPin, LOW);
  delay(1000);
}
Mini project
Create an automatic lighting system using a light detector and a relay.
Common mistakes
- Connect GPIO pins in reverse.
- Omit powering up the Raspberry PI.
- Forget to configure the GPIO pins.
- Write the Arduino code correctly.
Recommended accessories
- Raspberry PI 3 U Type Red GPIO
- Relay
- Light detectors
- GPIO connection wires
Frequently asked questions
How to configure GPIO pins?
Log into the Raspberry PI terminal and run `sudo raspi-config`, select `Interfaccie di rete` and `Expand filesystem`. For GPIO pins, go to `Interfaccie di rete` > `Opzioni avanzate` > `GPIO`.
Which GPIO pins are available?
Check the datasheet for a complete list. The GPIO pins are numbered from 2 to 26.
Can I use a relay with this GPIO?
Yes, but make sure to use a relay compatible with 3.3V or 5V, depending on the Raspberry PI.
How can I check if the relay is active?
Use a multimeter to measure the voltage between the relay pins and ground.
Reviews
There are no reviews yet.