 EN
 IT Italiano
 ES Español
 FR Français
 DE Deutsch
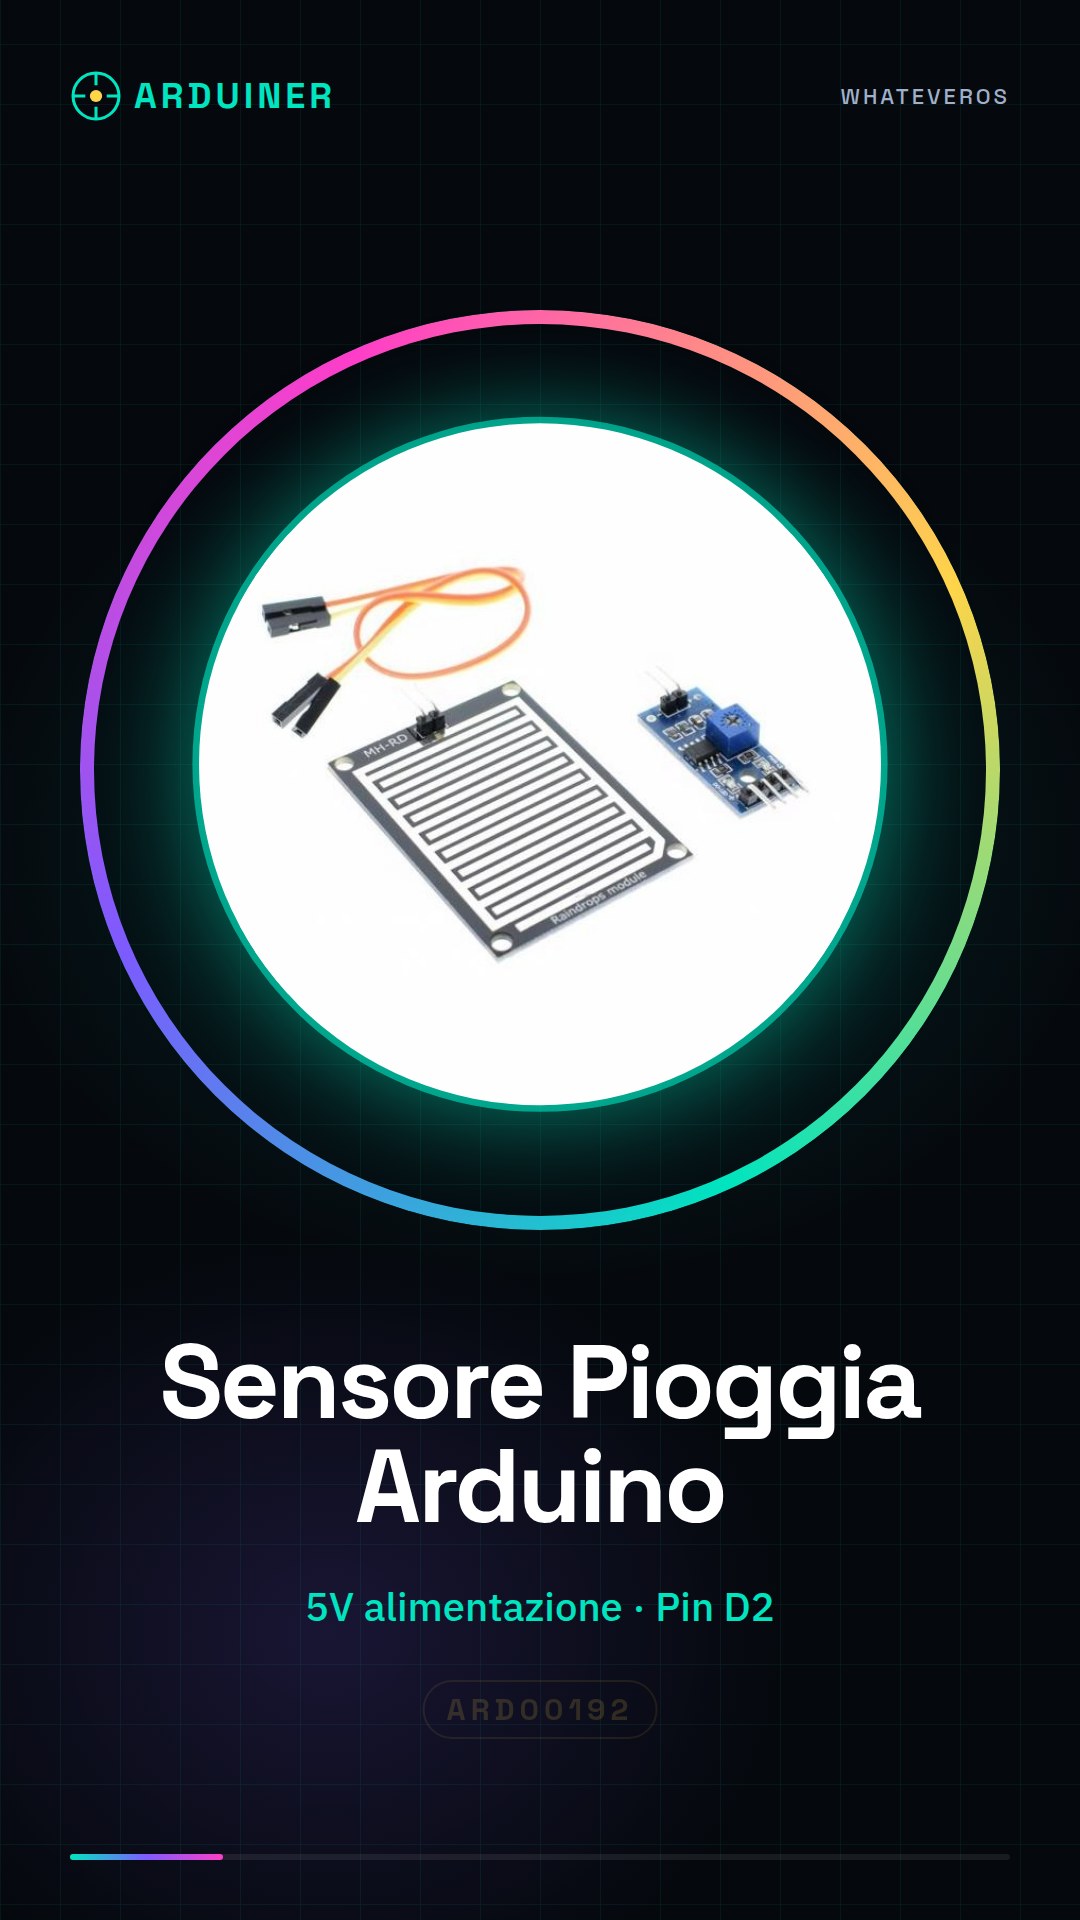
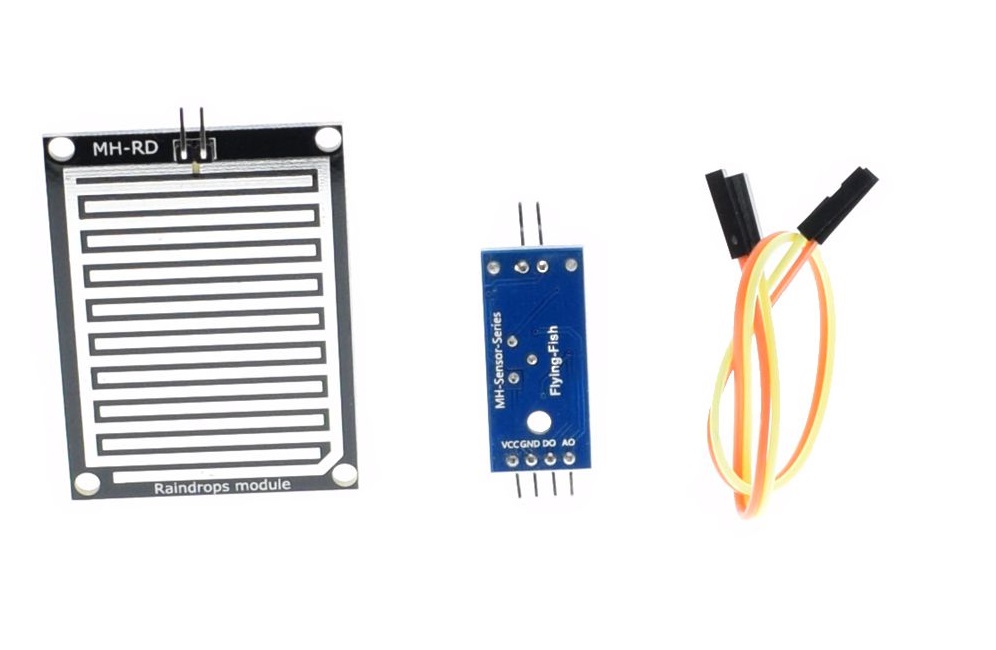
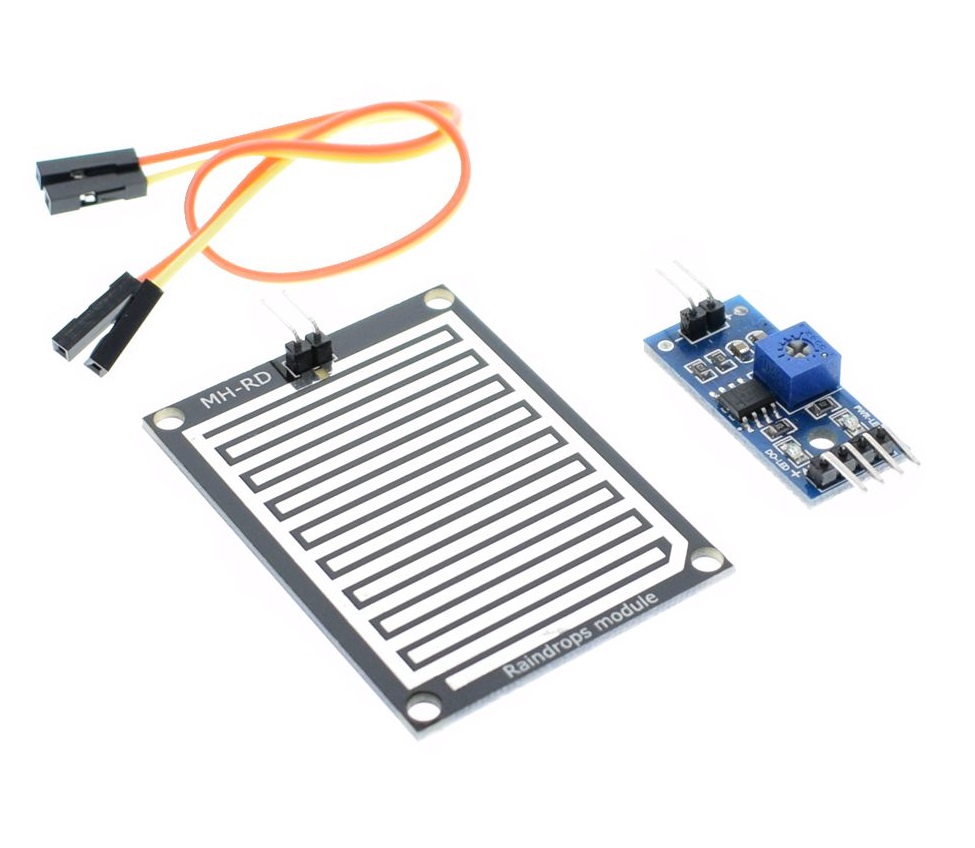
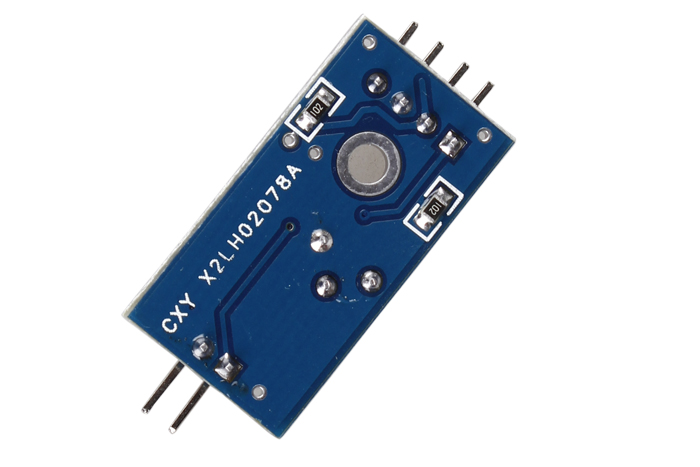
Description
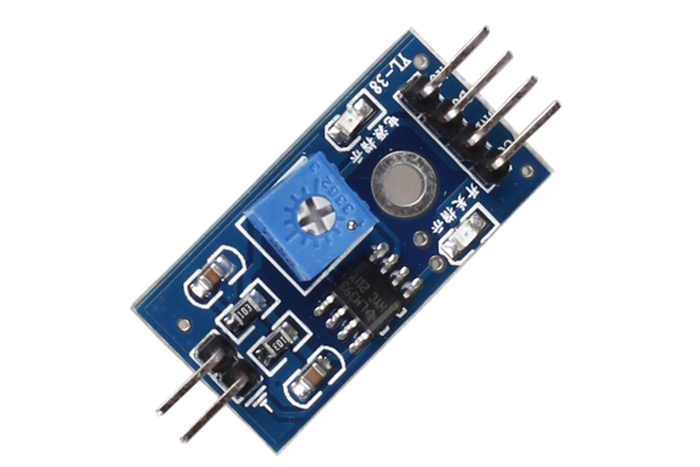
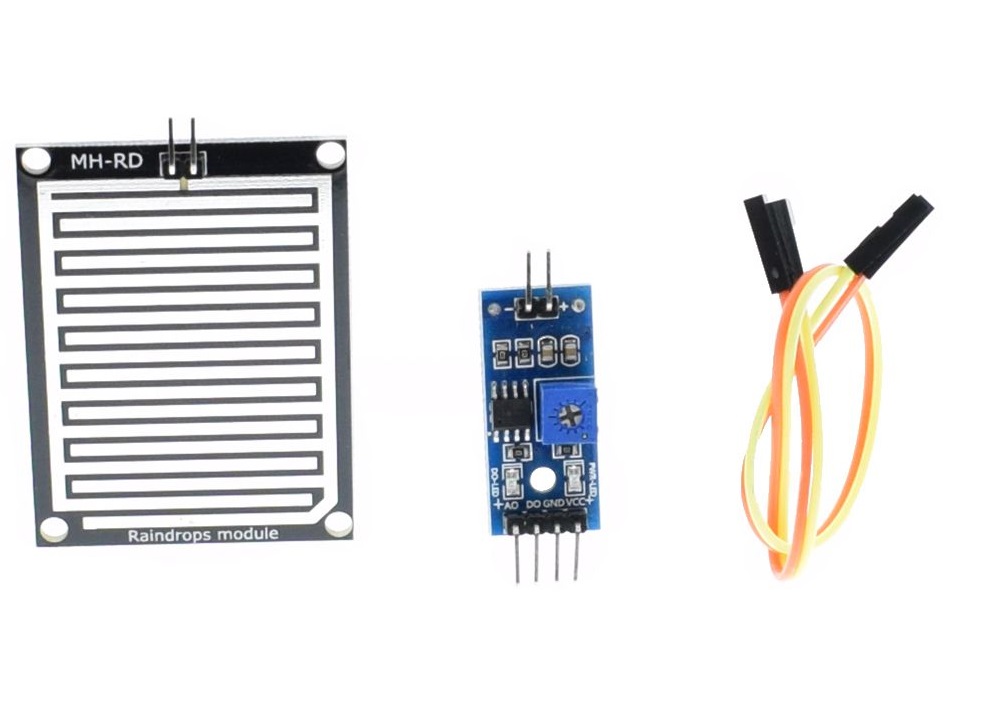
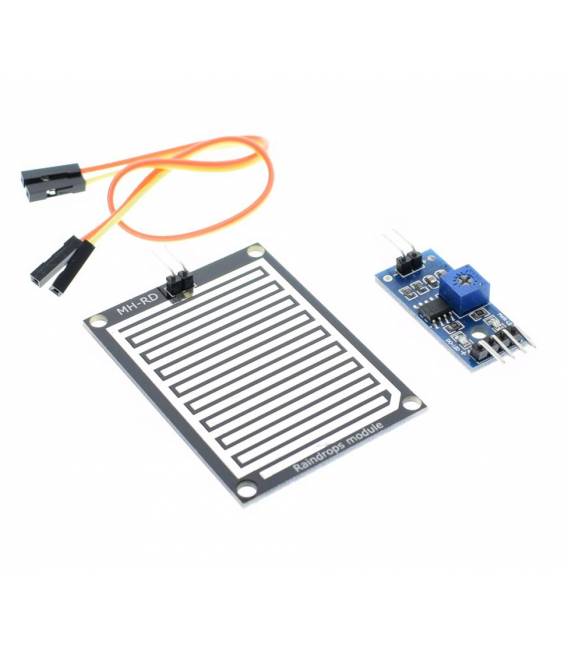
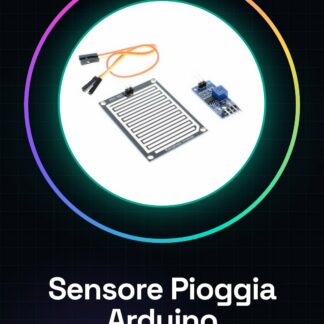
The rain sensor module is a device that provides a reading of the presence of rain. The output of the sensor is a digital signal that can be read by an Arduino or another development platform.
Tutorial: How to Use the Rain Sensor Module
The rain sensor is ideal for projects that require the detection of atmospheric humidity, such as automatic irrigation systems or weather monitoring. Useful for beginners and intermediates.
What you need
- Rain Sensor Module
- Arduino
- Power Cable
- Pull-up Resistor (10 kΩ)
Steps
- 1. Connect the module to the Arduino using pins D2 (GPIO 2) and GND.
- 2. Attach the pull-up resistor between the VCC pin and the D2 pin.
- 3. Upload the following code to Arduino.
- 4. Connect the module to a power source.
- 5. Check the datasheet for correct power supply.
- 6. Load the code and check the serial port.
- 7. The module returns 0 when it’s not raining, 1 when it’s raining.
- 8. Adapt the code to your needs.
Example code
```
#include <Arduino.h>

int pin = 2;

void setup() {
  Serial.begin(9600);
  pinMode(pin, INPUT);
}

void loop() {
  int value = digitalRead(pin);
  Serial.println(value);
  delay(1000);
}
```
Mini project
Create an automatic irrigation system that turns on a pump when the rain sensor indicates a lack of water.
Common mistakes
- Do not use pins other than D2.
- Omit the pull-up resistor.
- Do not check the power supply on the datasheet.
- Forget to connect the serial port to check the value.
Recommended accessories
- Irrigation pump
- Pump power cable
- Arduino Uno
- 5V power supply
Frequently asked questions
Does the sensor work with standing water?
No, it only works with rain.
Which pins can the sensor use?
Only D2 (GPIO 2).
How long does the sensor reading take?
The code performs a reading every second.
Can I use a power supply other than 5V?
Check the datasheet for proper power supply.
Reviews
There are no reviews yet.