 EN
 IT Italiano
 ES Español
 FR Français
 DE Deutsch
Description
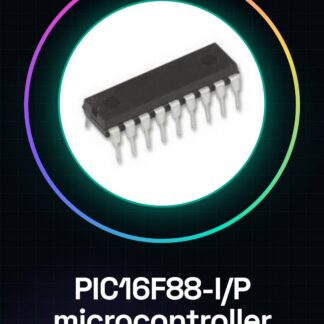
Tutorial: How to Use PIC16F88-I / P Microcontroller
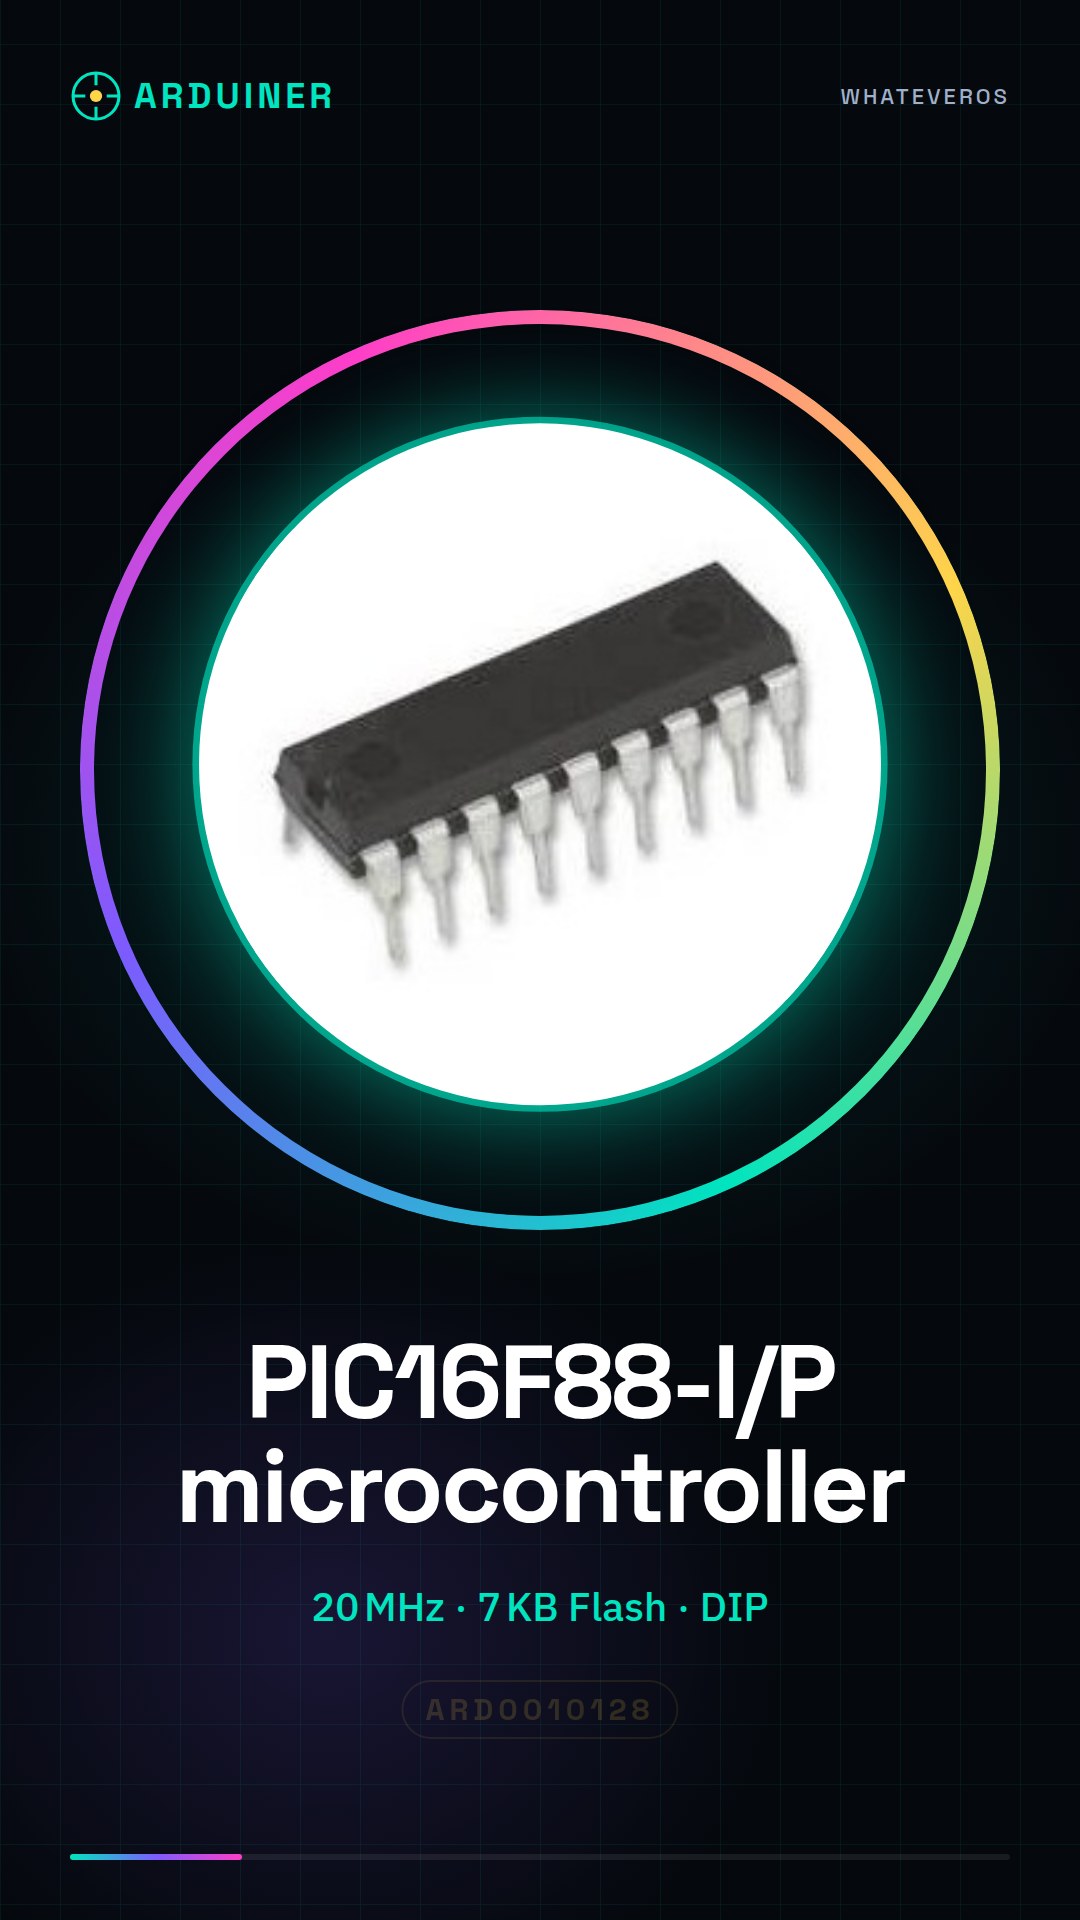
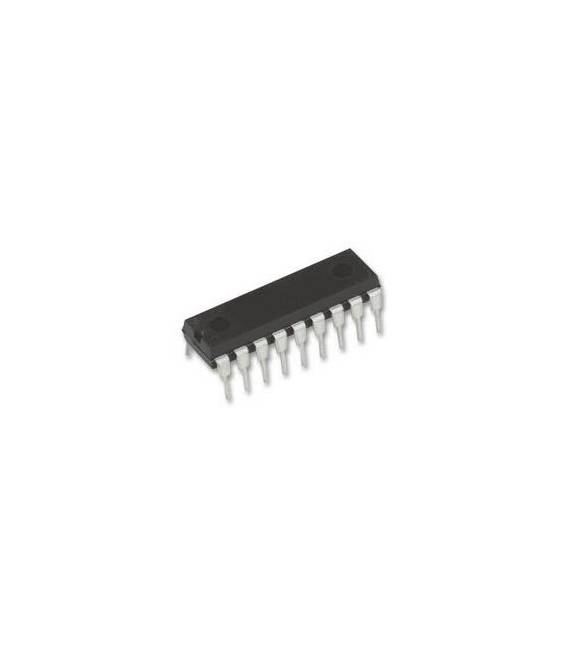
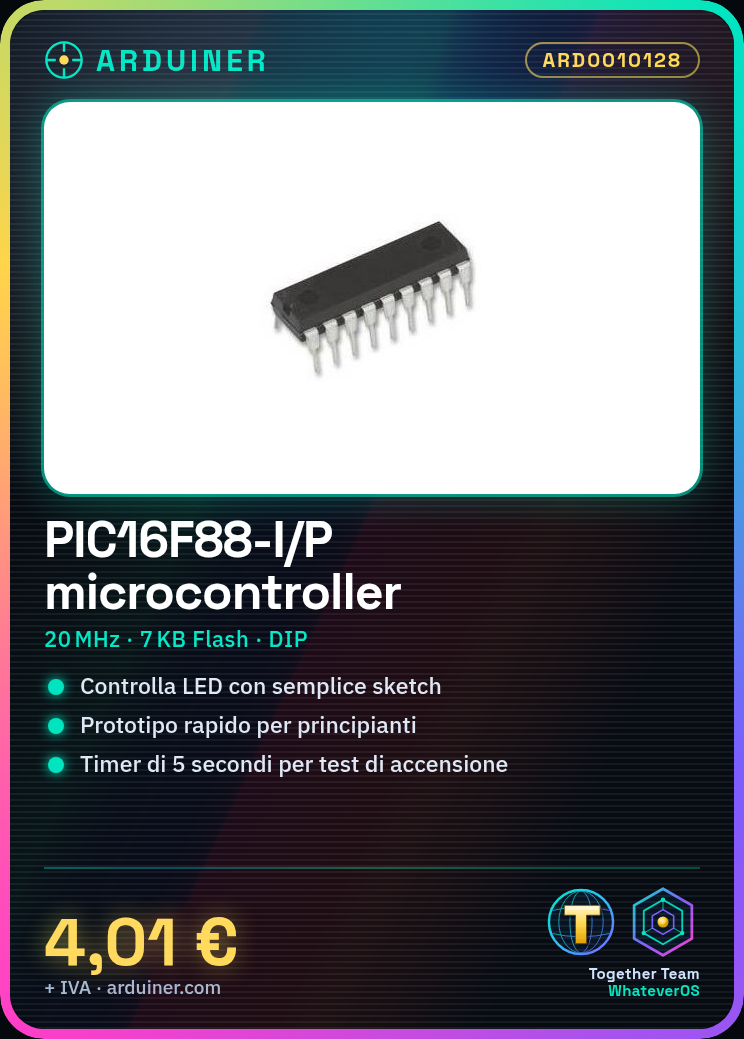
The PIC16F88-I / P is ideal for simple control projects and prototyping. Useful for beginners and intermediate designers.
What you need
- PIC16F88-I / P Microcontroller
- Arduino IDE
- USB Cable
- 10kΩ Resistor
- LED
Steps
- 1. Download and install the Arduino IDE.
- 2. Connect the microcontroller to the Arduino using a USB cable.
- 3. Check the datasheet for the specifications of the microcontroller.
- 4. Create a new sketch in the Arduino IDE.
- 5. Write the code to turn on the LED. Example: `int ledPin = 13; void setup() { pinMode(ledPin, OUTPUT); } void loop() { digitalWrite(ledPin, HIGH); delay(1000); digitalWrite(ledPin, LOW); delay(1000); }`
- 6. Upload the code to the microcontroller.
- 7. Verify that the LED turns on and off every second.
- 8. Explore other functions of the microcontroller.
Example code
int ledPin = 13; void setup() { pinMode(ledPin, OUTPUT); } void loop() { digitalWrite(ledPin, HIGH); delay(1000); digitalWrite(ledPin, LOW); delay(1000); }Mini project
Create a simple timer that turns on and off an LED after 5 seconds.
Common mistakes
- Do not check specifications on the datasheet.
- Connect the microcontroller backwards.
- Do not use a resistor for the LED.
- Write incorrect code in the sketch.
Recommended accessories
- LED
- 10kΩ Resistor
- USB Cable
- Arduino IDE
Frequently asked questions
How to connect the LED?
Connect the positive leg of the LED to pin 13 and the negative leg to GND with a 10kΩ resistor in series.
What specifications to check on the datasheet?
Check the oscillator frequency, the number of pins, and the Flash memory.
Can I use this microcontroller for complex projects?
The PIC16F88-I / P is suitable for simple and prototyping projects. For complex projects, consider more advanced models.
How do I load the code onto the microcontroller?
Select the microcontroller as board in the Tools menu of Arduino IDE and upload the code.
Reviews
There are no reviews yet.