 EN
 IT Italiano
 ES Español
 FR Français
 DE Deutsch
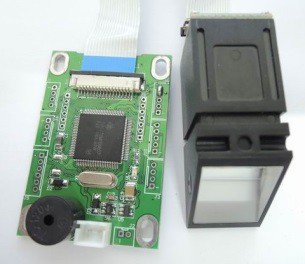
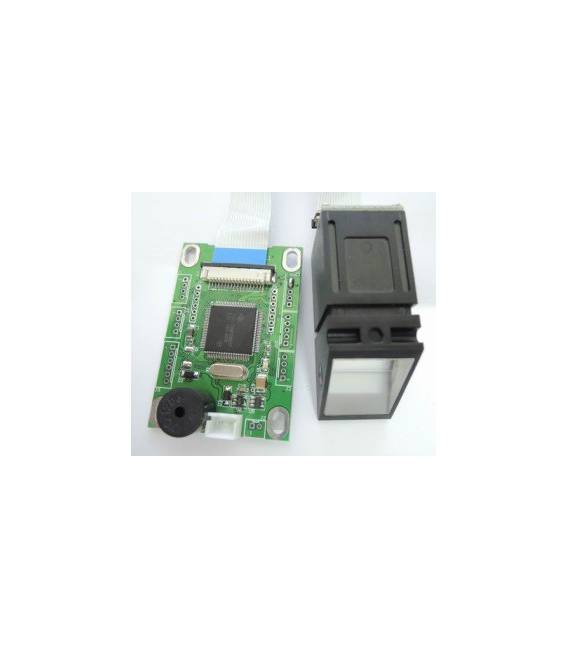
Description
Tutorial: How to Use Optical Fingerprint Module
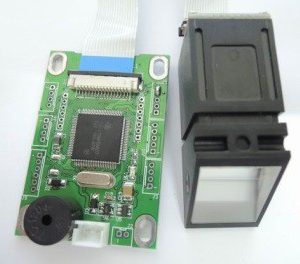
This optical fingerprint module is ideal for Zigbee-based home security projects. Suitable for beginners and intermediates, it allows the implementation of fingerprint recognition features.
What you need
- Arduino UNO or compatible
- Zigbee Shield
- PC with Arduino IDE
- Optical Fingerprint Module ARD001052
- USB Cable
- Zigbee Libraries
Steps
- 1. Install the required Zigbee libraries.
- 2. Connect the optical module to the Arduino via the specified pins.
- 3. Check the datasheet for power specifications.
- 4. Configure the serial port on the PC.
- 5. Load the example code onto the module.
- 6. Insert a finger into the module’s slot.
- 7. Verify communication with the software.
- 8. Test the fingerprint recognition function.
Example code
```cpp
#include <Zigbee.h>

Zigbee zigbee;

void setup() {
  Serial.begin(9600);
  zigbee.begin();
}

void loop() {
  if (zigbee.available()) {
    Serial.println(zigbee.read());
  }
}
```
Mini project
Create a fingerprint-based access system for a locker. In 30 minutes, connect the module to your Arduino, upload the code, and test the system.
Common mistakes
- Do not verify power supply specifications on the datasheet.
- Connect the module to the Arduino with incorrect pins.
- Omit configuring the serial port.
- Fail to upload the example code correctly.
Recommended accessories
- LCD Display Module
- 3.7V LiPo Battery
- Arduino Enclosure Cases
- Motion Sensors
Frequently asked questions
Does the module require external power?
Verify power supply specifications on the datasheet.
Which pins to use to connect the module?
Verify connection specifications on the datasheet.
Does the module support multiple recognition technologies?
Does the module support fingerprint recognition only?
Reviews
There are no reviews yet.