 EN
 IT Italiano
 ES Español
 FR Français
 DE Deutsch
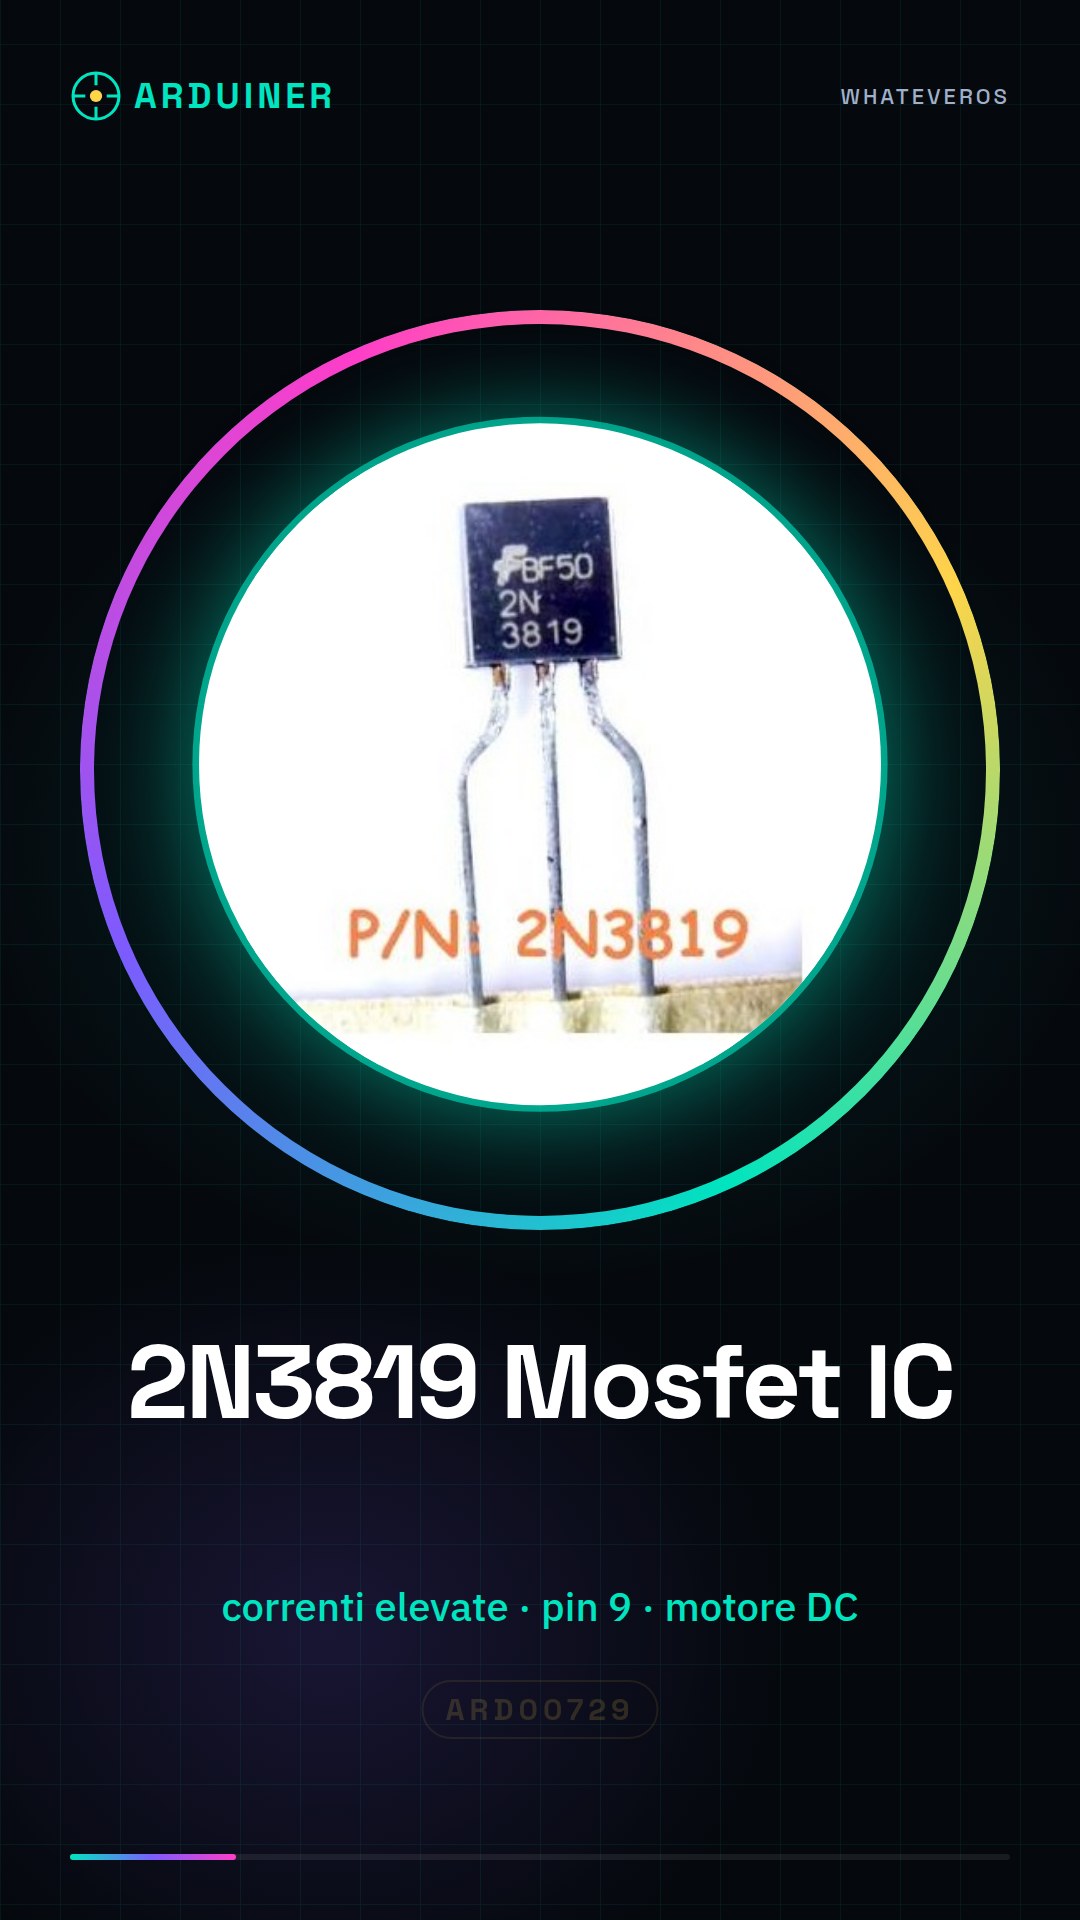
Description
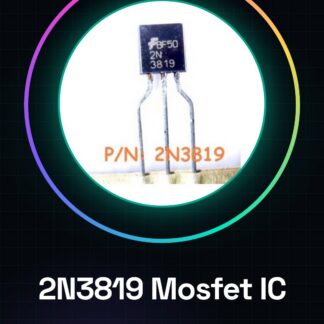
Tutorial: How to use the 2N3819 Mosfet The 2N3819 Mosfet is a crucial component for electronic projects requiring the management of high currents. Suitable for beginners and intermediates, this Mosfet allows you to control devices such as motors or lamps from Arduino. What you need Arduino Uno Small DC Motor Resistor Steps Connect the Arduino to the computer via USB. Connect the positive side of the motor to the power source. Connect the Mosfet between Arduino and motor, ensuring correct polarity. Check the datasheet for the correct pin MOSFET values. Write an Arduino sketch to control the voltage applied to the Mosfet. Compile and upload the code to Arduino. Test the motor with the Arduino button. Optimize the code instructions if necessary. Example code void setup() { pinMode(9, OUTPUT); } void loop() { digitalWrite(9, HIGH); delay(1000); digitalWrite(9, LOW); delay(1000); } Mini-project Create an Arduino-based motor control system. Connect the Mosfet to pin 9 of the Arduino and test its ability to turn on and off a small DC motor. Common errors Not checking the pin MOSFET values on the datasheet. Incorrect connection between Arduino, Mosfet, and motor. Using high currents without Mosfet protection. Ignoring the resistor needed to limit the current to the Mosfet. Recommended accessories Variable resistors Motion sensors Small DC motor Portable battery Frequently asked questions How much current can the 2N3819 Mosfet handle? Check the datasheet for the maximum power and current the MOSFET can handle. Which Arduino pin should I use with this MOSFET? The specific pin depends on your project, but generally, an output pin like 9 or 10 is used.
Reviews
There are no reviews yet.