 EN
 IT Italiano
 ES Español
 FR Français
 DE Deutsch
Description
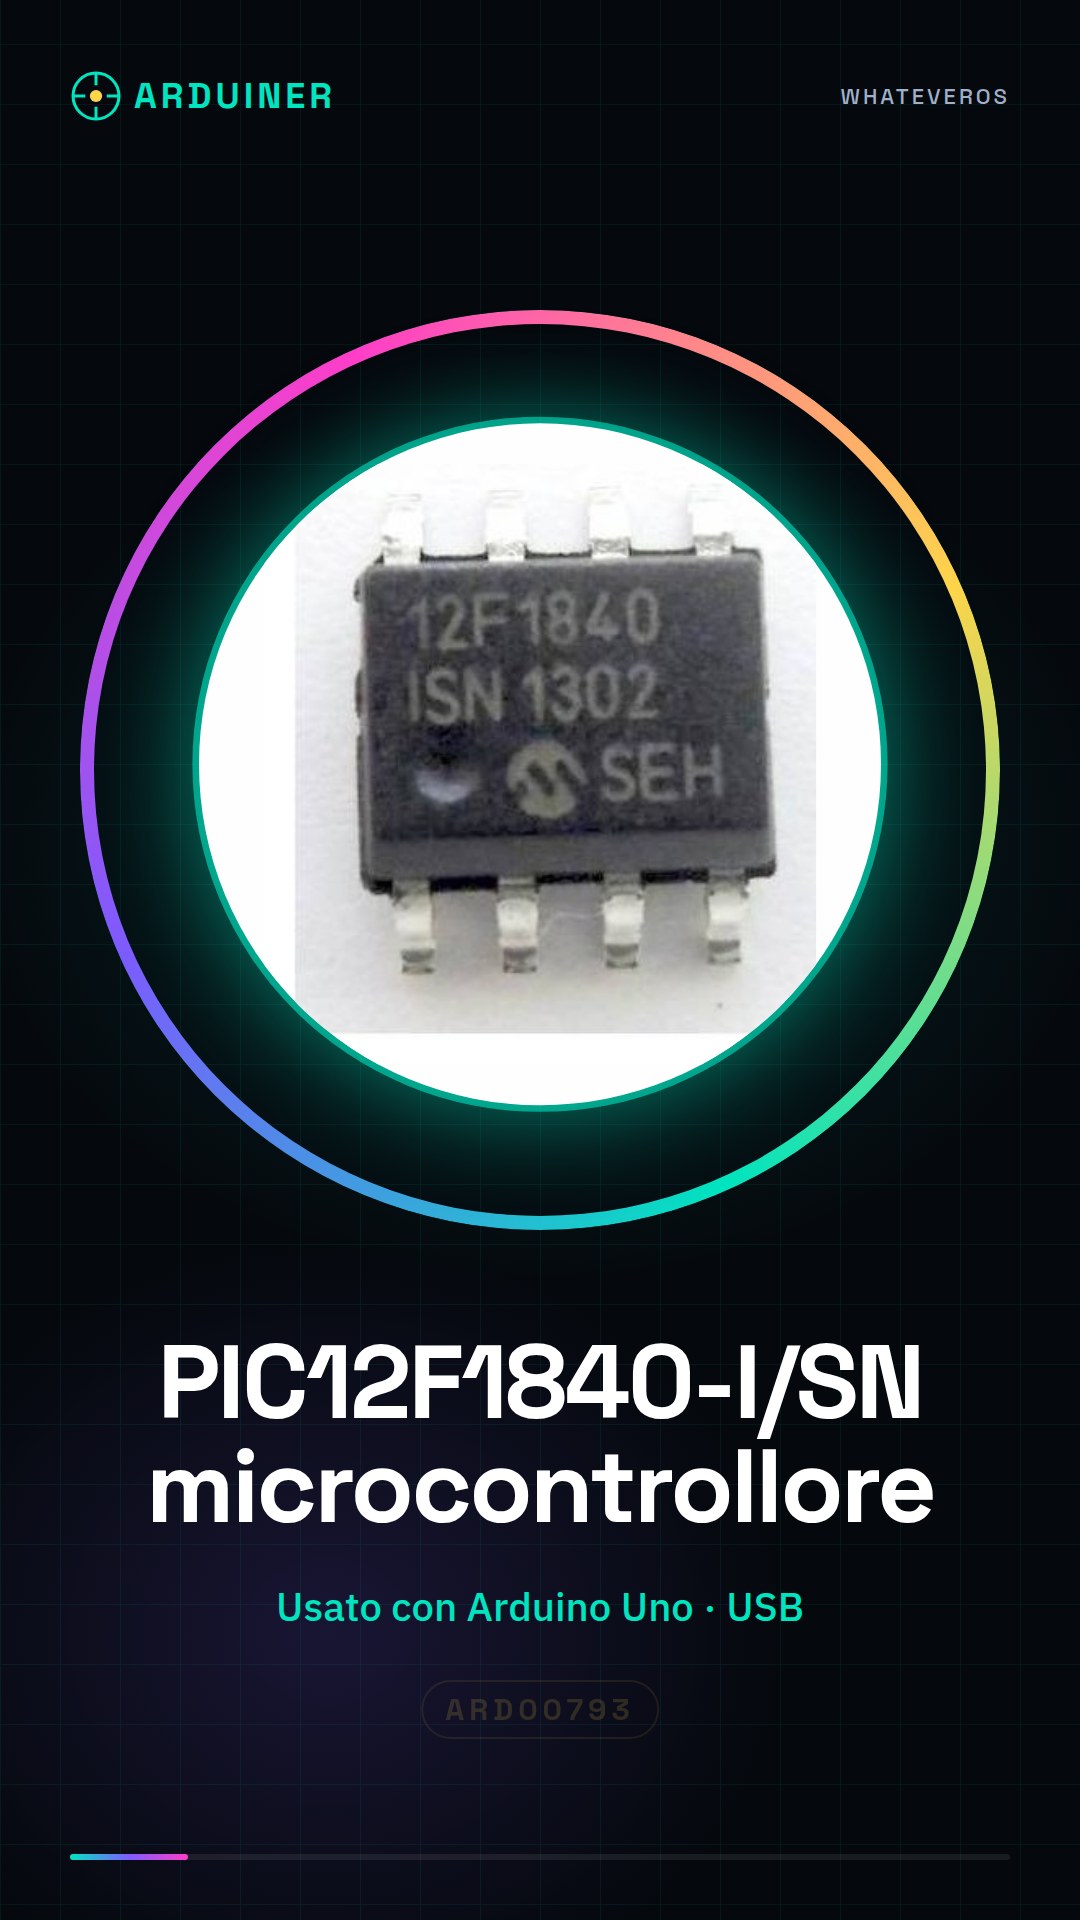
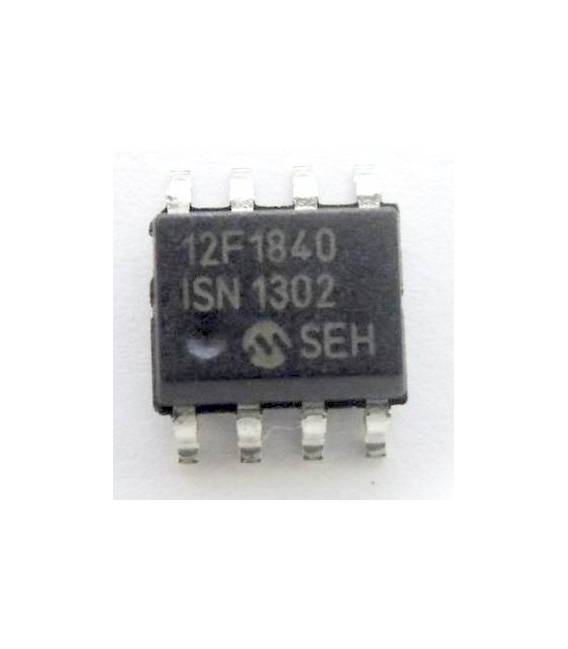
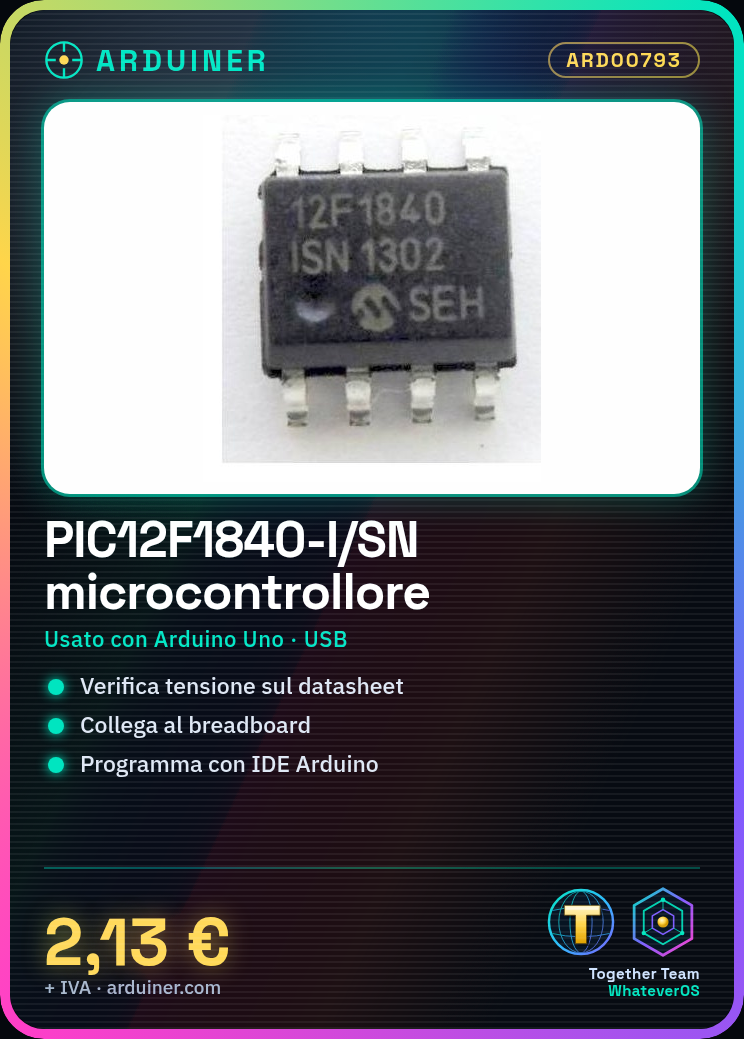
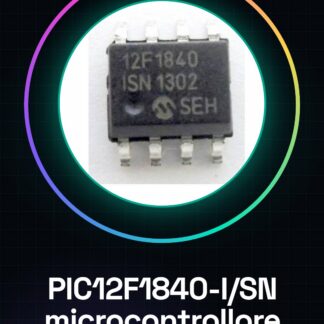
PIC12F1840-I / SN IC Integrated Circuits
Tutorial: How to Use PIC12F1840-I/SN IC (Small Guide for Beginners)
The PIC12F1840-I/SN is a microcontroller suitable for small electronic projects. This tutorial will guide you through the initial steps.
What you need
- PIC12F1840-I/SN
- Arduino Uno or similar
- USB cable
- Breadboard
Steps
- Check the power supply voltage on the datasheet.
- Connect the PIC12F1840 to the breadboard.
- Connect Arduino and PIC via USB cable.
- Configure the Arduino IDE for PIC programming.
- Load a simple sketch into the PIC.
- Verify operation with an LED connected to an output pin.
Example code
//Esempio: Configura un pin come output e accendi un LED
void setup() {
pinMode(0, OUTPUT);
}
void loop() {
digitalWrite(0, HIGH); //Accende il LED
delay(1000);
digitalWrite(0, LOW); //Spegne il LED
delay(1000);
}
Mini project
Create a small digital clock with a 7-segment display.
Common mistakes
- Incorrect power supply.
- Incorrect Arduino IDE configuration.
- Incorrectly connected pins.
Recommended accessories
- Breadboard
- Various LEDs
- Variable resistors
Frequently asked questions
How can I verify the microcontroller configuration?
Check the datasheet and the Arduino IDE for the correct settings.
Which pins are used in the basic project?
Use pins 0-3 as an example to test the programming.
Reviews
There are no reviews yet.