 EN
 IT Italiano
 ES Español
 FR Français
 DE Deutsch
Description
What it is
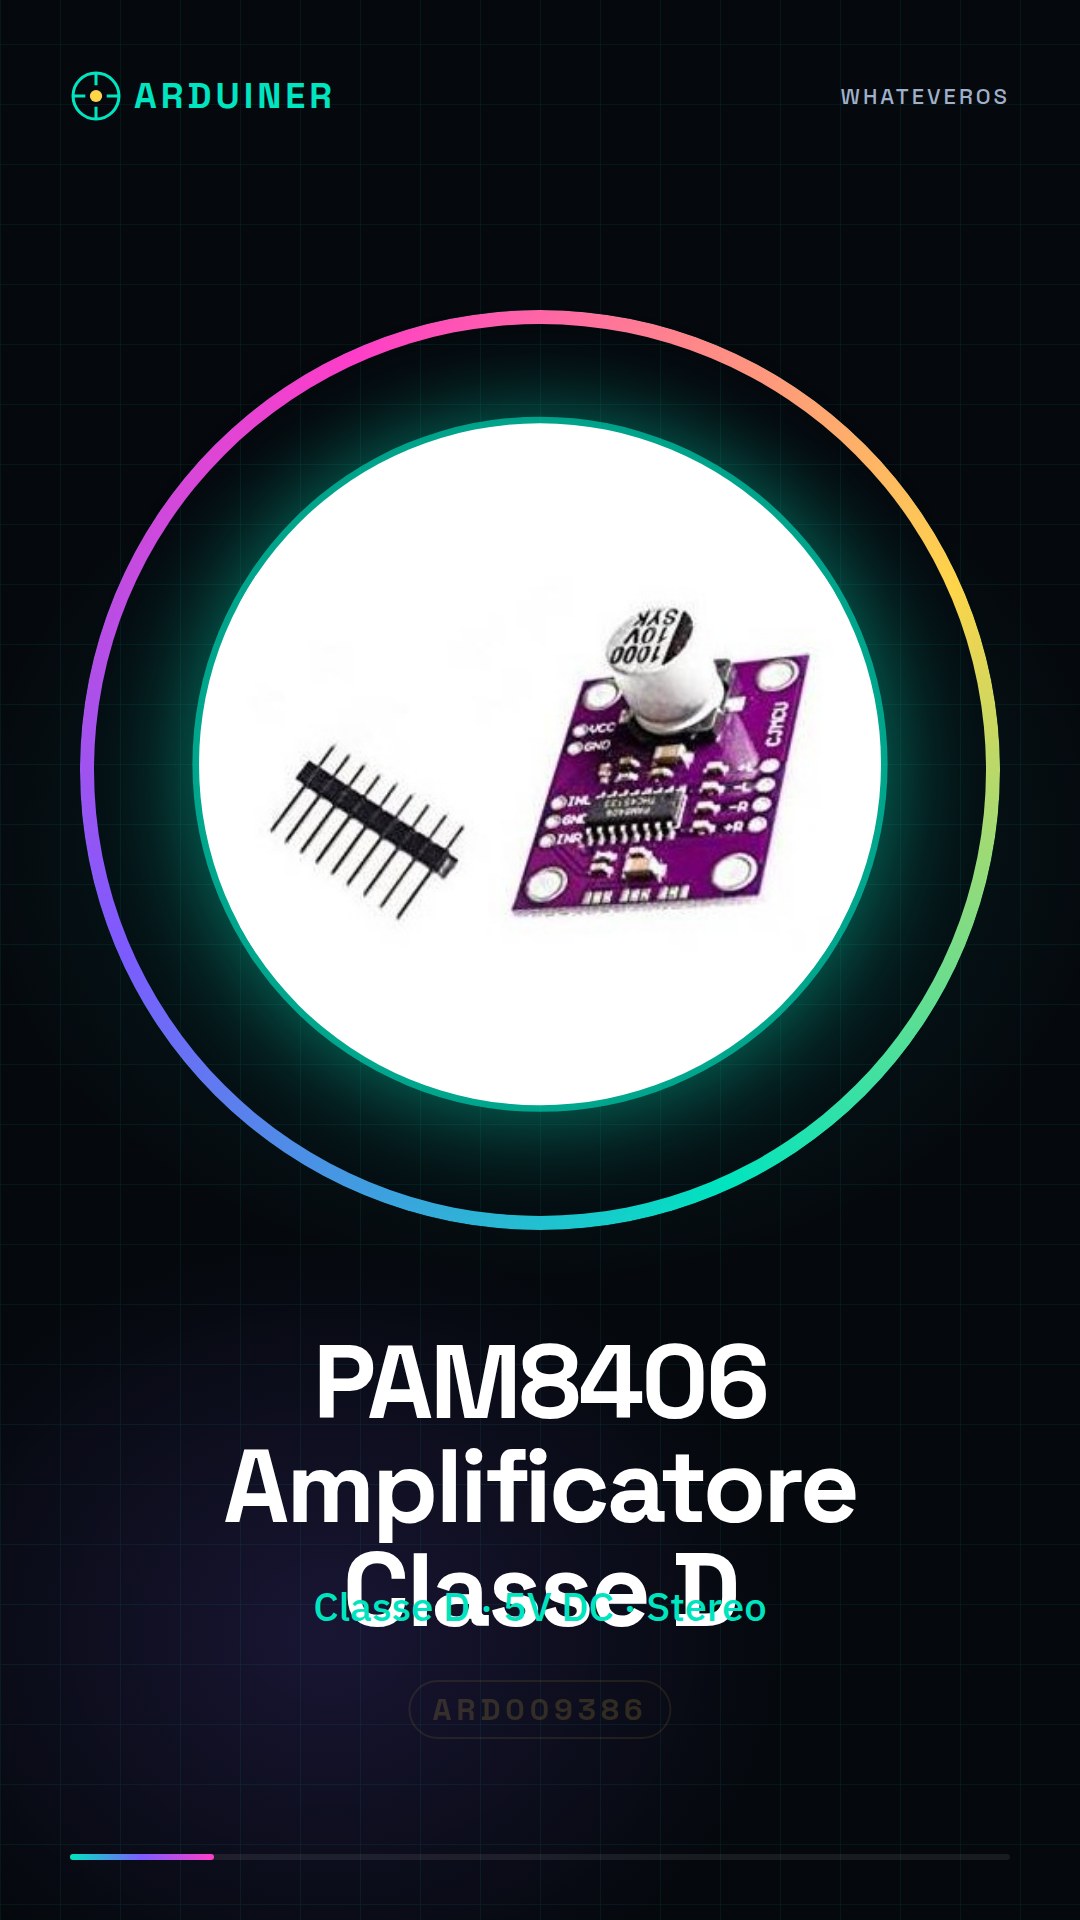
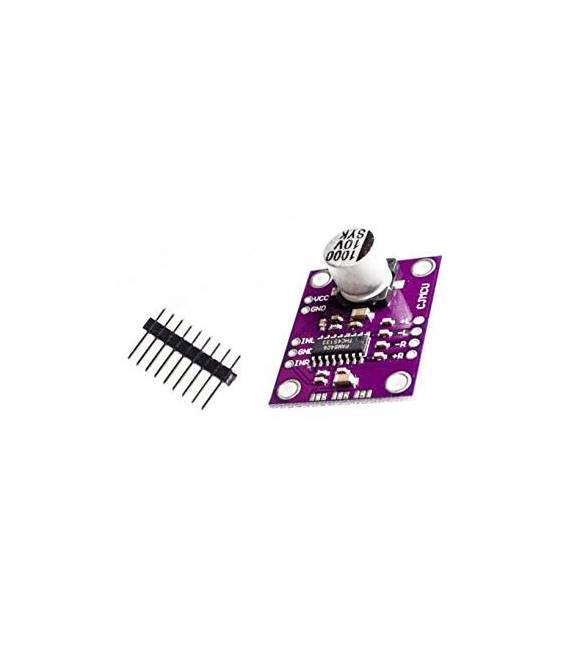
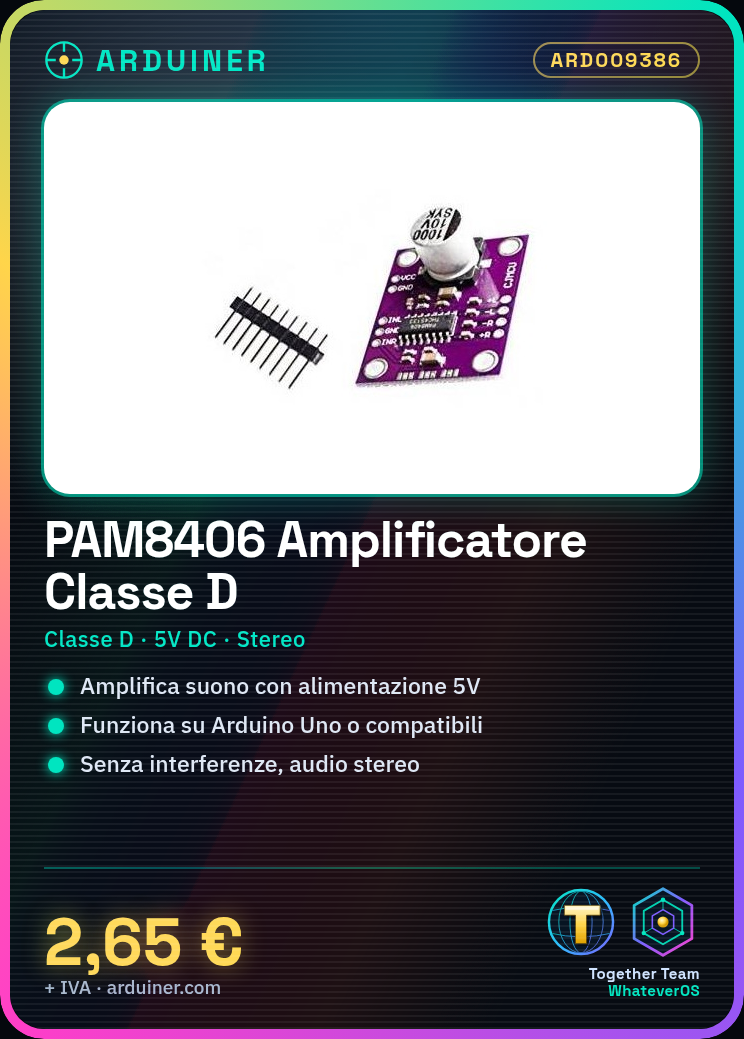
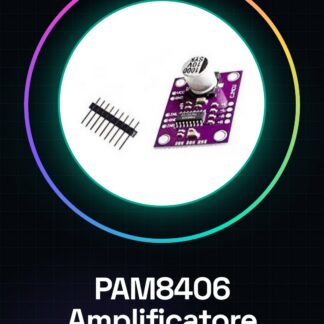
The PAM8406 module is a class D audio power amplifier without interference designed for use in various electronic projects, such as those based on Arduino. This component provides a suitable solution for applications that require a good quality-to-price ratio.
Features
- Class D Amplifier
- Without Interference
- Stereo Audio Module
What it is for
The PAM8406 module is ideal for DIY projects that require a powerful sound source without interference. It is particularly useful for beginner and intermediate makers who want to integrate audio functionality into their devices. It can be used to create small alarm systems or any other project that requires the amplification of the audio signal generated by Arduino.
Tutorial: How to Use PAM8406 Amplifier Module
The PAM8406 Class D audio amplifier module is ideal for projects requiring a powerful and interference-free sound source. This component is particularly useful for beginner and intermediate makers who want to integrate audio functionality into their devices.
What you need
- Arduino Uno or compatible
- 5V DC Power Supply
- Load Impedance (e.g., speakers)
- Jumper Wires
Steps
- Connect the VCC and GND of the PAM8406 module to the 5V power supply.
- Connect the AUDIO IN input to an analog PWM pin of the Arduino to provide audio signal.
- Check the datasheet for the resistance value between VIN and GND to adjust the output voltage.
- Connect the L+ and L- terminals of the module to the positive and negative poles of the load impedance (e.g., speakers).
- Ensure the module is properly powered and connected to the Arduino to avoid damage.
- Write an Arduino sketch that generates a PWM signal on the AUDIO IN pin of the PAM8406 module.
- Adjust the PWM signal frequency and amplitude based on the power supply specifications and the load impedance.
- Test the system by producing simple sounds with the Arduino sketch. Ensure there are no unwanted interference or noise.
Example code
void setup() {
  pinMode(9, OUTPUT);
}

void loop() {
  analogWrite(9, random(0, 255));
}
Mini project
Create a small alarm system that emits distinctive sounds when activated. Use the PAM8406 module to amplify the audio signal generated by Arduino.
Common mistakes
- Do not check the output voltage before powering on.
- Connect the power supply to the module without a regulation resistor between VIN and GND.
- Use an inadequate load impedance for the PAM8406 module.
- Do not adequately test the system before final use.
Recommended accessories
- 8 Ohm Speakers
- Variable Resistor
- Load Impedance
- Audio Cables
Frequently asked questions
Can the PAM8406 module be used with Arduino?
Yes, the module is compatible with Arduino and other microcontrollers that support PWM signals.
What are the advantages of a class D amplifier?
Class D modules offer lower thermal dissipation and superior energy efficiency compared to class A or AB.
Reviews
There are no reviews yet.