 EN
 IT Italiano
 ES Español
 FR Français
 DE Deutsch
Description
What it is
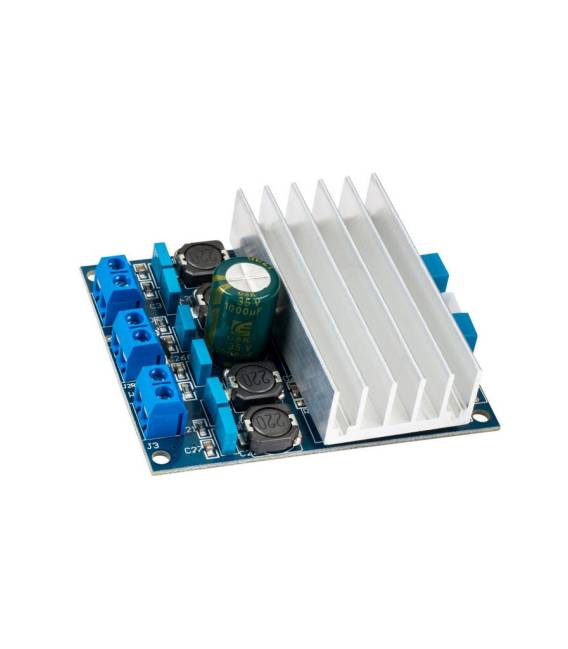
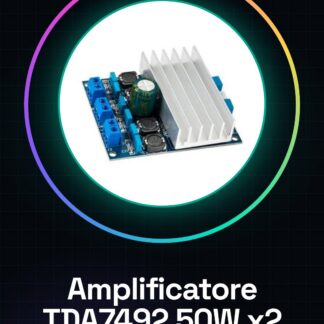
The TDA7492 audio amplifier at 50W is an essential component for anyone who wants to increase the volume of their digital audio system. This module can be used in various electronic projects, both DIY and professional.
Features
- Two TDA7492 audio amplifiers at 50W each
- Ideally suited for use with Arduino
What it is for
The TDA7492 audio amplifier is ideal for both DIY projects that require powerful audio amplification and for improving the audio of existing devices. You can connect each amplifier to a separate speaker to create a stereo configuration.
Tutorial: How to Use the TDA7492 Audio Amplifier
The TDA7492 audio amplifier is a crucial component for anyone looking to boost the volume of their digital audio system. This module is ideal for DIY projects requiring powerful audio amplification as well as for improving the audio of existing devices.
What you need
- Arduino Uno or compatible
- USB Connection (if required)
- External Power Supply 12V-30V
- RCA Audio Cable from Line Output to Amplifier Input
Steps
- Connect the external power supply to the amplifier module.
- Connect the Arduino control pins to the amplifier as specified in the product documentation.
- If required, connect the RCA audio cable from line output to amplifier input.
- Upload a simple sketch to the Arduino to test the amplifier (see code).
- Ensure that the power supply and connectors are properly connected before powering up the circuit.
- If necessary, adjust the amplifier settings through the Arduino library or hardware interface.
- Test the audio output with a speaker or headphones.
- Check the datasheet for any additional product-specific steps.
Example code
void setup() {
  pinMode(OUTPUT_PIN, OUTPUT);
}

void loop() {
  // Codice di esempio: invia un segnale audio all'amplificatore.
}
Mini project
Create a DIY stereo system with Arduino and two TDA7492 amplifiers. Connect each amplifier to a separate speaker to create a stereo configuration.
Common mistakes
- Do not verify proper power supply before powering up the circuit.
- Connect the amplifier with voltage higher than the allowed tolerance, thus damaging the component.
- Omit the product-specific configuration instructions.
- Use an incompatible or damaged audio cable.
Recommended accessories
- Speaker
- RCA line cable
- 5V voltage regulator
- Arduino Uno
Frequently asked questions
How can I control the volume?
Use a variable resistor (potentiometer) connected to the amplifier’s control pins.
Can it be used without Arduino?
Yes, but it may require manual connections for power supply and volume control.
What is the maximum power it can provide?
Check the datasheet. The 50W per channel specification is an average estimate.
Reviews
There are no reviews yet.