 EN
 IT Italiano
 ES Español
 FR Français
 DE Deutsch
Description
What it is
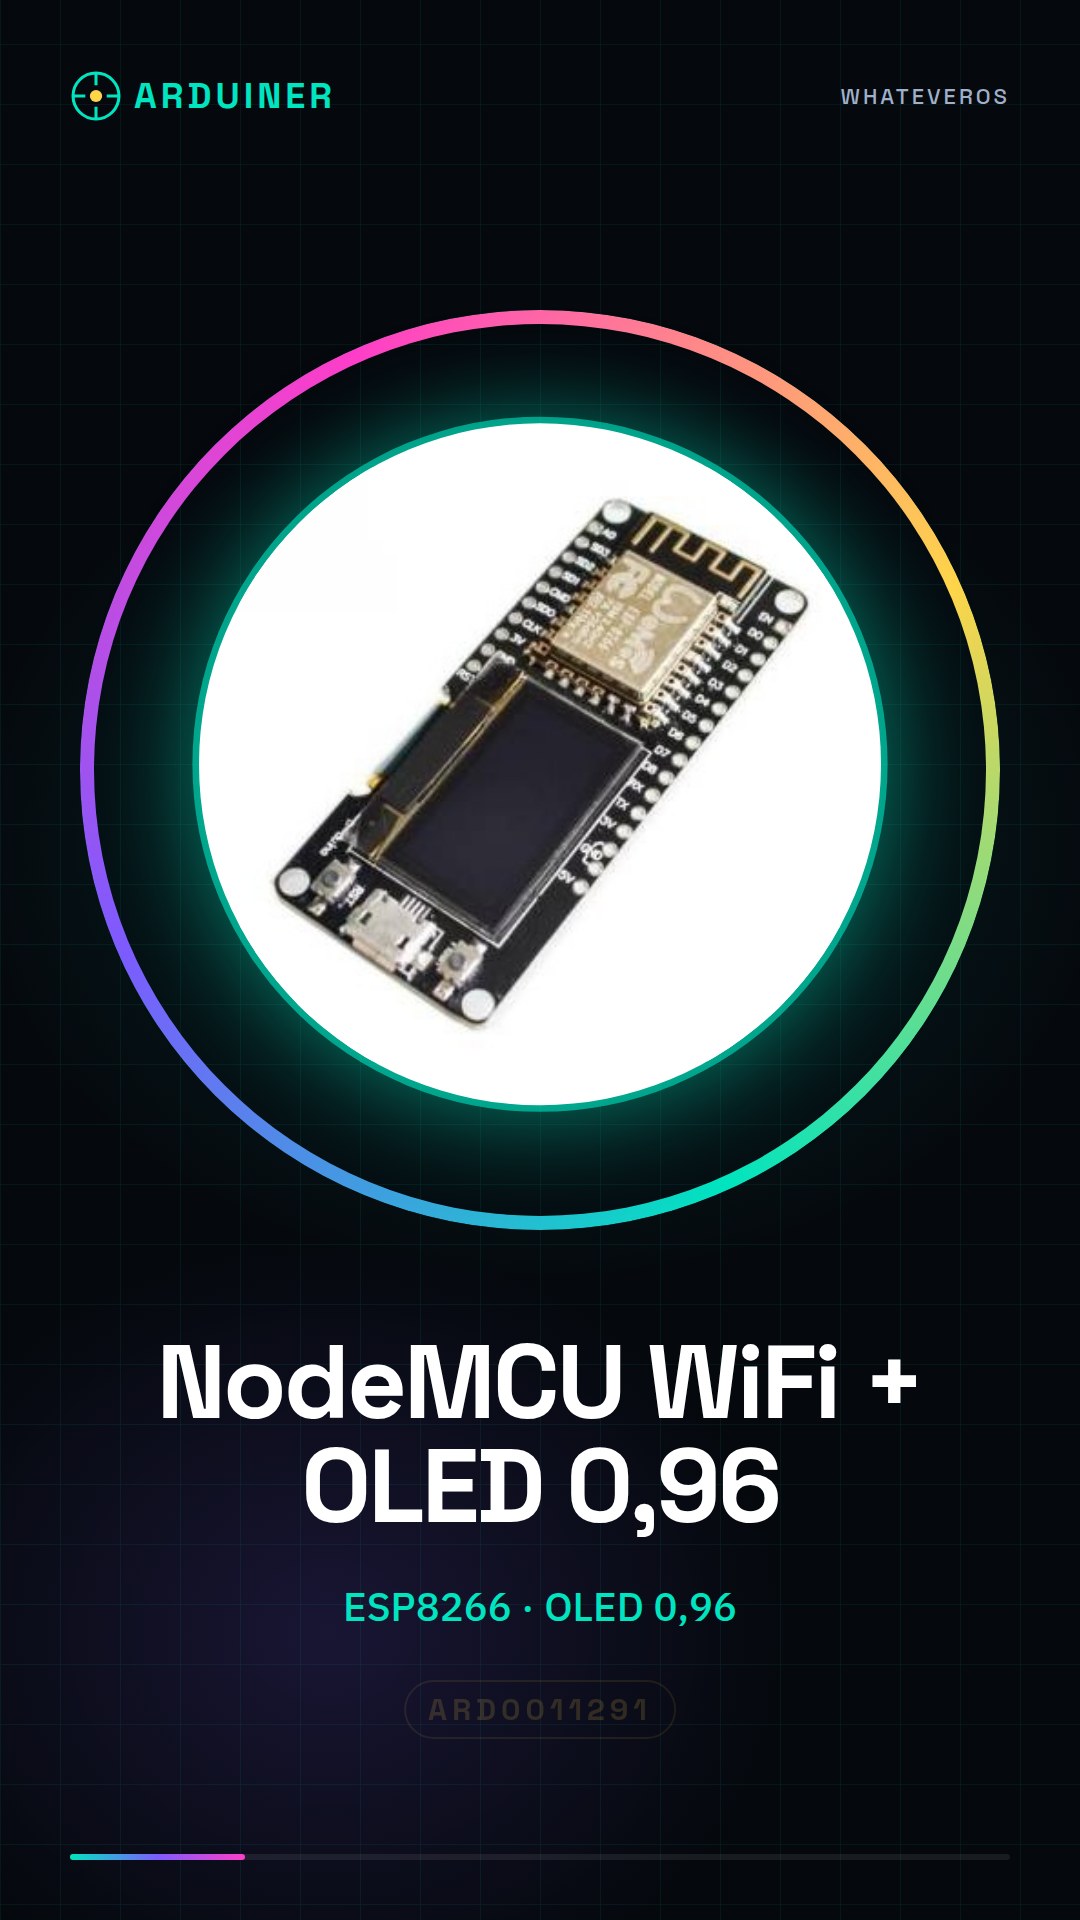
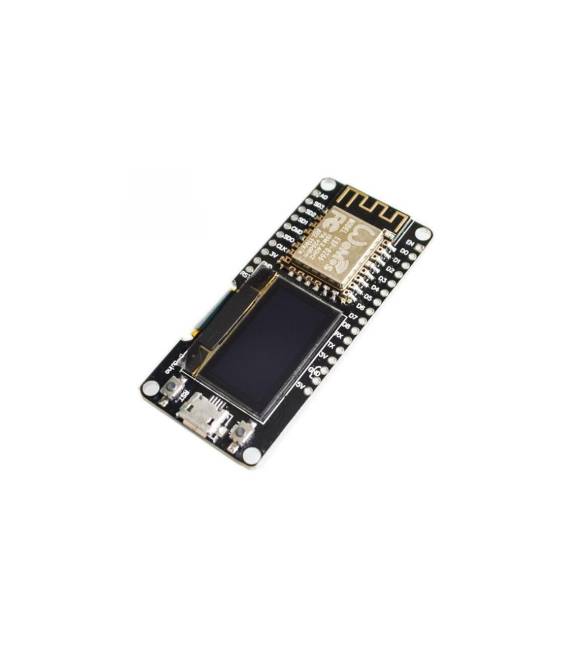
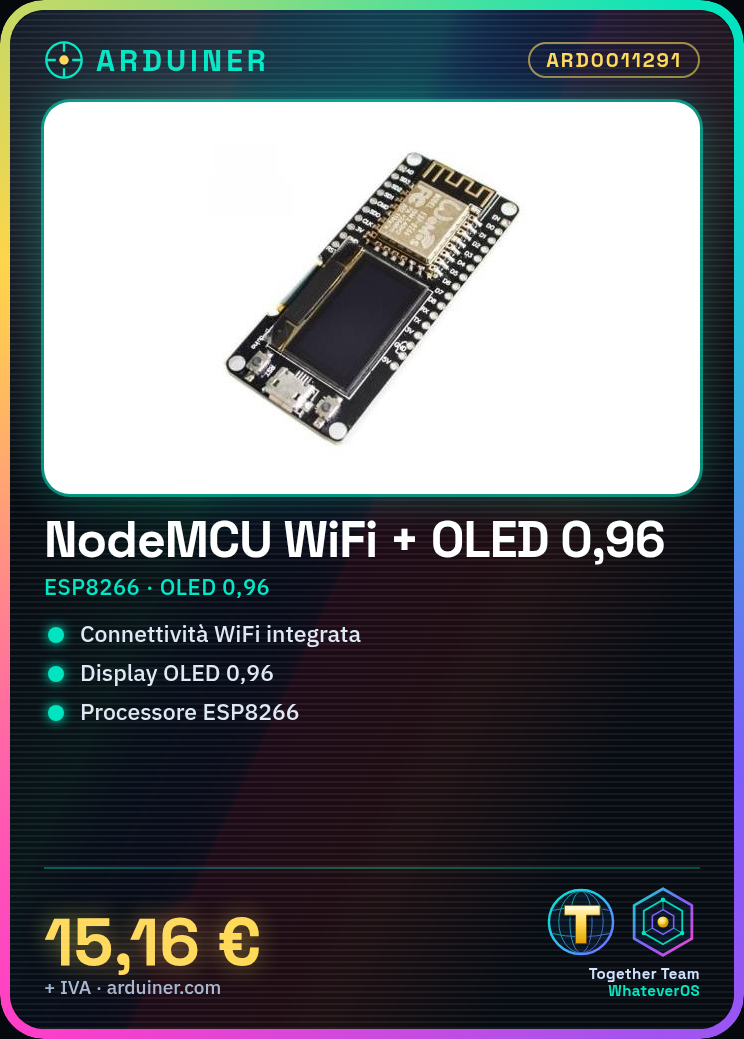
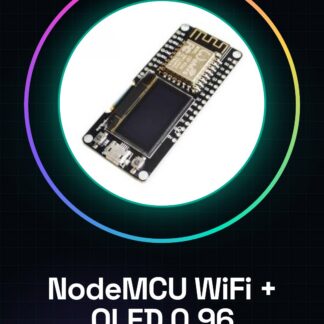
The NodeMCU WiFi and ESP8266 with 0.96″ OLED screen is a multifunction module that combines an ESP8266 processor with an integrated WiFi connection and a 0.96 inch OLED display.
Features
- ESP8266 Module
- Integrated WiFi Connection
- 0.96 inch OLED Display
- SKU: ARD0011291
- Price: 15.16 €
What it is for
This module is ideal for IoT projects that require simple information display and internet connectivity. It can be used to create remote control systems, data monitoring, and interactive applications. Its compatibility with Arduino makes it easy to integrate into projects based on this platform.
Tutorial: How to use NodeMCU WiFi and ESP8266 nodemcu + 0.96 inch OLED screen
The NodeMCU WiFi and ESP8266 nodemcu + 0.96 inch OLED is a perfect module for Arduino-based projects that require WiFi connectivity and simple information display. Suitable for beginners and intermediate users.
What you need
- NodeMCU WiFi and ESP8266 nodemcu + 0.96 inch OLED
- Arduino IDE
- USB cable
- 1 kΩ resistor
- 0.96 inch OLED (optional)
Steps
- 1. Download and install Arduino IDE.
- 2. Connect the NodeMCU to your computer via USB cable.
- 3. Check the datasheet for power supply specifications.
- 4. Load the ‘Blink’ example code to test the NodeMCU.
- 5. Connect the NodeMCU to your WiFi, check the datasheet for specifications.
- 6. Connect to the NodeMCU via Serial Monitor.
- 7. Connect the OLED to the NodeMCU with the following pins: SCL (D1), SDA (D2), VCC, GND.
- 8. Load the code to display ‘Hello World’ on the OLED.
Example code
```
#include <Wire.h>
#include <Adafruit_SSD1306.h>

#define OLED_RESET 4
Adafruit_SSD1306 display(OLED_RESET);

void setup() {
  display.begin(SSD1306_SWITCHCAPVCC, 0x3C);
  display.clearDisplay();
  display.setTextSize(1);
  display.setTextColor(SSD1306_WHITE);
  display.setCursor(0,0);
  display.println(F("Hello World"));
  display.display();
}

void loop() {}
```
Mini project
Create a simple remote control system for an LED with a smartphone. In 30 minutes, you can set up the NodeMCU to control an LED via WiFi.
Common mistakes
- Do not incorrectly connect the OLED pins.
- Forget to load the OLED driver.
- Power the NodeMCU with an incompatible power supply.
- Forget to set the WiFi password correctly.
Recommended accessories
- LED
- 220 Ω resistor
- Smartphone
- Remote control app (e.g., ESP Easy)
Frequently asked questions
How to set up WiFi connection?
Load the example code ‘WiFiClient’ and set the network name and password in the code.
Does the NodeMCU turn off automatically?
No, the NodeMCU remains on until it is manually turned off or powered down.
Can I use the OLED to display real-time data?
Yes, you can use specific libraries to display dynamic data on the OLED.
Reviews
There are no reviews yet.