 EN
 IT Italiano
 ES Español
 FR Français
 DE Deutsch
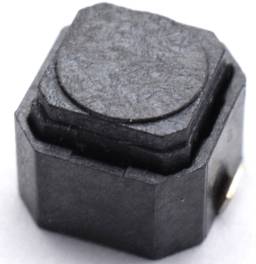
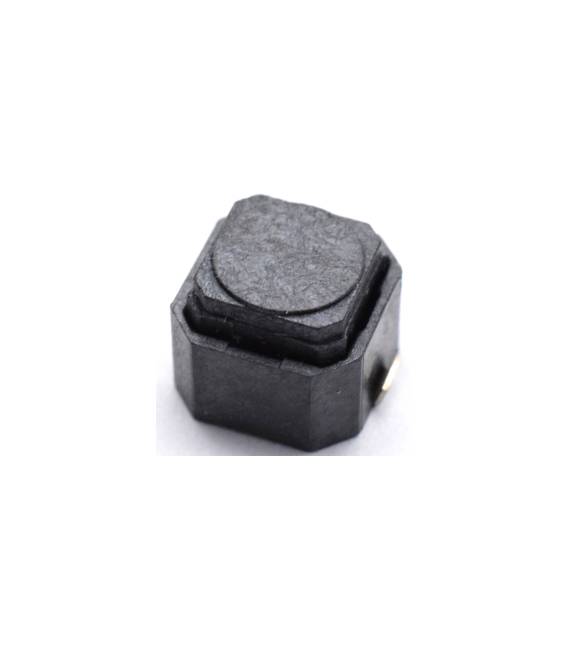
Description
What it is
Kit of 6x6x5mm U-shaped Tactile Buttons – 4 Pieces is a set of four tactile buttons with a U-shaped design, measuring 6x6x5mm. Perfect for Arduino and low-profile electronics projects.
Features
- 4 pieces
- Dimensions: 6x6x5mm
- U-shaped design
What it is for
Tactile buttons are essential components for creating simple and intuitive user interfaces. These U-shaped buttons are ideal for Arduino and low-profile electronics projects, suitable for both beginners and experienced makers. You can use them to add reliable and easy-to-use interfaces to your electronic projects.
Tutorial: How to Use 6x6x5mm U-shaped Tactile Button Kit
Tactile buttons are essential components for creating simple and intuitive user interfaces. These U-shaped tactile buttons are ideal for Arduino and low-profile electronics projects, suitable for both beginners and experienced makers.
What you need
- Arduino Uno or compatible
- Connection wire
- Prototype board (optional)
- Battery or stable power supply
Steps
- Connect one end of the tactile button to a digital pin on the Arduino.
- Connect the other end of the tactile button to the GND of the Arduino.
- Check the connection with a multimeter or indicator LED.
- Write an Arduino sketch to read the state of the button.
- Compile and upload the code to the Arduino.
- Test the button by pressing it and verifying the Arduino’s response.
- If necessary, adjust the connections or the code.
- Document the project for future reference or improvements.
Example code
const int pulsanteTattile = 2; // collega il pulsante alla porta 2
digitalWrite(pulsanteTattile, HIGH); // imposta la porta come input

void loop() {
  int statoPulsante = digitalRead(pulsanteTattile); // leggi lo stato del pulsante
  if (statoPulsante == LOW) {
    Serial.println("Pulsante premuto");
  }
}
Mini project
Create a glowing clock with Arduino: connect the tactile button to turn on and off a series of LEDs.
Common mistakes
- Connect the button to the GND and 5V instead of a digital pin.
- Do not properly check the connections before uploading the code.
- Do not fix the code when the button does not respond correctly.
- Do not document the project for future improvements.
Recommended accessories
- Indicator LED
- Prototyping board
- Multimeter
- 9V battery
Frequently asked questions
How can I connect multiple buttons?
Connect each button to a different digital pin of the Arduino.
Which pins of the microcontroller can I use?
You can use any digital pin of the microcontroller.
What other components can I use with these buttons?
You can use LEDs, relays, or any other component that requires a digital signal.
Reviews
There are no reviews yet.