 EN
 IT Italiano
 ES Español
 FR Français
 DE Deutsch
Description
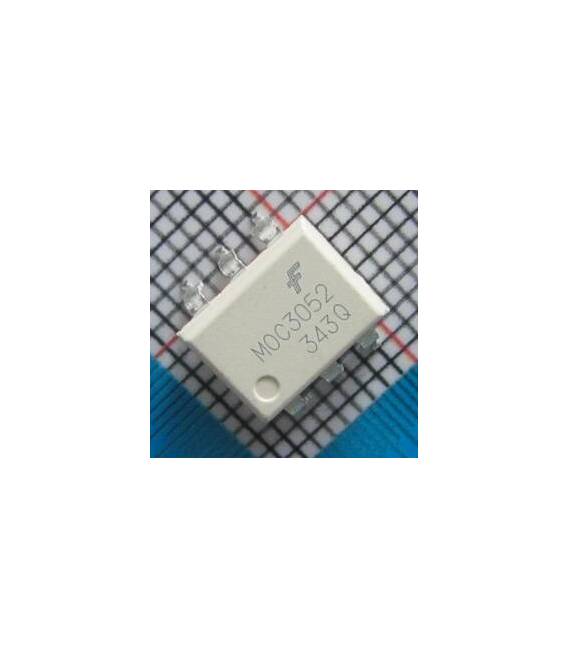
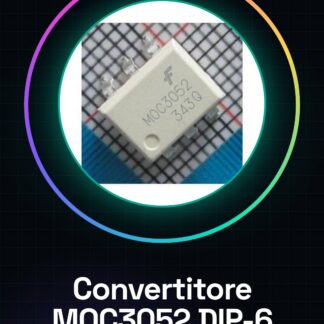
MOC3052 DIP-6
Tutorial: How to Use MOC3052
The MOC3052 is an optoelectronic signal converter used to protect electronic circuits from electrical interference. Ideal for beginners and intermediates in electronics.
What you need
- MOC3052
- Arduino
- 1 kΩ resistor
- Power cable
Steps
- 1. Connect the MOC3052 to the Arduino using the VCC and GND pins.
- 2. Connect the resistor to GND and pin 3 of the MOC3052.
- 3. Connect pin 2 of the MOC302 to an available digital pin on the Arduino.
- 4. Load the example code.
- 5. Check the datasheet for the correct pin polarity.
- 6. Check the LED indication on the MOC3052.
- 7. Try to make the LED connected to pin 3 blink.
- 8. Verify the functionality of the optoelectronic converter.
Example code
void setup() {} void loop() { digitalWrite(3, HIGH); delay(1000); digitalWrite(3, LOW); delay(1000); }Mini project
Create a simple circuit that turns an LED on and off using the MOC3052 optoelectronic signal.
Common mistakes
- Connecting the pins incorrectly can damage the component.
- Do not use a resistor that is too low or too high.
- Do not check the polarity of the pins.
- Omit the verification on the datasheet.
Recommended accessories
- LED
- 220 Ω resistor
- Power supply cable
- ESD protection
Frequently asked questions
How can I verify the functionality of the MOC3052?
Connect the LED to pin 3 and check if it blinks when the pin is high.
Which pins should I use for power supply?
Use the VCC and GND pins for power supply.
Can I use a power supply different from 5V?
Check the datasheet for the allowed supply voltage.
How can I protect the MOC3052?
Use an ESD protector and verify the correct polarity of the pins.
Reviews
There are no reviews yet.