 EN
 IT Italiano
 ES Español
 FR Français
 DE Deutsch
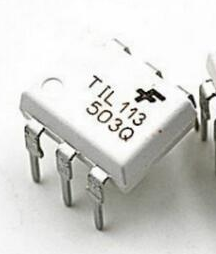
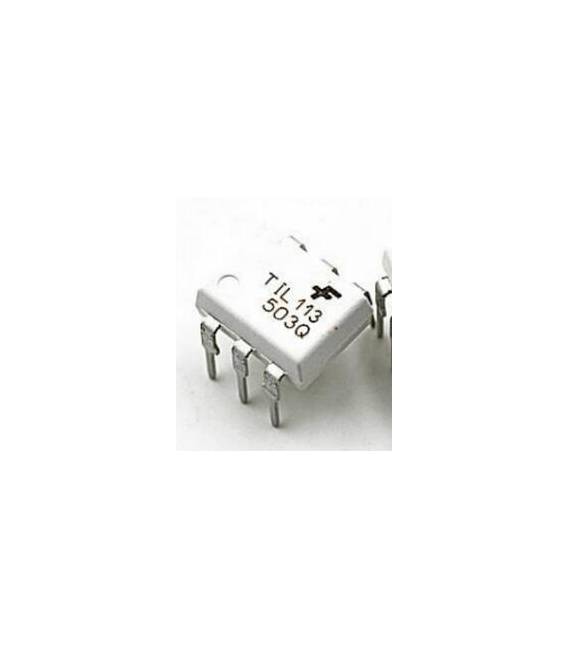
Description
Tutorial: How to Use TIL113
The TIL113 optoisolator is ideal for protecting sensitive circuits from harmful currents. Useful for beginner and intermediate makers.
What you need
- TIL113
- Arduino
- Resistor (1 kΩ)
- Test Lead
Steps
- Check the datasheet for voltage and current specifications.
- Connect pin 1 (Vcc) to 5V of Arduino.
- Connect pin 6 (GND) to GND of Arduino.
- Connect pin 3 (OUT) to a digital pin of Arduino.
- Connect pin 4 (IN) to a digital pin of Arduino.
- Connect a resistor (1 kΩ) between pin 2 (LED) and Vcc.
- Connect pin 2 (LED) to GND.
- Load a simple example sketch.
Example code
```
void setup() {}
void loop() {
  digitalWrite(3, HIGH);
  delay(1000);
  digitalWrite(3, LOW);
  delay(1000);
}
```
Mini project
Create an on/off signal for an LED using the TIL113 optoisolator and a button.
Common mistakes
- Do not use voltages and currents higher than those specified in the datasheet.
- Do not connect pin IN directly to Vcc or GND.
- Verify the correct polarity of connections.
- Ensure pin 2 (LED) is properly connected to avoid damage.
Recommended accessories
- Arduino UNO
- LED
- Button
- Resistor (10 kΩ)
Frequently asked questions
Can the TIL113 handle high currents?
No, check the datasheet for current specifications.
Can I use an Arduino Uno or Due?
Yes, both work well.
What are the voltage limits for the optoisolator?
Check the datasheet for voltage specifications.
Can I connect pin IN directly to Vcc?
No, connect pin IN to a digital pin on the Arduino.
Reviews
There are no reviews yet.