 EN
 IT Italiano
 ES Español
 FR Français
 DE Deutsch
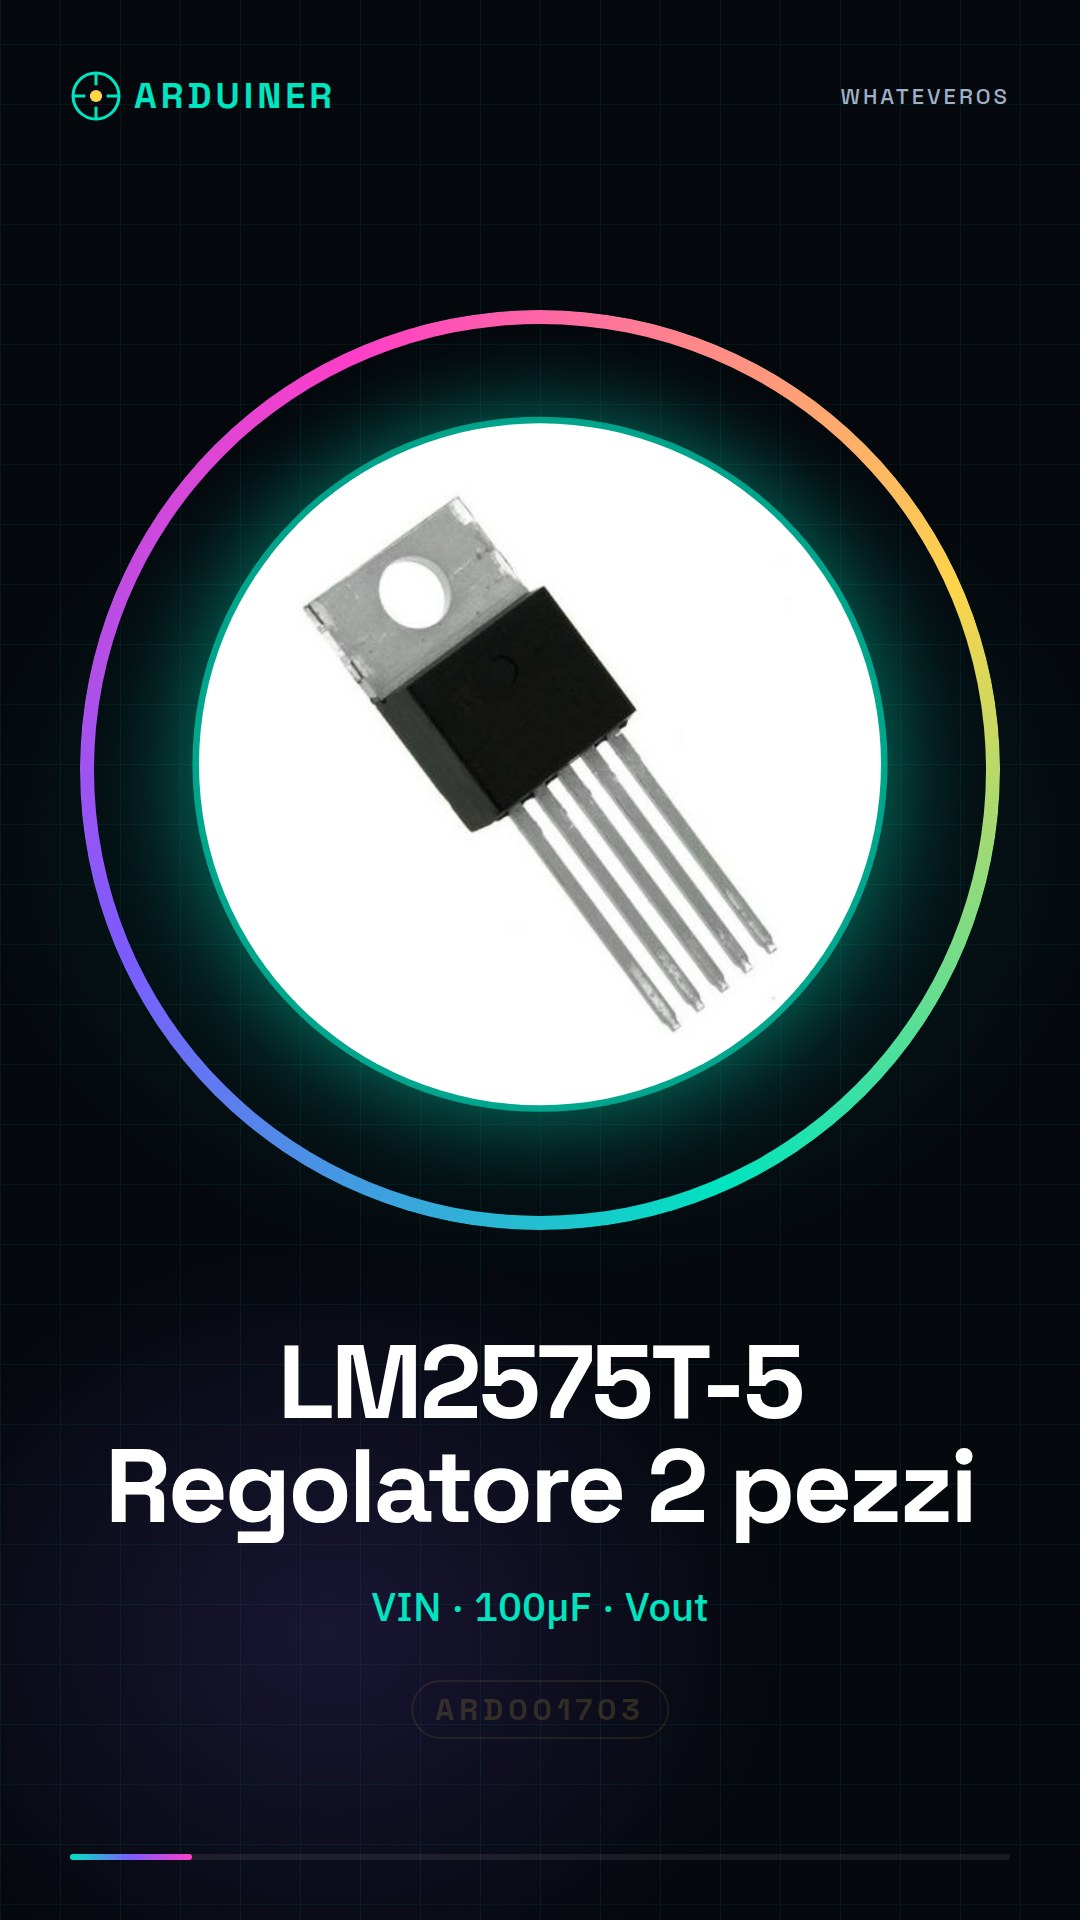
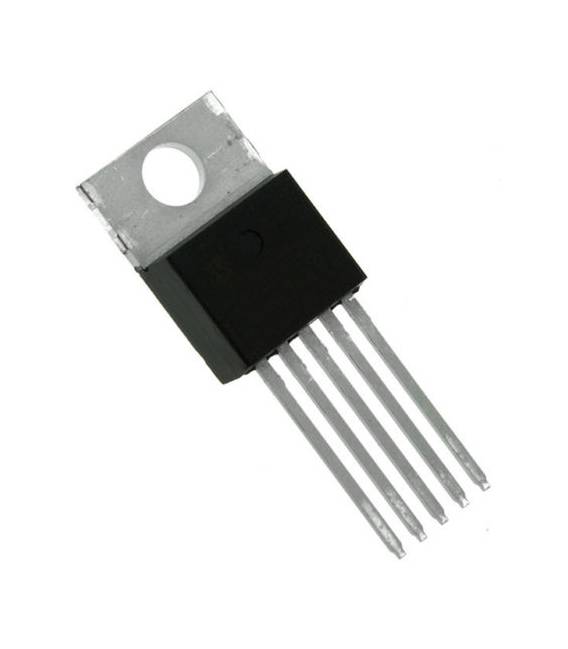
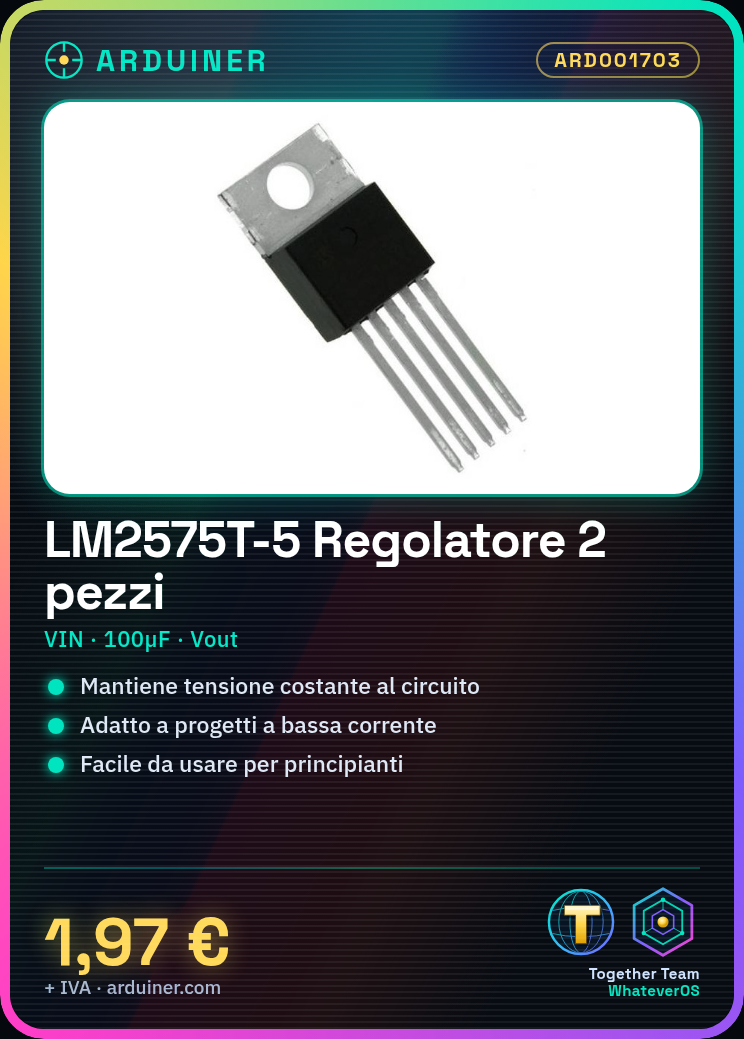

Description
Tutorial: How to Use LM2575T-5 Voltage Regulator
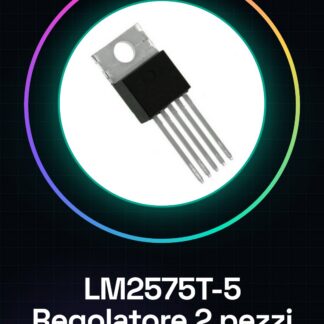
The LM2575T-5 voltage regulator is a fundamental component for electronic projects requiring low current power supply. Ideal for beginners and intermediate makers, this component will help you maintain a constant voltage supplied to other circuit components.
What you need
- Arduino Uno
- electrolytic capacitor 100µF
- bypass resistor
Steps
- Check the datasheet for the value of the resistor needed to set the desired voltage.
- Connect the input of the electrolytic capacitor to the VIN pin of the LM2575T-5, with the correct polarity (cathode towards VIN).
- Connect the GND pin of the LM2575T-5 to ground.
- Connect the output of the electrolytic capacitor to the OUT pin of the regulator.
- Connect the bypass resistor between the Vout and Adj outputs to improve circuit stability.
- Check the datasheet for the maximum current limits allowed by the LM2575T-5.
- Connect the component to be powered to the OUT and GND pins of the regulator.
Mini project
Create a simple circuit to power an RGB LED with various levels of brightness while maintaining a constant voltage.
Common mistakes
- Use a capacitor with incorrect polarity.
- Ignore the bypass between Vout and Adj.
- Omit the calculation of the resistance needed to set the desired voltage.
- Exceed the current limits of the LM2575T-5.
Recommended accessories
- Electrolytic Capacitor 100µF
- Variable Resistor 1kΩ
- Arduino Uno R3
Frequently asked questions
What is the minimum output voltage of the LM2575T-5?
Check the datasheet.
How much current can the regulator provide?
Check the datasheet.

Reviews
There are no reviews yet.