 EN
 IT Italiano
 ES Español
 FR Français
 DE Deutsch
Description
Tutorial: How to Use SN75176BP DIP IC
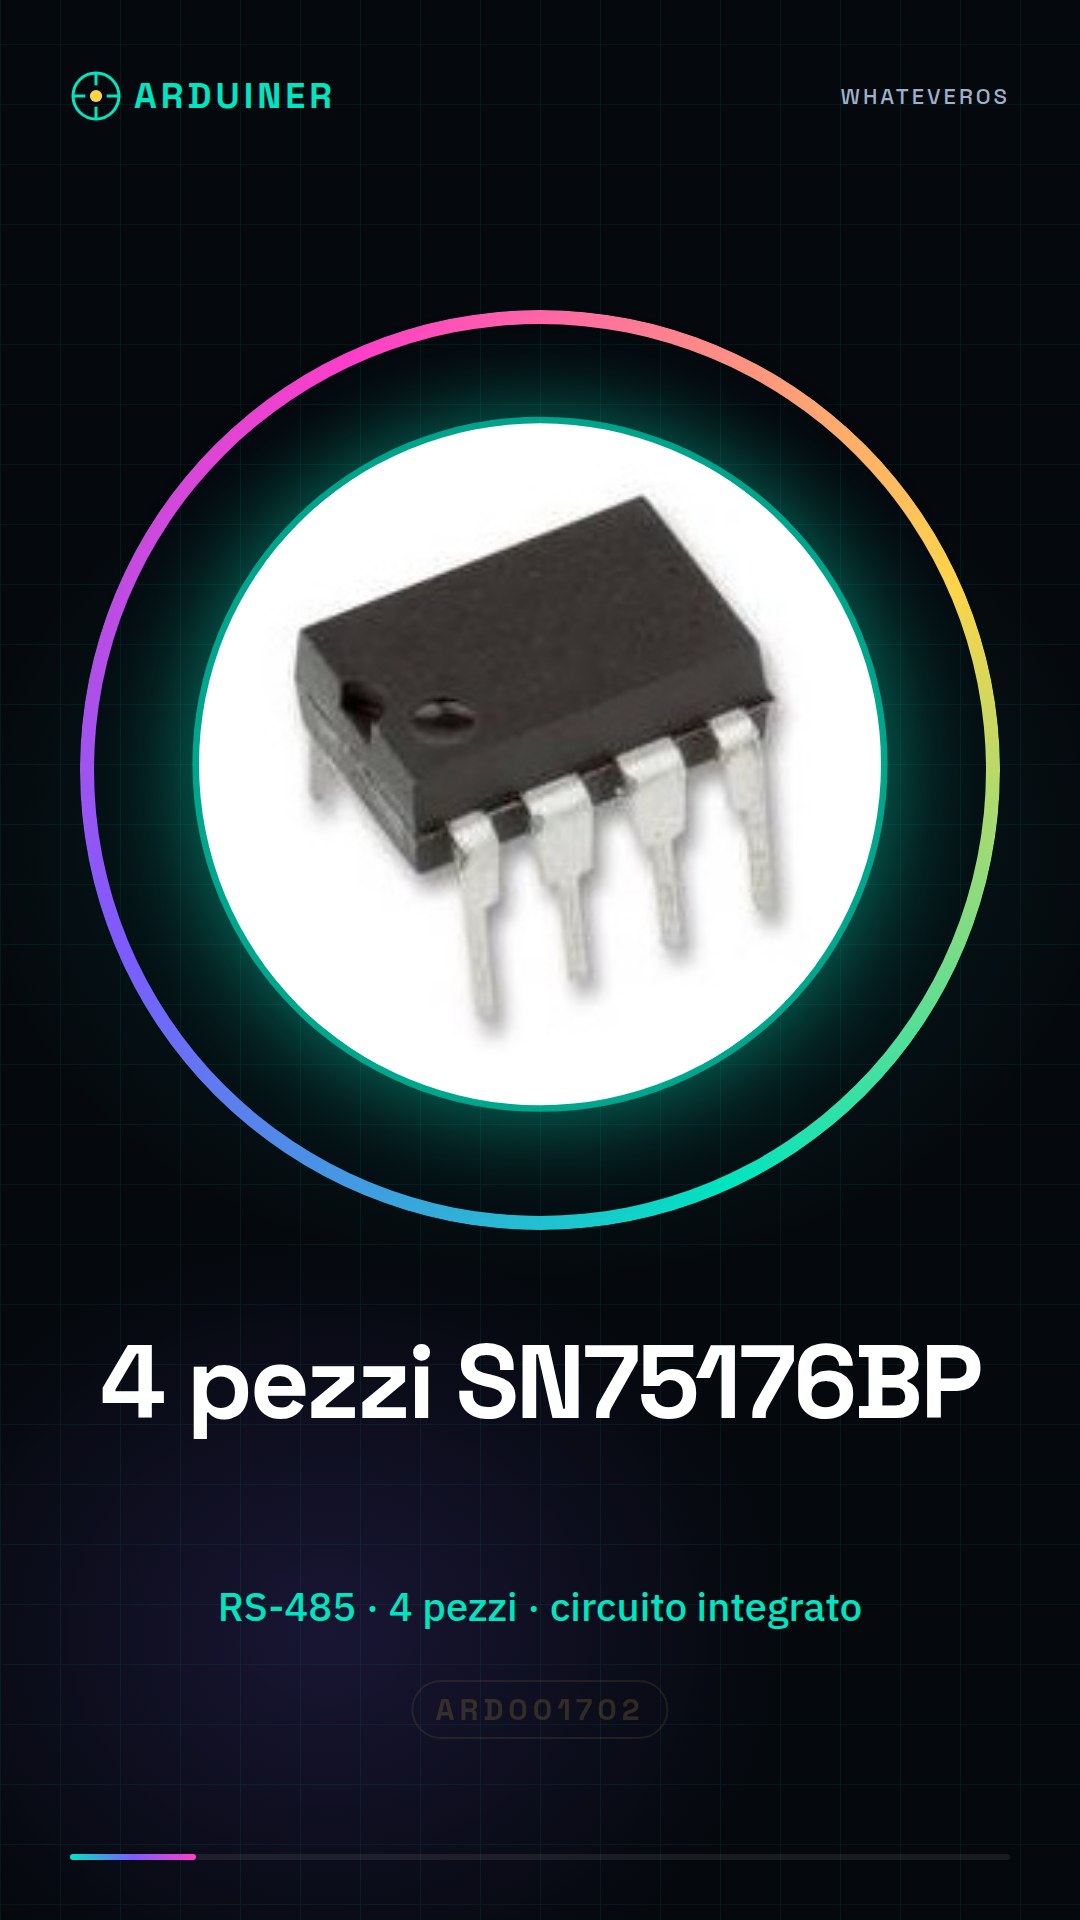
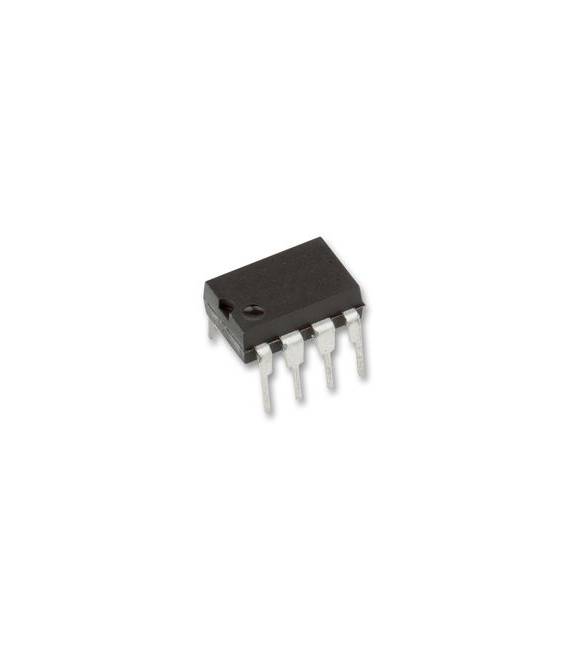
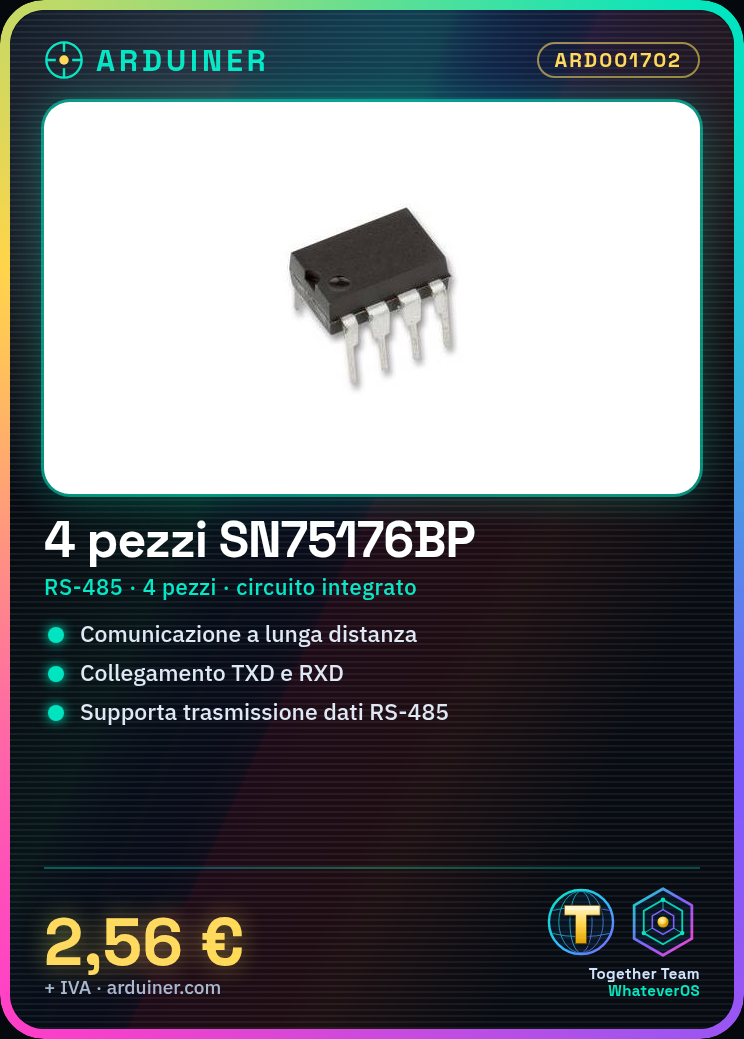
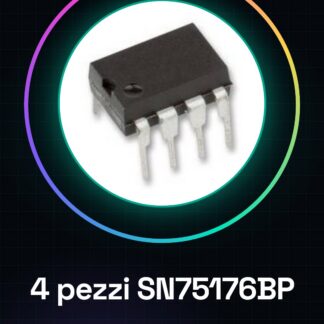
The SN75176BP is an integrated circuit used for RS-485 data transmission. It is ideal for projects requiring long-distance communication between devices.
What you need
- Arduino
- RS-485 serial cable
- power supply
Steps
- Check the SN75176BP power supply voltage and ensure it is compatible with your project (refer to the datasheet).
- Connect the Arduino to the integrated circuit according to the RS-485 specifications.
- Connect the SN75176BP TXD, RXD pins to the corresponding pins on the Arduino.
- Verify that the connection between Arduino and SN75176BP is correct.
- Upload the example sketch provided to Arduino.
- Test RS-485 communication with a second device or simulator.
- If necessary, adjust the transmitter parameters to optimize communication performance.
Example code
// Esempio di sketch per Arduino
#include <SoftwareSerial.h>
SoftwareSerial mySerial(2, 3); // RX, TX
void setup() {
  Serial.begin(9600);
  mySerial.begin(9600);
}
void loop() {
  if (mySerial.available())
    Serial.write(mySerial.read());
}
Mini project
Create a remote monitoring system with two Arduinos and the SN75176BP to send data over long distances.
Common mistakes
- Incorrect connection between TXD/RXD
- Incompatible power supply voltage
- Transmitter impedance not optimized
Recommended accessories
- RS-485 serial cable
- 5V power supply
- Arduino Uno R3
- RS-485 communication simulator
Frequently asked questions
Which pins should I connect?
Connect TXD to TX and RXD to RX of the Arduino.
How can I test the SN75176BP?
Use a second Arduino or an RS-485 simulator to send data and verify reception.
Reviews
There are no reviews yet.