 EN
 IT Italiano
 ES Español
 FR Français
 DE Deutsch
Description
What it is
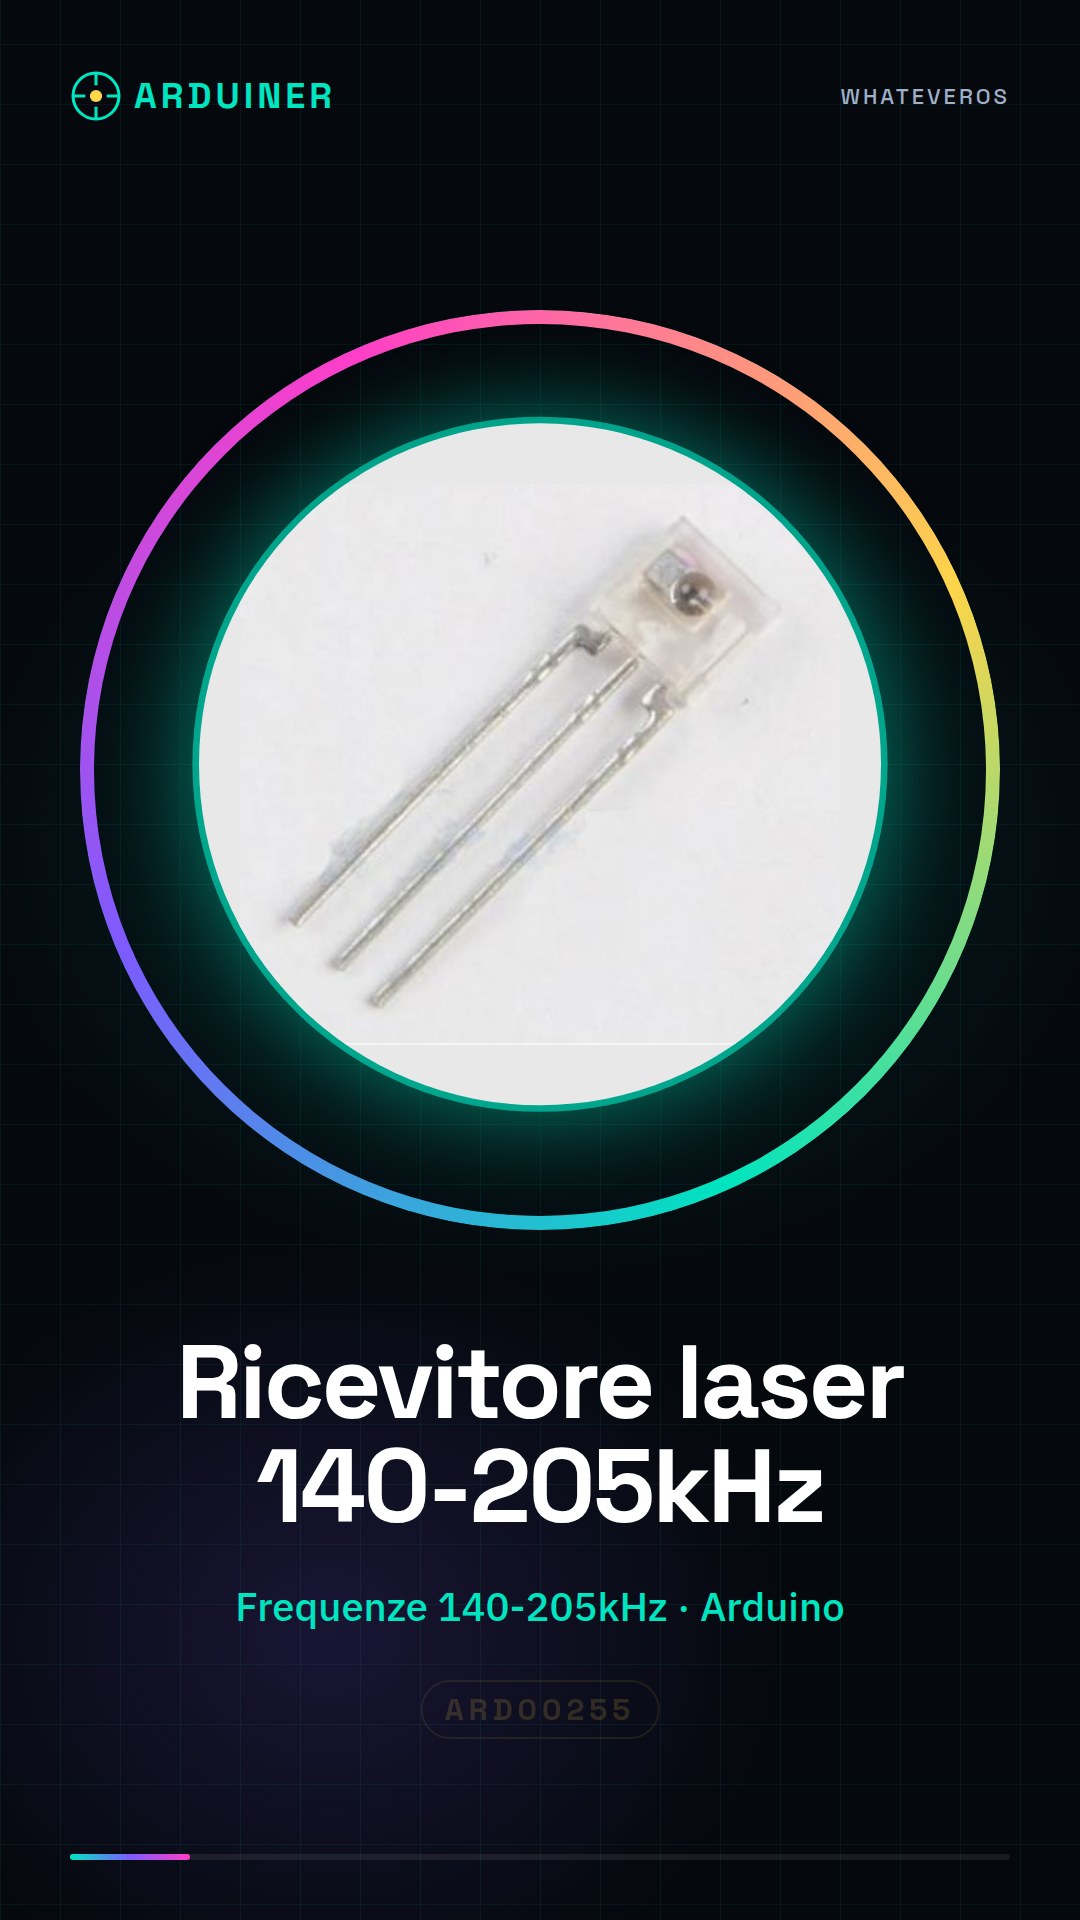
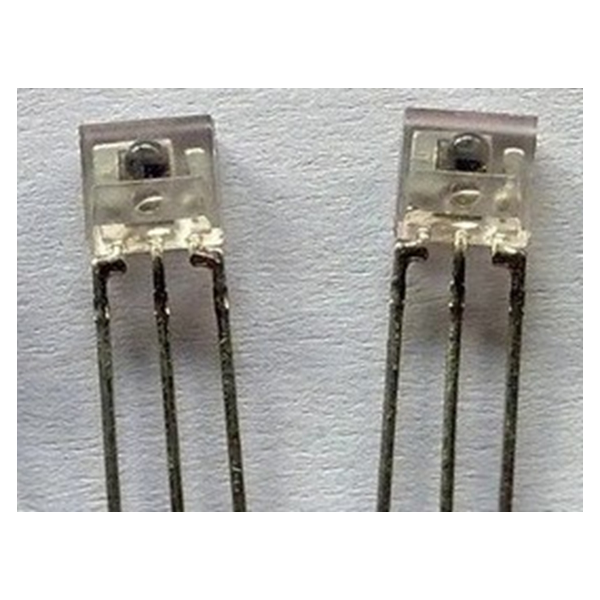
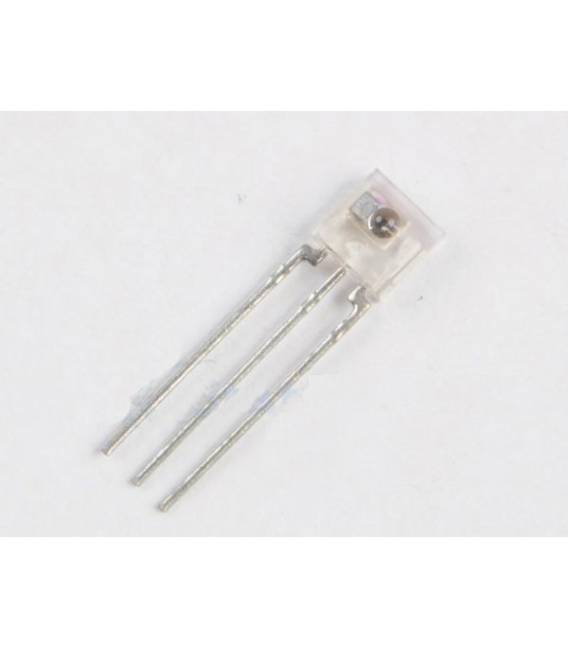
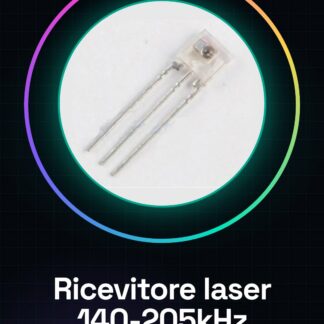
The Laser Light Receiver for 140 to 205KHz is a device sensitive to specific laser frequencies, ideal for projects requiring laser beam detection. This component can be used in various applications such as interactive or security systems.
Features
- Compatible Frequencies: 140 to 205KHz
- Ideally suited for projects with Arduino and other microcontrollers
What it is for
The light receiver is used to create interactive systems that detect the presence of the laser beam. It is perfect for applications such as security control, where a beam interruption can trigger a specific reaction (for example, turning on or off a light bulb). Additionally, it is compatible with Arduino and other microcontrollers.
Tutorial: How to use the Laser Light Receiver
The laser light receiver allows detecting the presence and intensity of the laser beam. Ideal for interactive or security projects.
What you need
- Arduino
- Laser Light Receiver ARD00255
- USB Connection
Steps
- Connect the receiver to a digital pin on the Arduino.
- Upload the sketch to the Arduino code.
- Check the correct connection and power supply of the device.
- Configure the sensitivity parameters according to the datasheet specifications.
- Monitor the laser signal intensity through the Arduino serial monitor.
Example code
const int ledPin = 13;
void setup() { Serial.begin(9600); pinMode(ledPin, OUTPUT);}
void loop() { if (digitalRead(pino_di_input) == HIGH) { digitalWrite(ledPin, HIGH); } else { digitalWrite(ledPin, LOW); }}
Mini project
Create a security system that turns on a light bulb when the laser is interrupted.
Common mistakes
- Incorrect connection between Arduino and receiver.
- Sensitivity parameters not configured correctly.
- Insufficient power supply to the device.
- Incorrect interfacing with other sensors or devices.
Recommended accessories
- Arduino Uno
- 3D Print to protect the security system
- LED and resistor
- LiPo Battery
Frequently asked questions
How can I verify that the receiver is working correctly?
Check the Arduino serial communication to see if it detects the laser intensity.
Which digital pin should I use?
You can use any available digital pin on the Arduino, but check the datasheet for any specific restrictions.
Reviews
There are no reviews yet.