 EN
 IT Italiano
 ES Español
 FR Français
 DE Deutsch
Description
What it is
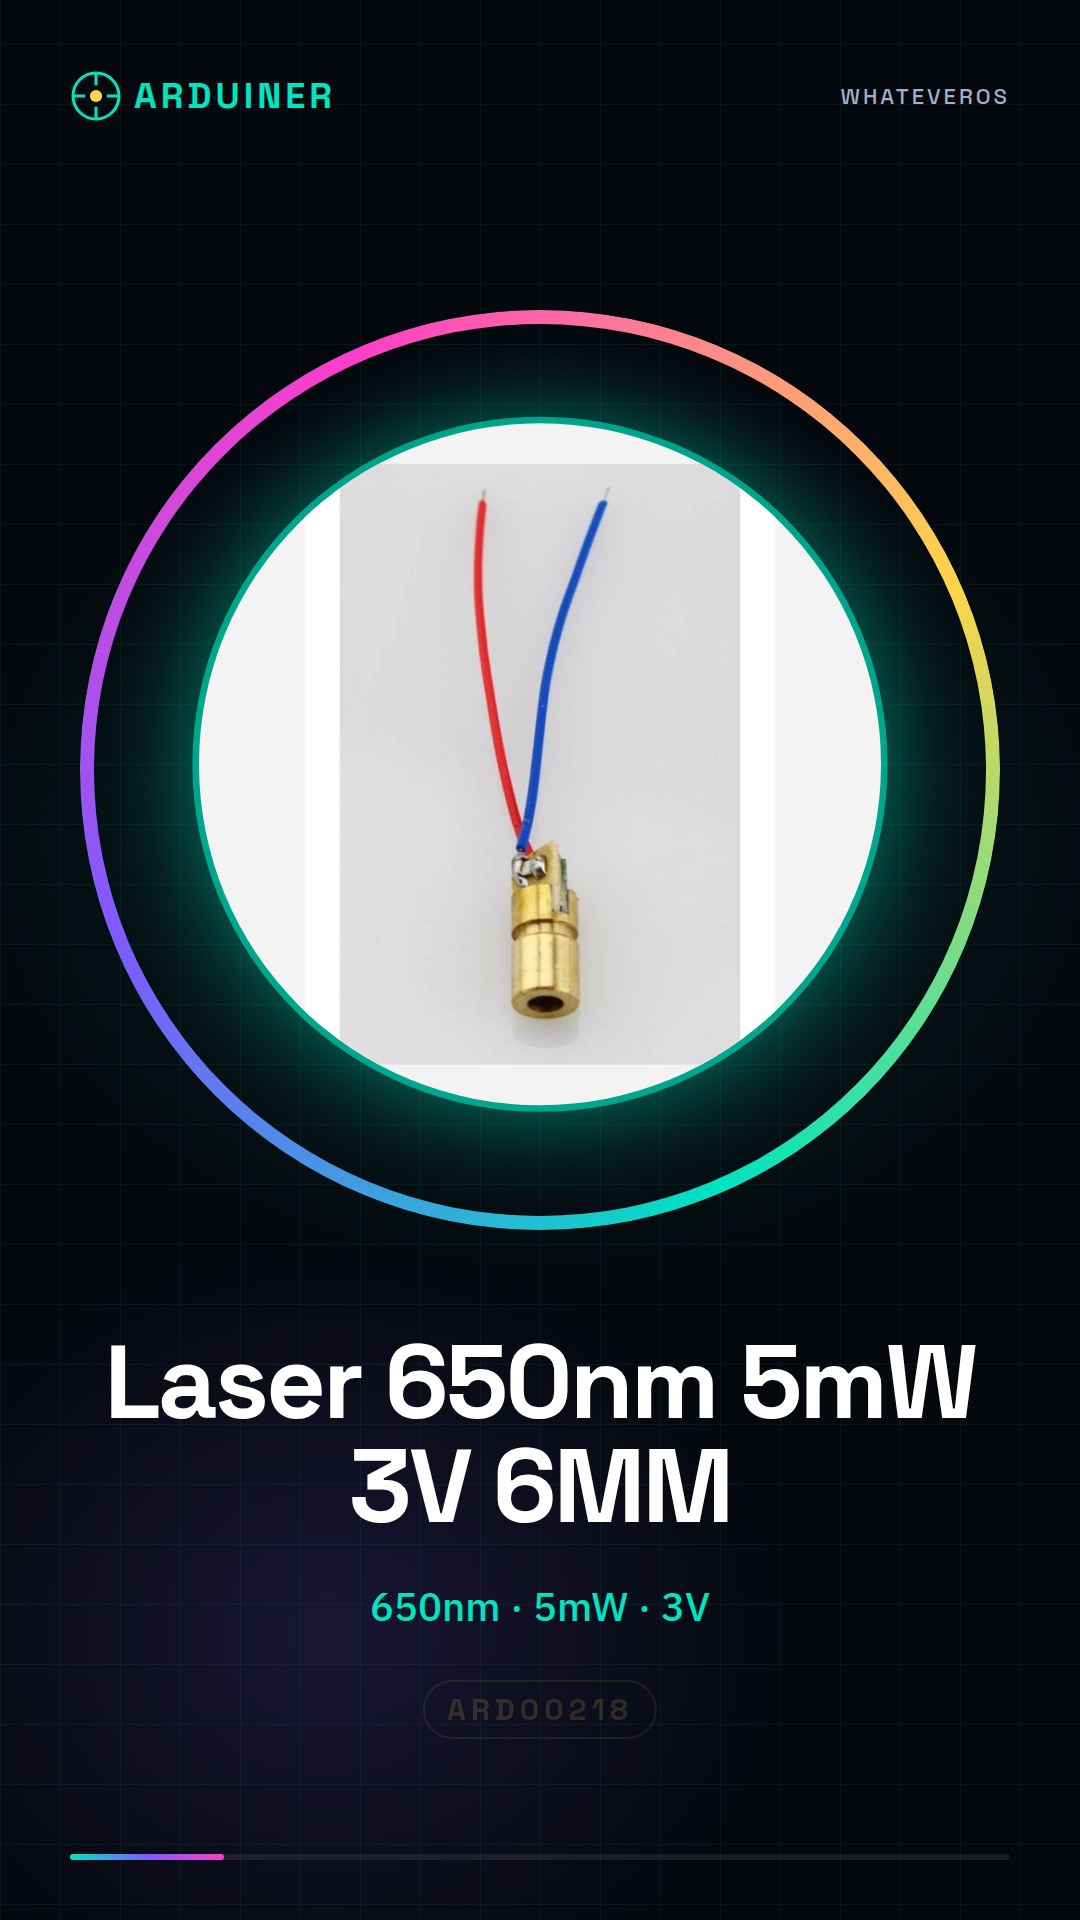
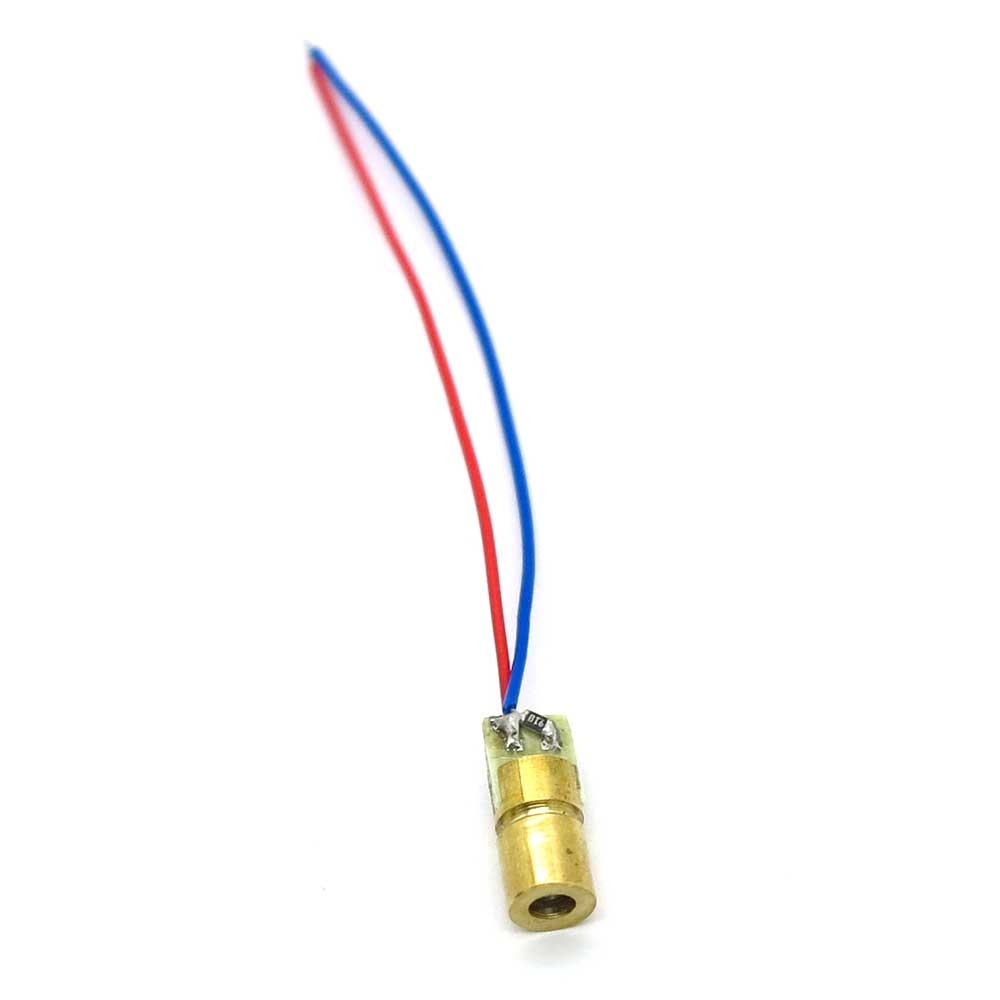
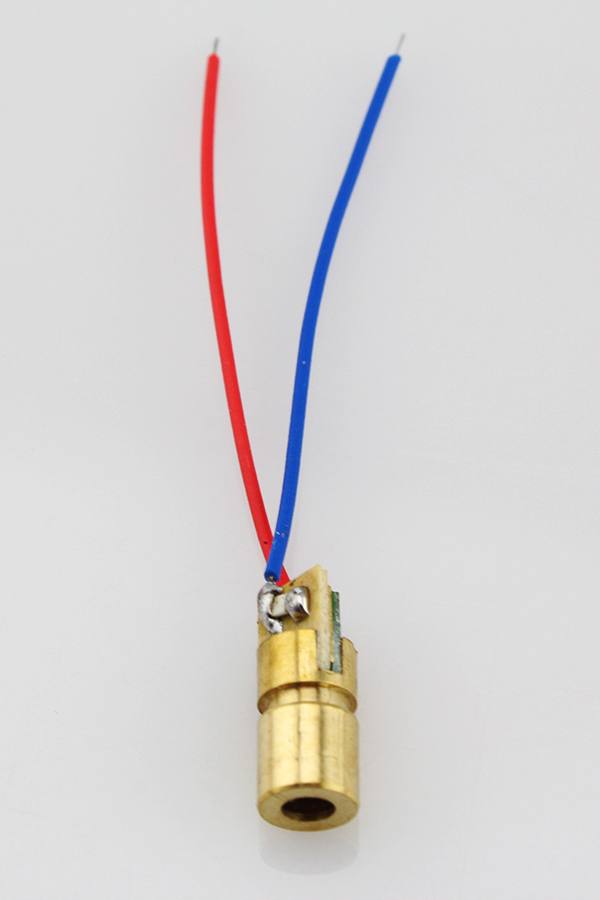
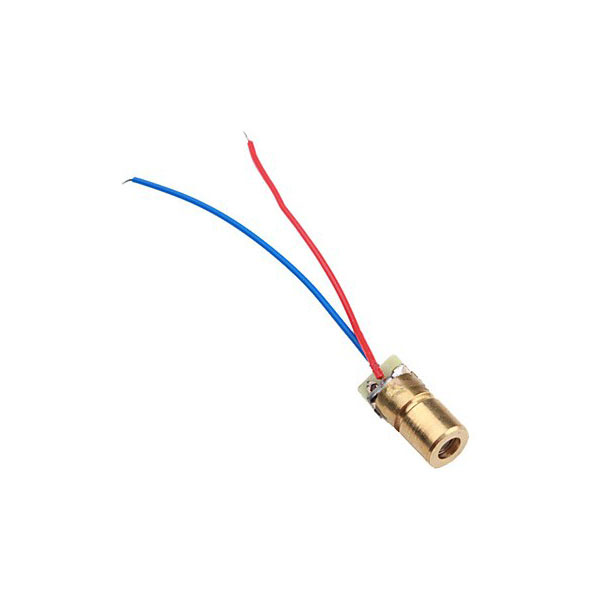
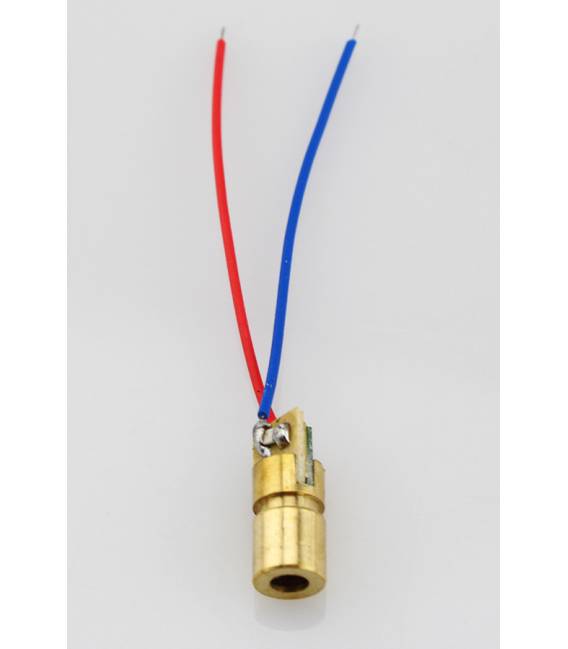
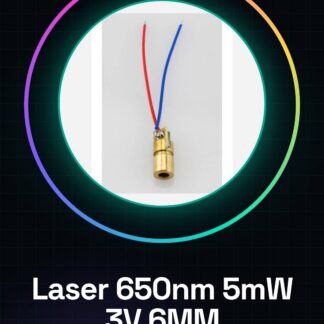
The 650nm 5mW Laser is a copper semiconductor device that emits a bright red light beam. This type of laser is used in various projects and applications, from creating interactive devices to precise measurements.
Features
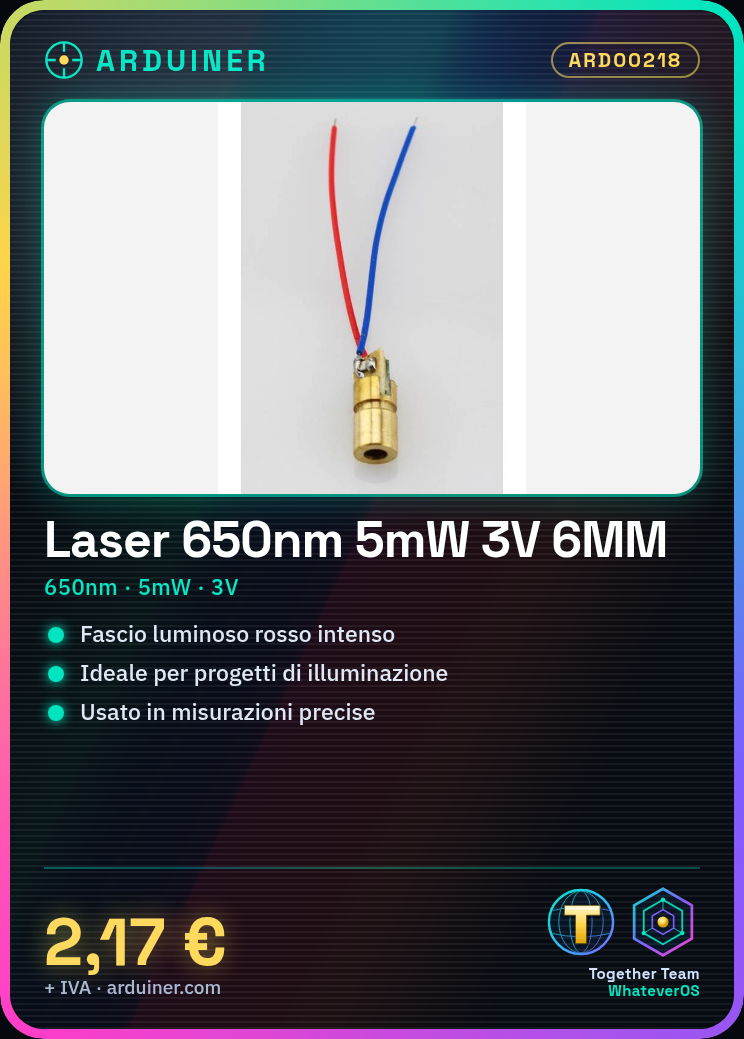
- Wavelength: 650nm
- Maximum Power: 5mW
- Supply Voltage: 3V
- Beam Diameter: 6mm
What it is for
The 650nm Laser is ideal for applications requiring a precise and focused light beam, such as interactive lighting projects or measurement systems. It can be used in combination with Arduino or ESP to create smart and interactive devices.
Tutorial: How to Use the 650nm Laser (Arduino Projects)
The 650nm laser is perfect for lighting projects, measurements, and interactive games. Ideal for beginners.
What you need
- Laser ARD00218
- Arduino Uno
- USB Connection
- Resistor (check datasheet)
- Connecting Wire
Steps
- Connect the laser to the Arduino digital pin with the resistor.
- Insert the Arduino code to turn the laser on and off.
- Check that the laser turns on correctly.
- Test the signal interruption to turn off the laser.
- Configure a button to control the laser (optional).
- Design a box or protection for the laser (suggested).
Example code
const int ledPin = 13; // collega il laser al pin digitale 13
void setup() {
  pinMode(ledPin, OUTPUT);
}
void loop() {
  digitalWrite(ledPin, HIGH); // accende il laser
  delay(500);
  digitalWrite(ledPin, LOW); // spegne il laser
  delay(500);
}
Mini project
Create an interactive light point projector: connect the laser to a servo to move the beam.
Common mistakes
- Do not verify the correct voltage.
- Using a resistance that is too low or too high.
- Connect directly to the pin without resistance.
- Lack of eye protection during testing.
Recommended accessories
- Variable resistors
- Servos
- Tactile buttons
- Eye protection
Frequently asked questions
How can I control the laser with a sensor?
Connect the sensor to the Arduino and modify the sketch to turn on the laser when the sensor detects something.
My laser does not turn on, what should I do?
Check the electrical connection and ensure that the supplied voltage is correct.
Reviews
There are no reviews yet.