 EN
 IT Italiano
 ES Español
 FR Français
 DE Deutsch
Description
What it is
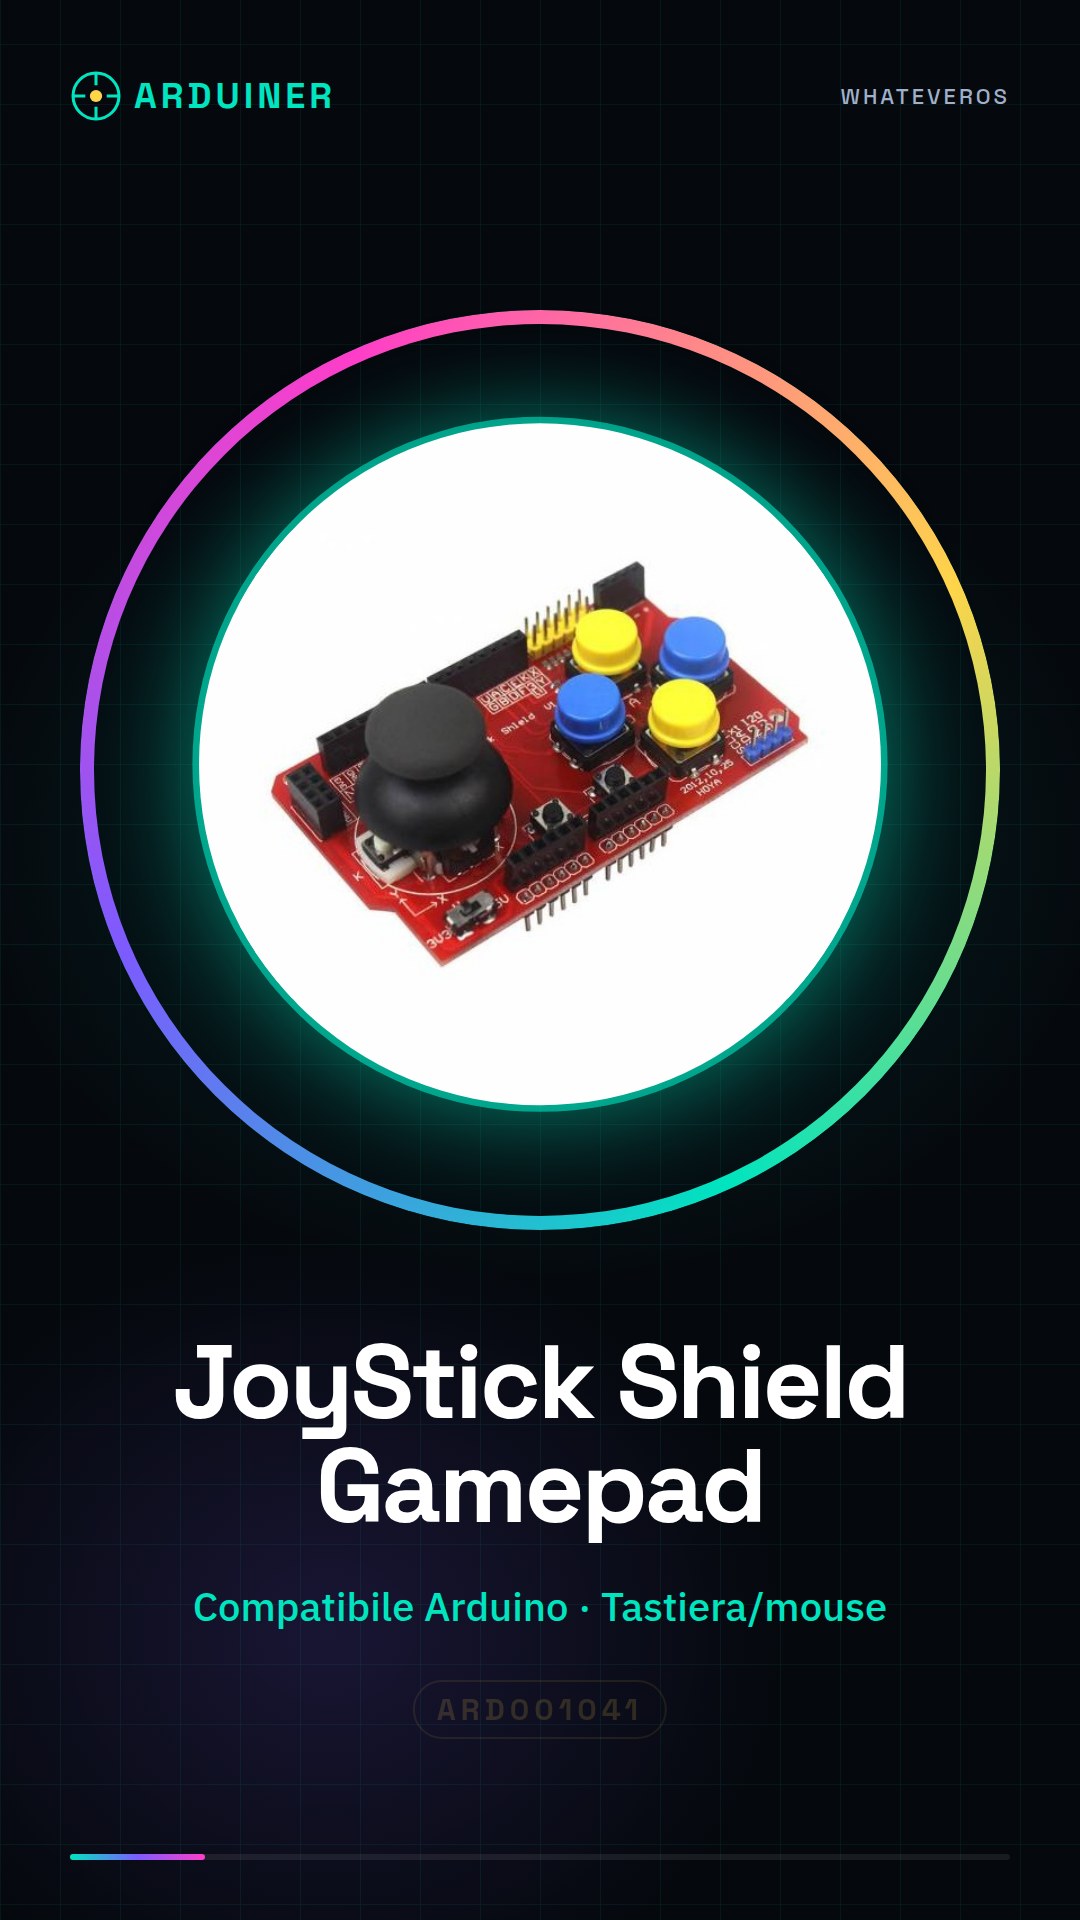
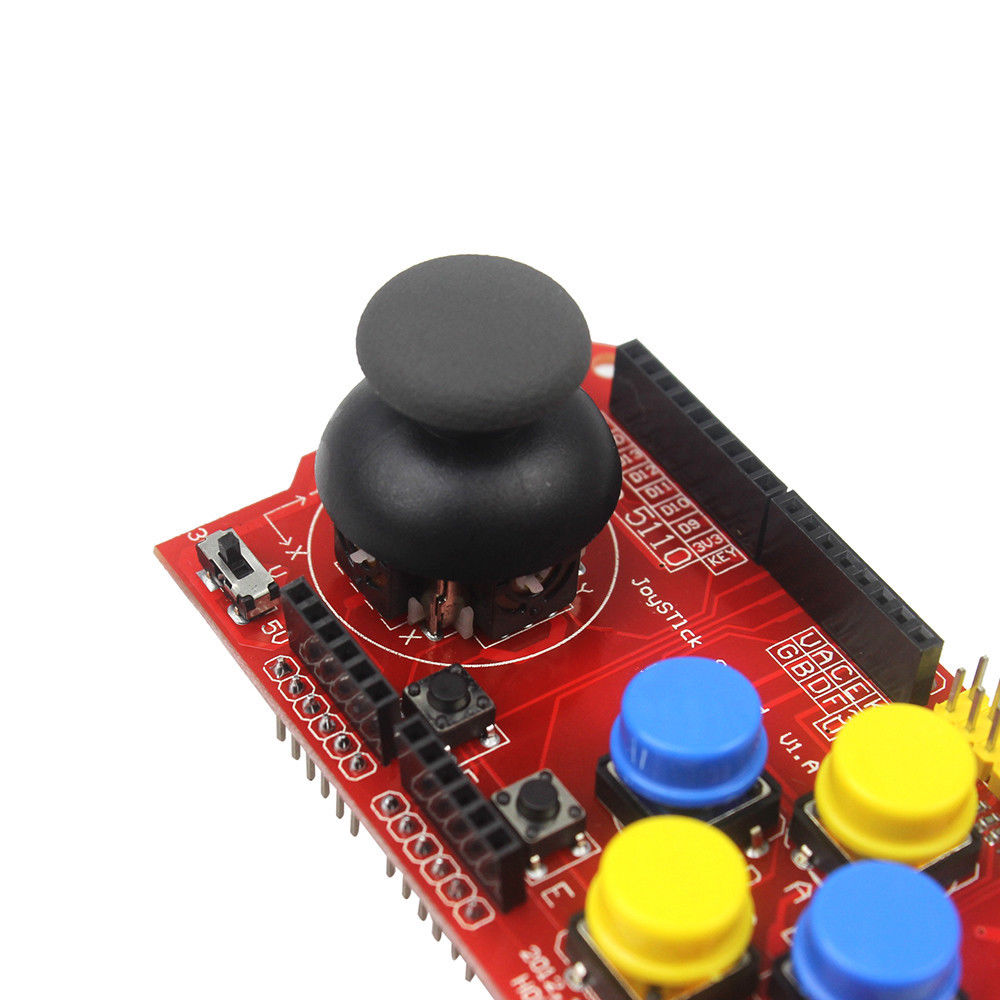
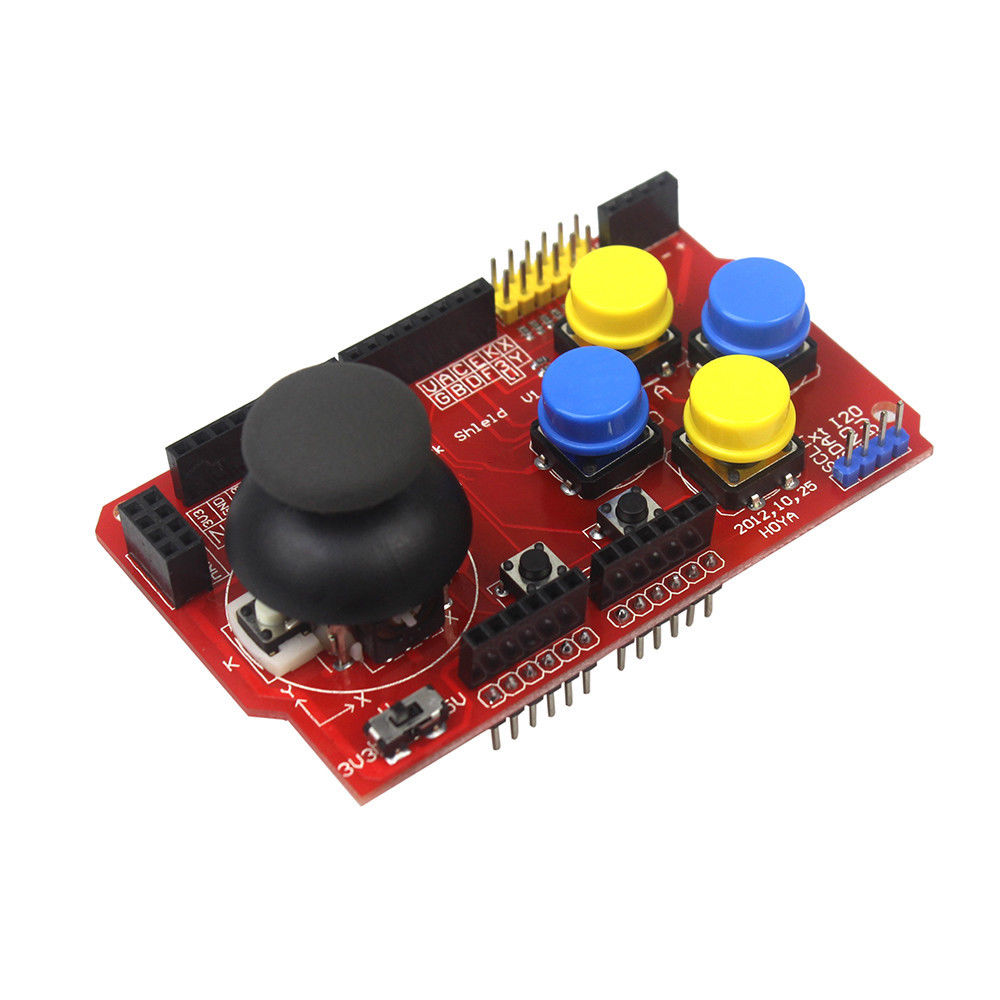
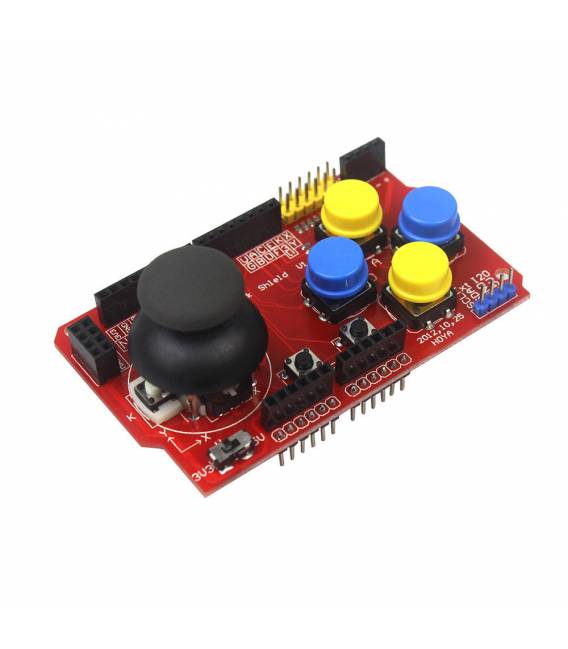
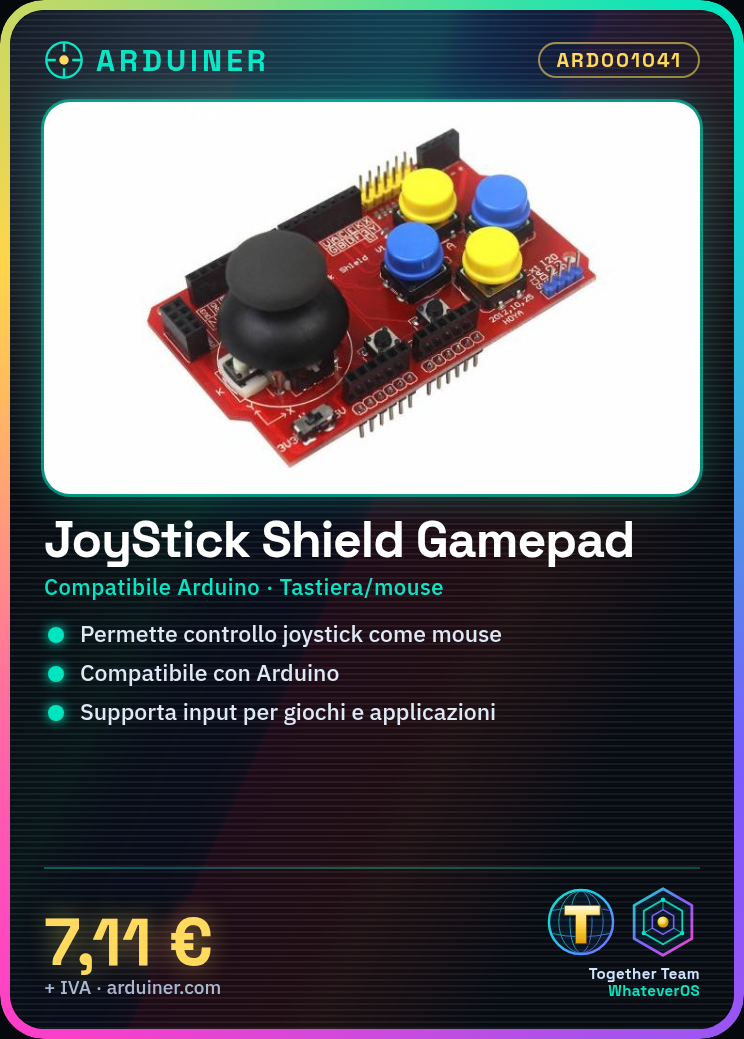
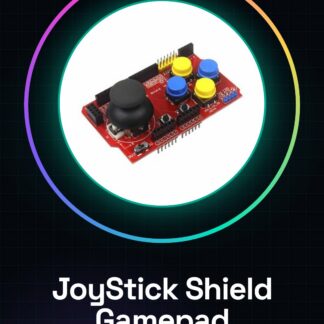
The JoyStick Shield Gamepad is an Arduino expansion board that simulates keyboard and mouse functions. This module allows for the integration of joystick controls in interactive projects such as games, user input applications, and remote control systems.
Features
- Arduino compatible expansion board
- Simulates keyboard and mouse functions
- Great for developing interactive games and applications
What it is for
Ideally, the JoyStick Shield Gamepad is used to create remote control systems that simulate mouse functions. It can be integrated with other sensors like a light sensor to automatically activate specific modes when conditions change.
Tutorial: How to use JoyStick Shield Gamepad
The JoyStick Shield Gamepad is an Arduino expansion board that simulates keyboard and mouse functions. Ideal for interactive projects such as games, remote controls, and user input applications.
What you need
- Arduino Uno or compatible
- USB A-MicroB cable
- PC with Arduino software installed
Steps
- Connect the JoyStick Shield to your Arduino using the ICSP connectors and/or pin headers.
- Download and open the example sketch ‘KeyboardAndMouseControl’ from the official product repository.
- Upload the sketch to your Arduino via USB.
- Verify the correct installation of the necessary libraries (if not present in the repository).
- Insert the code specific to configure the joystick’s input and output functions.
- Test the mouse cursor movement and keyboard key clicks.
- Modify the sketch to customize the joystick input according to your needs.
- Try to integrate the JoyStick Shield with other sensors or devices to create a more complex project.
Example code
// Includi le librerie necessarie
#include <Mouse.h>
#include <Keyboard.h>
// Configura i pin del joystick
const int btnPin = 2;
const int xPin = A0;
const int yPin = A1;
void setup() {
  // Inizializza il mouse e la tastiera
  Mouse.begin();
  Keyboard.begin();
}
void loop() {
  // Leggi i valori del joystick e invia comandi al computer
  if (digitalRead(btnPin) == LOW) { Keyboard.press(KEY_LEFT_ARROW); }
  else { Keyboard.release(KEY_LEFT_ARROW); }
}
Mini project
Create a remote control system for the mouse using the JoyStick Shield. Integrate it with a light sensor to automatically activate the navigation mode.
Common mistakes
- Ensure that all necessary libraries are installed correctly.
- Check the connections between Arduino and JoyStick Shield.
- Make sure that the computer software is configured to accept input from external devices.
- Respect the allowed operating voltage as per the joystick datasheet.
Recommended accessories
- Arduino Uno
- Light sensors
- 3D printer prototype case
Frequently asked questions
Which libraries are required?
Mouse.h and Keyboard.h.
Can it be used with other microcontrollers?
Check the datasheet for compatibility.
Reviews
There are no reviews yet.