 EN
 IT Italiano
 ES Español
 FR Français
 DE Deutsch
Description
What it is
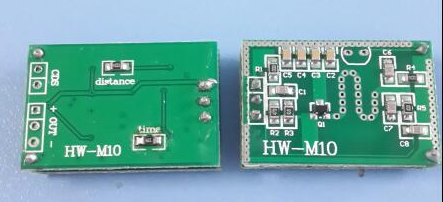
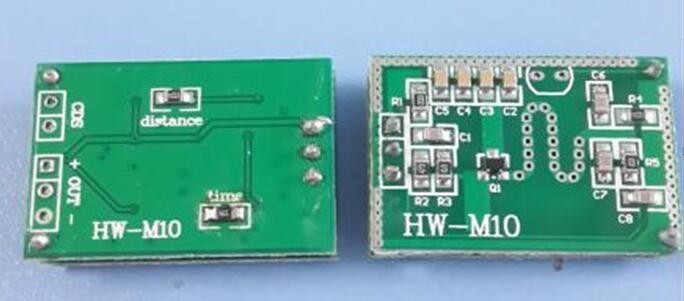
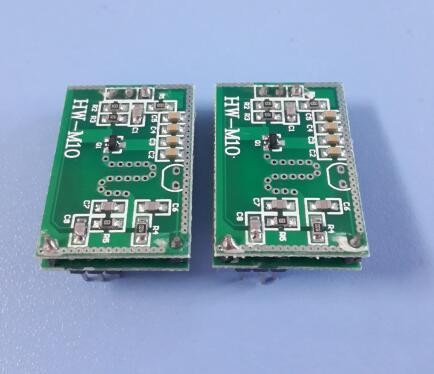
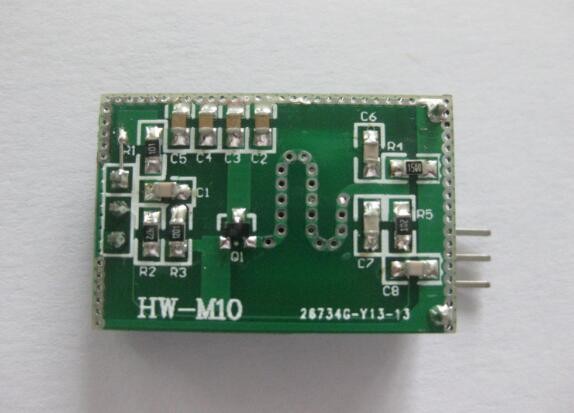
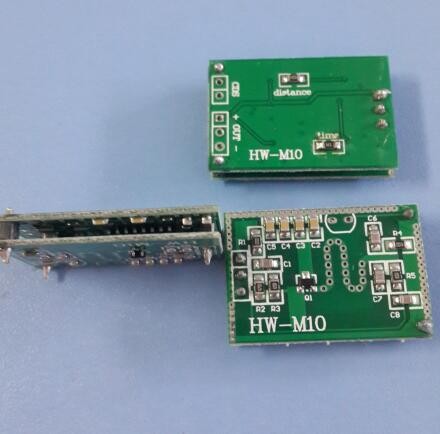
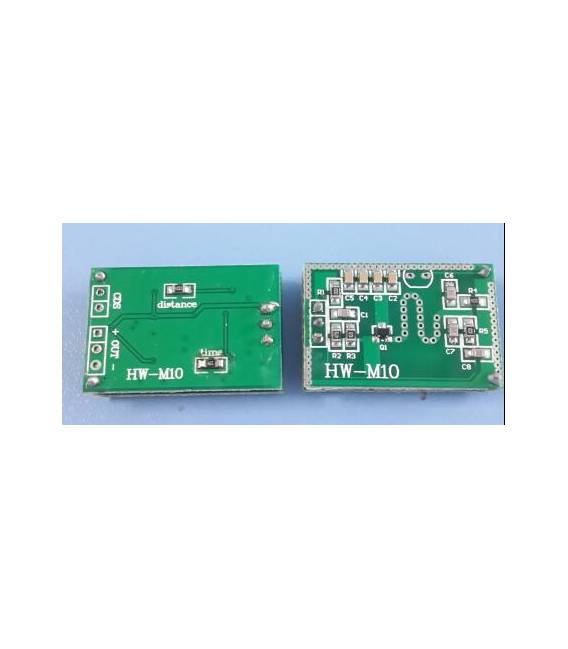
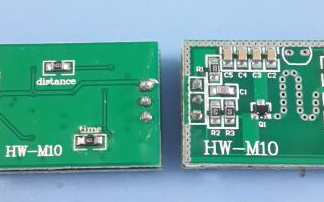
The HW-M10-2 3.3 V output is a 3.3 V potentiometer designed to be directly connected to a single chip, such as an Arduino microcontroller.
Features
- Operating voltage: 3.3 V
- SKU: ARD0010511
- Price: 5.47 €
- Category: Passive Components, Potentiometers
What it is for
The HW-M10-2 3.3 V potentiometer is ideal for controlling the brightness of an LED, the volume of a speaker, or any other function that requires an analog input. It is compatible with Arduino and other microcontrollers that operate at 3.3 V.
Tutorial: How to use HW-M10-2 3.3 V Output
The HW-M10-2 3.3 V potentiometer is ideal for controlling lighting, volume, or any other function that requires an analog input. Useful for beginners and intermediate makers.
What you need
- HW-M10-2 3.3 V
- Arduino
- Pull-up resistor
- Connection cable
Steps
- 1. Connect the potentiometer to the Arduino using the following pins: VCC to 3.3V, GND to GND, and a pin A0 to pin A0.
- 2. Connect a pull-up resistor (10kΩ) between VCC and pin A0.
- 3. Load the provided Arduino code.
- 4. Connect your circuit to power.
- 5. Try turning the potentiometer and observe the values change on the serial monitor.
- 6. Check the datasheet for further details on specifications.
- 7. Adapt the code for your project.
- 8. Test your circuit.
Example code
```
int potVal;
void setup() {
  Serial.begin(9600);
}
void loop() {
  potVal = analogRead(A0);
  Serial.println(potVal);
}
```
Mini project
Create a volume control for a speaker with a HW-M10-2 3.3 V potentiometer and an Arduino in 30 minutes.
Common mistakes
- Do not use the correct pull-up resistor.
- Incorrect connections between the potentiometer and the Arduino.
- Do not verify the analog values on the serial monitor.
- Omit configuring pin A0.
Recommended accessories
- Speaker
- Audio cable
- Arduino UNO
- 10kΩ resistor
Frequently asked questions
How to connect the potentiometer?
Connect VCC to 3.3V, GND to GND, and a pin A0 to pin A0 of the Arduino. Add a pull-up resistor (10kΩ) between VCC and pin A0.
Why is pin A0 necessary?
Pin A0 is an analog pin used to read the analog input of the potentiometer.
What values can the potentiometer take?
The HW-M10-2 3,3 V potentiometer can take values from 0 to 1023, corresponding to 1024 voltage levels between 0 and 3,3V.
Can I use a different potentiometer?
Check the datasheet for voltage values compatible with your Arduino.
Reviews
There are no reviews yet.