 EN
 IT Italiano
 ES Español
 FR Français
 DE Deutsch
Description
Tutorial: How to Use HCPL3120 Optocoupler
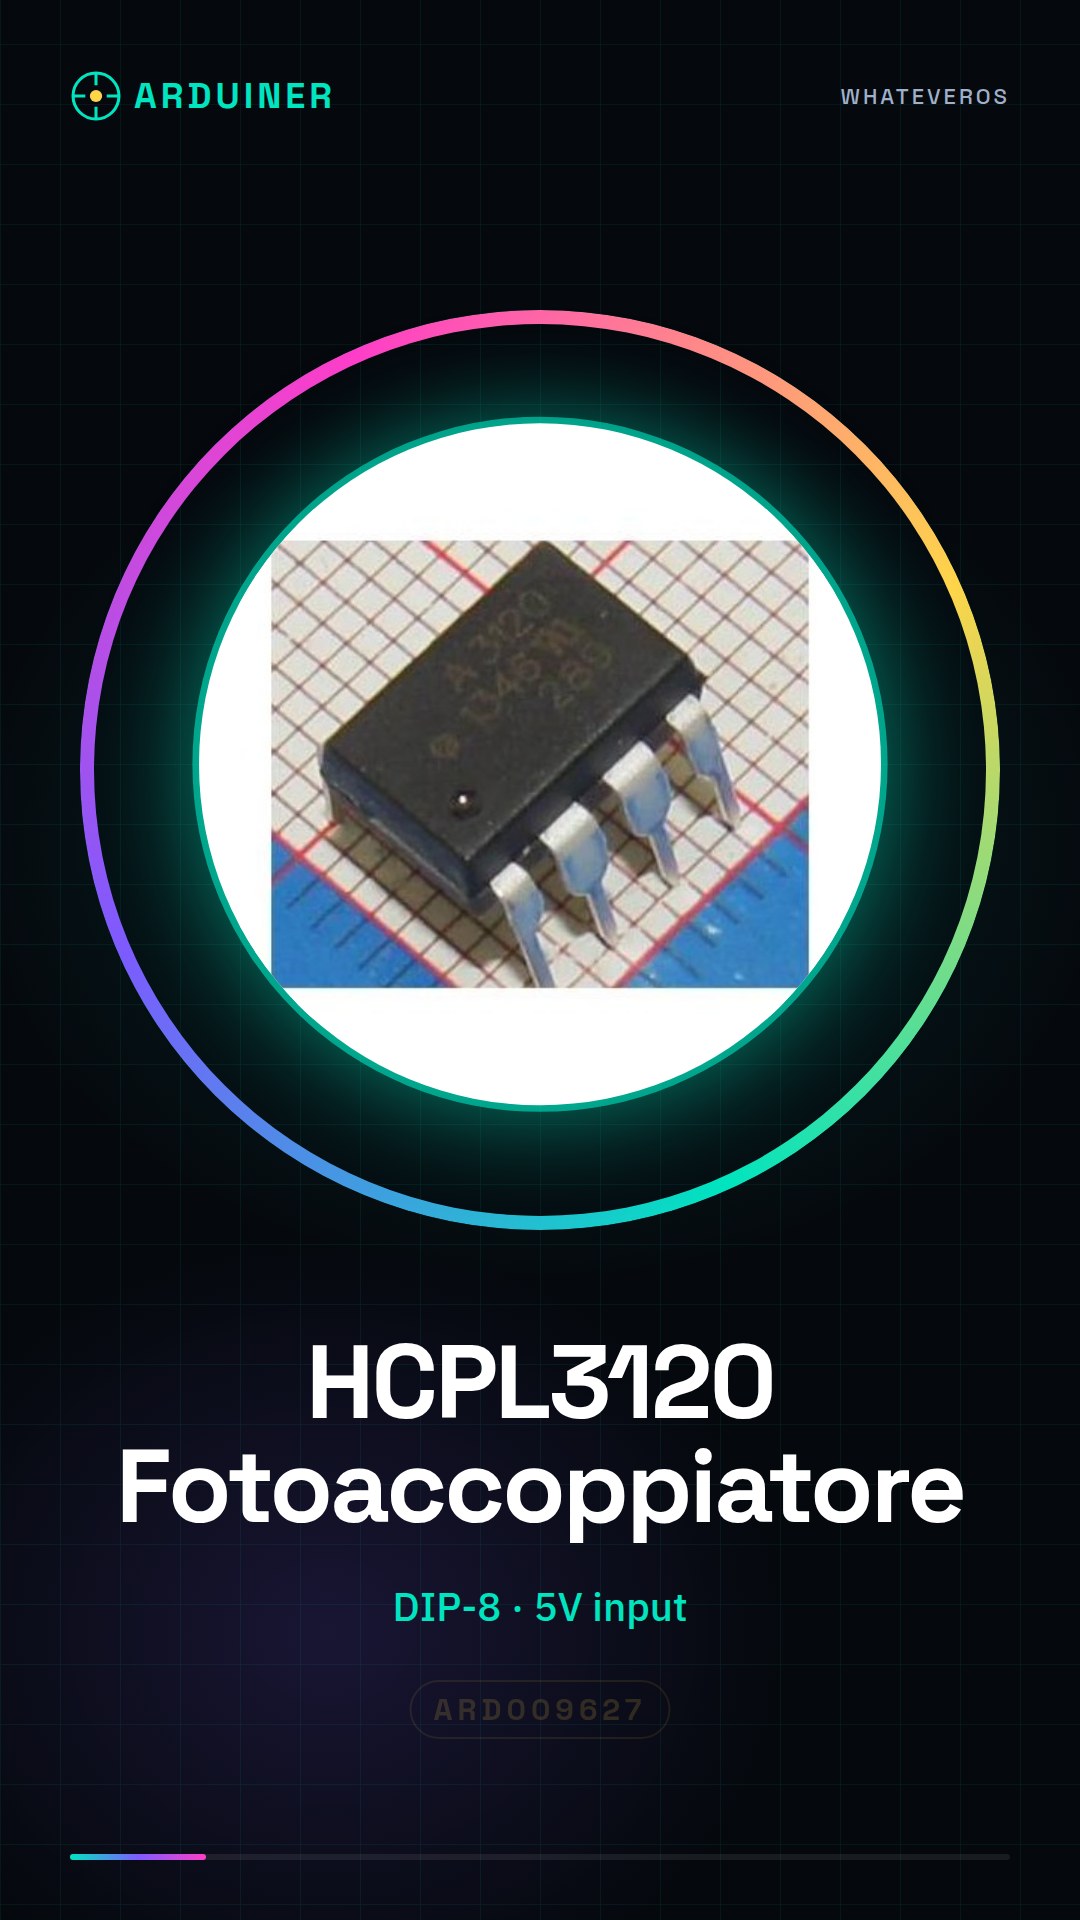
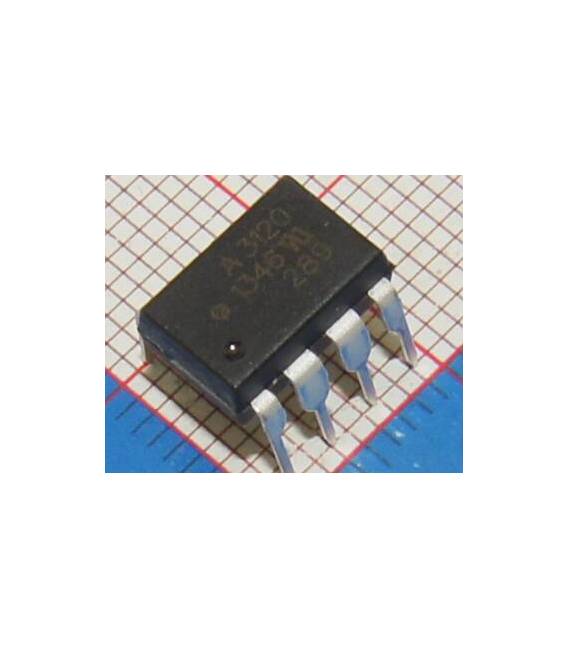
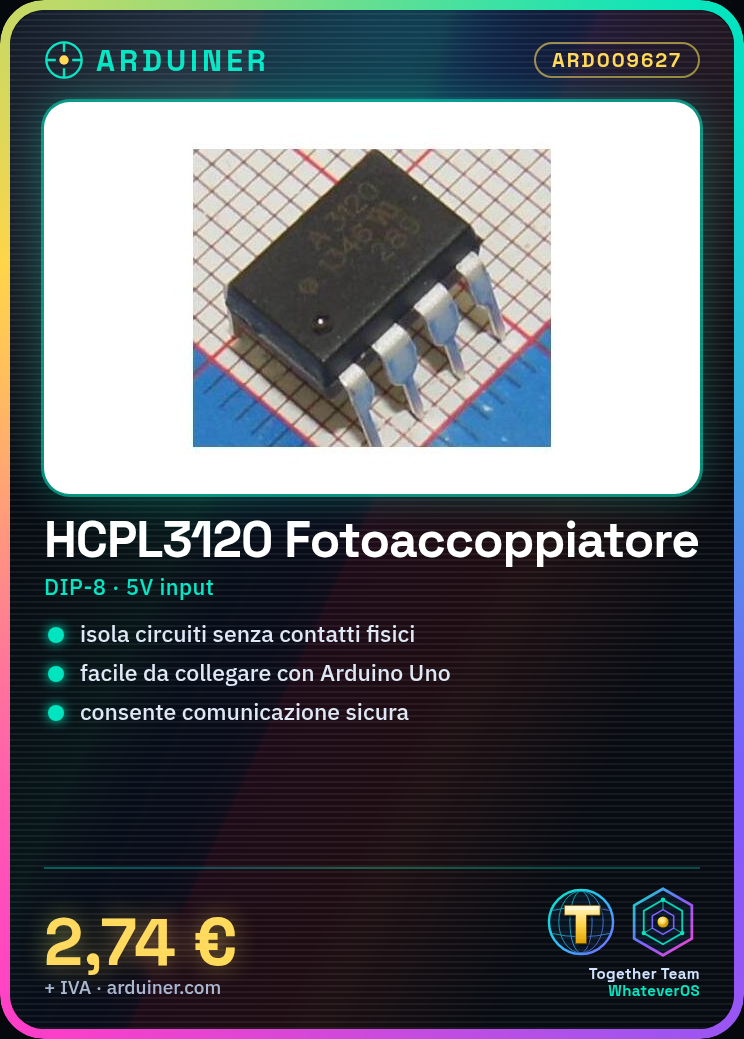
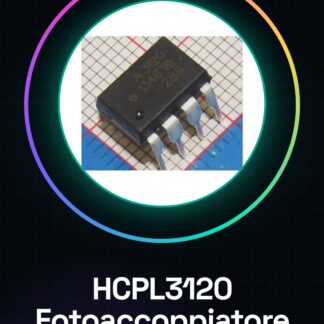
The HCPL3120 optocoupler is an electronic component that allows electrical isolation between two parts of a device. Ideal for beginners and DIY projects, it enables safe communication without physical contact.
What you need
- Arduino Uno
- 5V power supply
- connectors
Steps
- Connect the anode side of the optocoupler (pin 1) to an output pin of the Arduino.
- Connect the cathode of the internal LED (pin 2) to the GND of the Arduino through a pull-down resistor.
- Connect the emitter of the phototransistor receiver (pin 3) to an input pin of the Arduino.
- Power the anode side with +5V and connect the cathode to ground.
- Check the datasheet to set the correct values for the pull-down resistor.
- Write an Arduino sketch that turns on the output pin when isolation is to be activated.
- Monitor the communication between input and output of the photo coupler through the Arduino Serial Monitor.
- Test the circuit operation by changing the logical state on the output pin.
Example code
void setup() {
  pinMode(13, OUTPUT);
}

void loop() {
  digitalWrite(13, HIGH); // Accende la LED interna del fotoaccoppiatore
  delay(500);
  digitalWrite(13, LOW); // Spegne la LED interna del fotoaccoppiatore
  delay(500);
}
Mini project
Create a remote control system for a home application that uses the HCPL3120 photo coupler to isolate electrical circuits between the Arduino and the network.
Common mistakes
- Do not verify the values of the pull-down resistance.
- Incorrect power supply for the photo coupler.
- Connect pin 1 to ground instead of +5V.
- Use a value that is too low for the pull-down resistance.
Recommended accessories
- Variable resistors
- Arduino Uno R3
- 16×2 LCD module
- 5V USB power supply
Frequently asked questions
What is the recommended minimum and maximum voltage for the HCPL3120 photo coupler?
Check the datasheet.
How can I completely isolate the circuits with this component?
Connect the anode and cathode correctly, ensuring that the voltages are isolated between input and output.
Can it be used in 3D printing or drone projects?
Yes, it can be used to isolate circuits between the printer/vehicle hardware and the Arduino control.
Reviews
There are no reviews yet.