 EN
 IT Italiano
 ES Español
 FR Français
 DE Deutsch
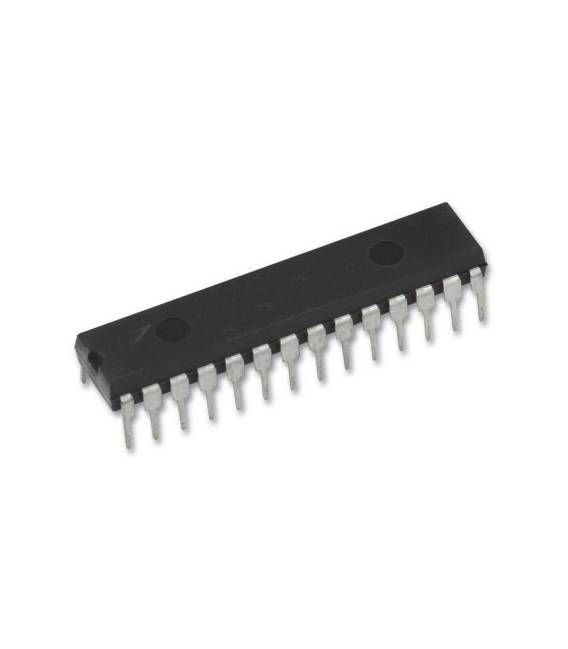
Description
Tutorial: How to Use PIC18F2550-I
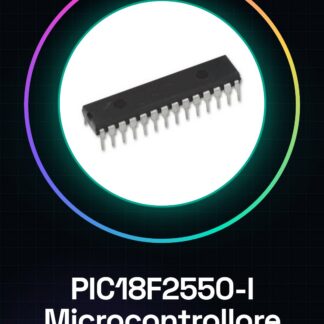
The PIC18F2550-I microcontroller is a fundamental component for electronic projects that require advanced resource management. It is ideal for beginner and intermediate makers who want to explore 8-bit microcontroller programming with Flash.
What you need
- Microcontroller PIC18F2550-I
- Perforated board or prototype board
- Power and data connectors
- DC power supply (check the datasheet)
- Programming cable
Steps
- Install the microcontroller on the perforated board or prototype board using the appropriate connectors.
- Connect the DC power supply to the microcontroller according to the component specifications (check the datasheet).
- Connect the programming cable to the computer and the microcontroller to load the sketch.
- Open Arduino IDE or another compatible development environment, install the necessary library for the PIC18F2550-I (check the datasheet).
- Write a simple sketch that turns on and off an LED connected to the microcontroller.
- Upload the sketch to the microcontroller via the programming cable.
- Verify the correct execution of the sketch connected to an external circuit (check the datasheet).
- Test additional functions of the microcontroller such as sensor input and actuator output.
Mini project
[‘Create a home control center with the PIC18F2550-I that monitors temperature through a DS18B20 sensor and controls heating via relay (check the datasheet).’]
Common mistakes
- Do not verify the power supply specifications of the microcontroller.
- Use incompatible connectors for programming or power supply.
- Ignore the setup of the development environment required for the PIC18F2550-I.
- Do not properly test the sketch before implementing it in the final project.
Recommended accessories
- DS18B20 – Temperature Sensor
- 5V Relay
- LEDs of various colors
- PICKit Programming Cable
Frequently asked questions
How can I upload a sketch to a microcontroller without a connector?
Use a development board such as PICKIT or use an adapter circuit for serial communication.
Which libraries do I need to install to use the PIC18F2550-I in Arduino IDE?
Install Microchip USB Device Stack and Microchip USB Device HID Library (check the datasheet).
Reviews
There are no reviews yet.