 EN
 IT Italiano
 ES Español
 FR Français
 DE Deutsch
Description
What it is
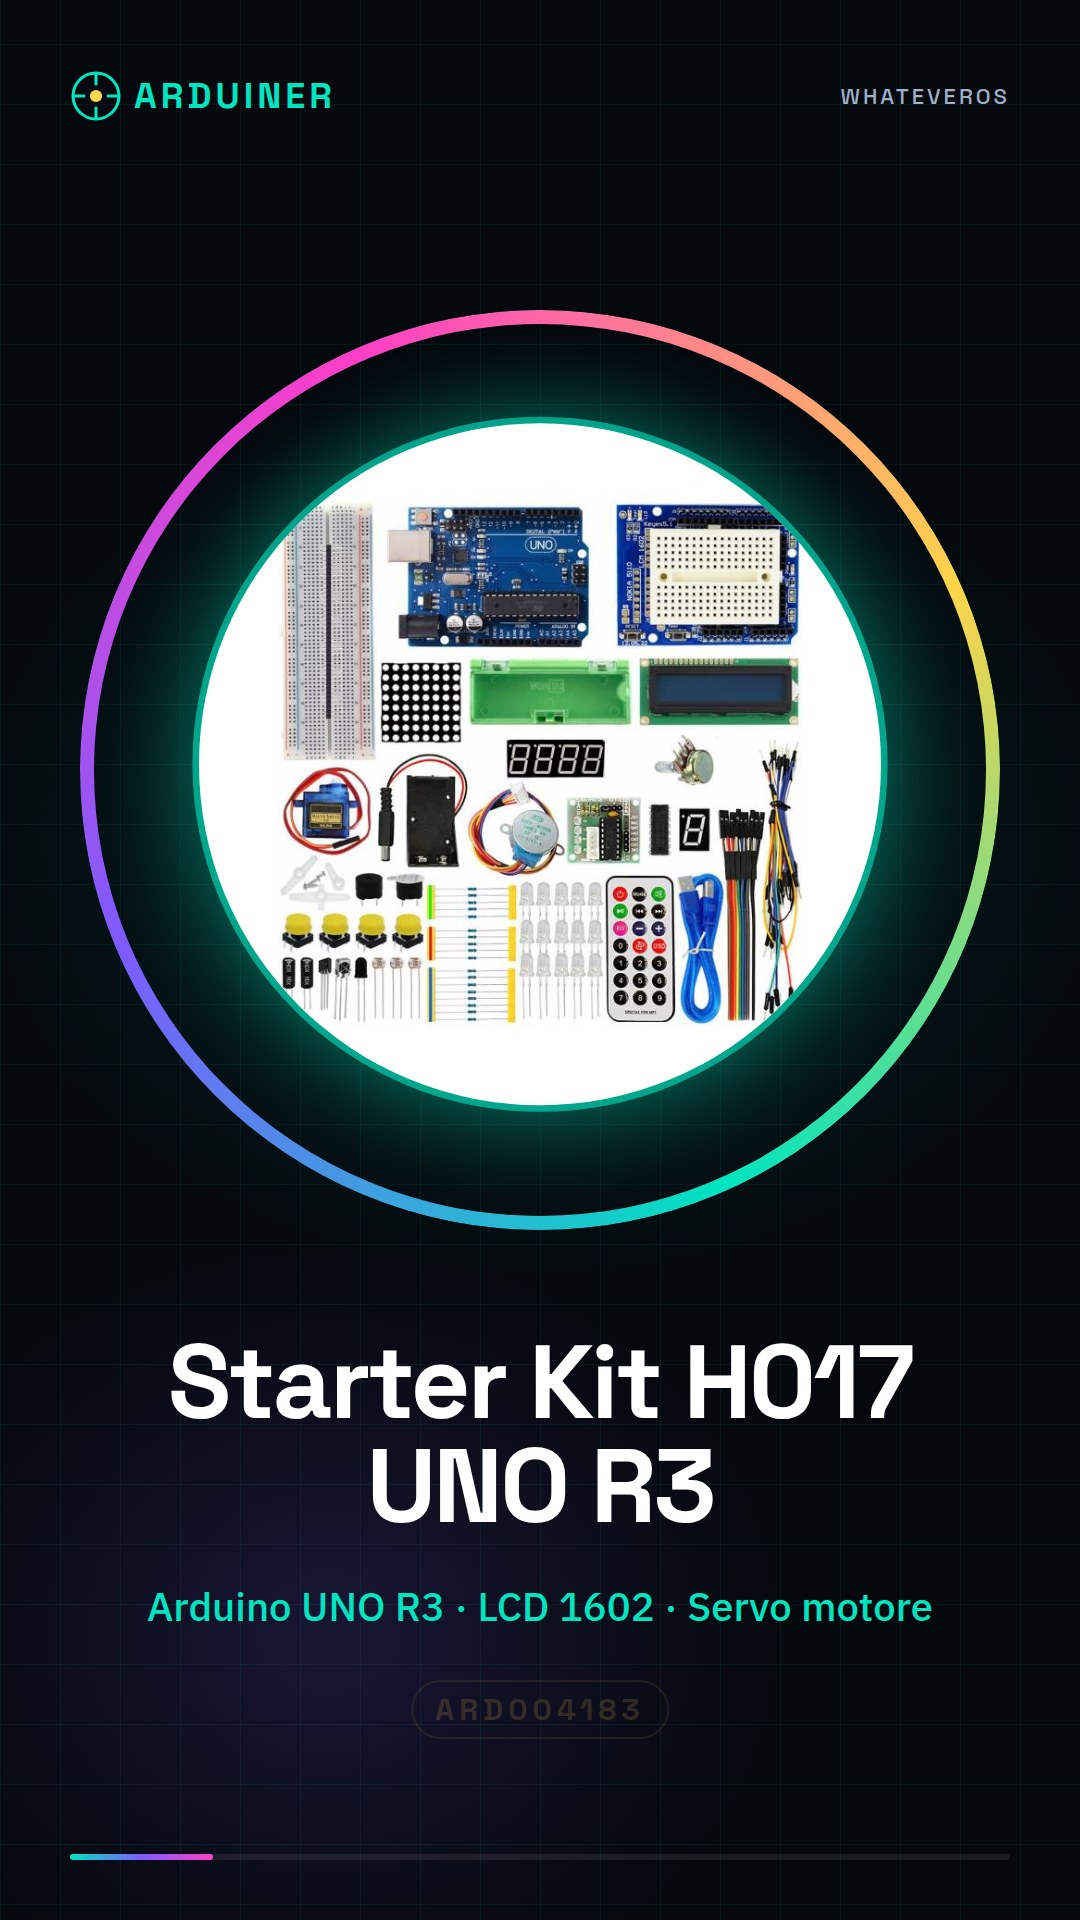
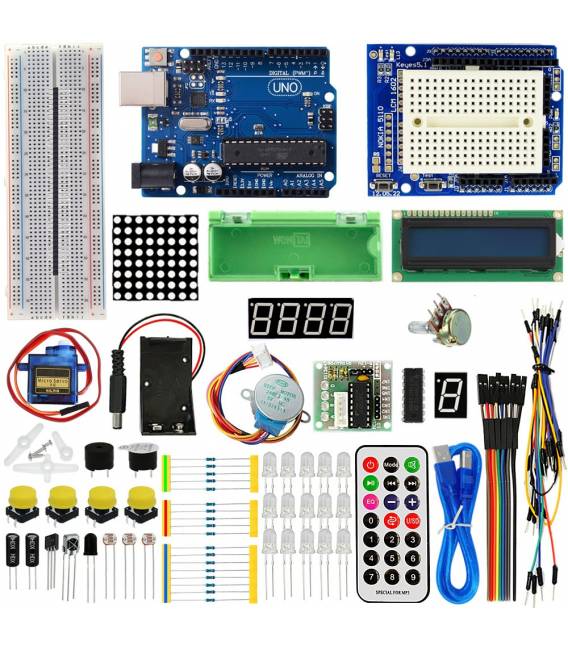
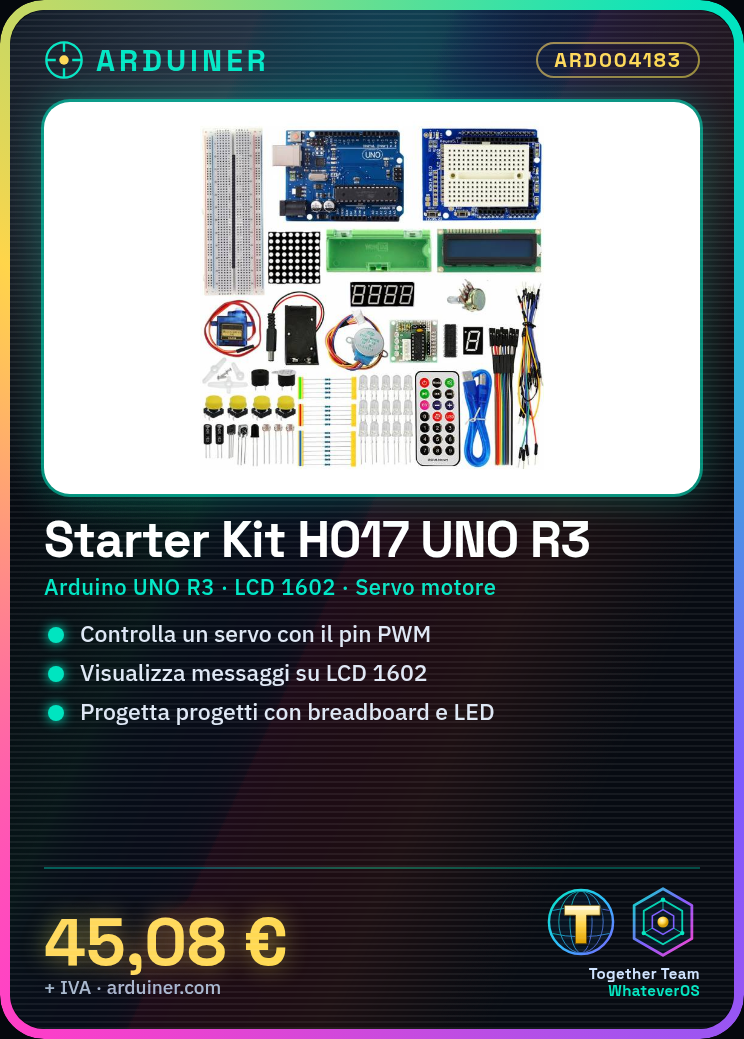
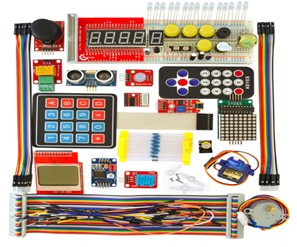
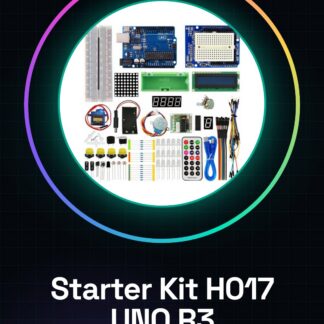
The H017 UNO R3 Starter Kit is a set of electronic components designed to facilitate learning and using the Arduino platform.
Features
- Compatible with Arduino UNO R3
- Includes LCD 1602
- Servo motor
- Breadboard
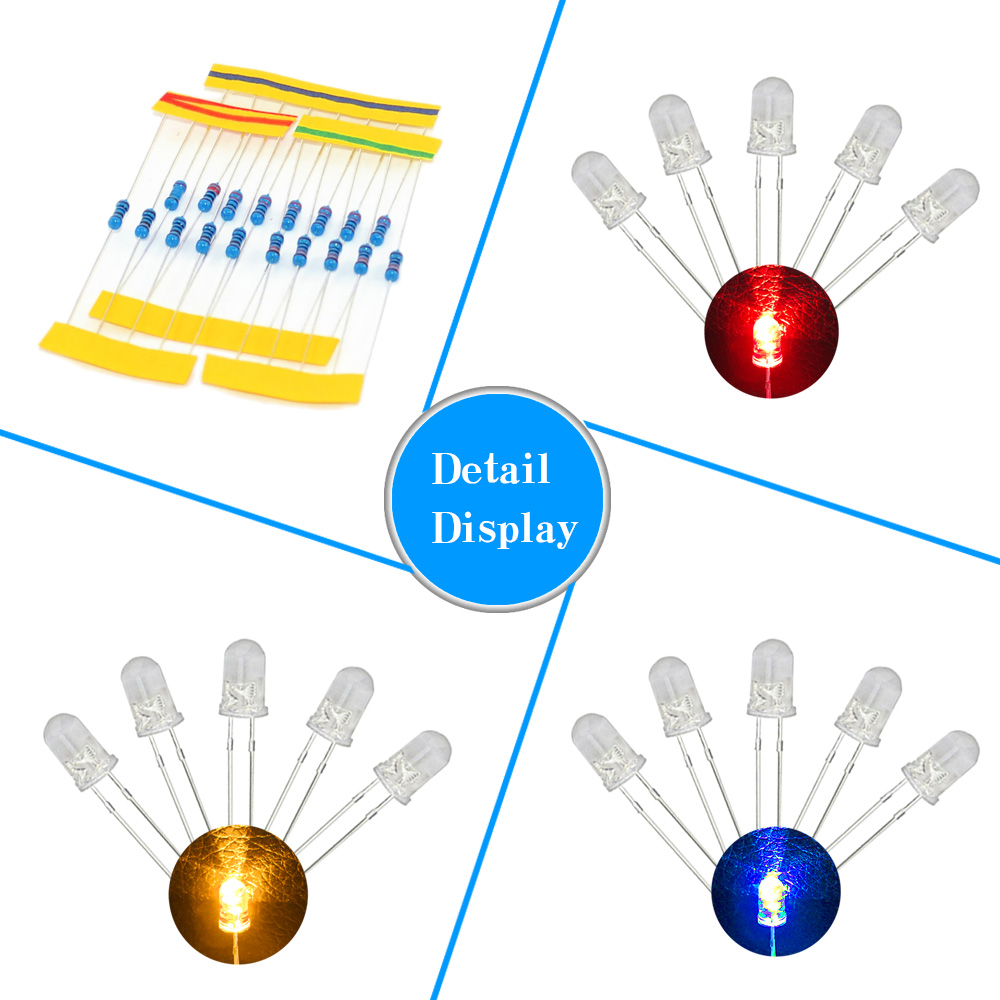
- LED
- Dot Matrix
What it is for
This kit is ideal for beginners and intermediate users who want to explore the basics of electronics and programming with Arduino. It can be used to create simple projects such as an LCD counter or a servo motor controlled by a program.
Tutorial: How to use H017 Uno R3 Starter Kit 1602 LCD Servo Motor Dot Matrix Breadboard LED
This kit is ideal for beginners and intermediates who want to explore Arduino and electronic projects. It contains fundamental components to create simple and complex applications.
What you need
- Arduino Uno R3
- Display LCD 1602
- Servo motor
- Dot matrix
- Breadboard
- LED
Steps
- 1. Arduino IDE Installation: Download and install the Arduino IDE.
- 2. Arduino Connection: Connect the Arduino Uno R3 to the computer via USB.
- 3. Breadboard Setup: Mount the LCD 1602 display, the servo motor, and the dot matrix on a breadboard.
- 4. Display Connection: Connect the LCD 1602 display pins to the breadboard.
- 5. Servo Connection: Connect the servo motor to the Arduino PWM pin.
- 6. Dot Matrix Connection: Connect the dot matrix to the breadboard.
- 7. LED Connection: Connect an LED to the breadboard.
- 8. Example Sketch: Load the example code for the LCD display.
Example code
void setup() { // Configura i pin del display LCD 1602 LiquidCrystal lcd(12, 11, 5, 4, 3, 2); // Inizializza il servo Servo myservo; myservo.attach(9); // Inizializza il LED pinMode(13, OUTPUT);}void loop() { // Mostra testo sul display LCD lcd.print("Benvenuto!"); // Move the servo arm to 90 degrees myservo.write(90); // Blink the LED digitalWrite(13, HIGH); delay(1000); digitalWrite(13, LOW); delay(1000);}Mini project
Create a simple counter that counts from 1 to 10 on the LCD display and makes the servo turn 90 degrees every time the number is a multiple of 3.
Common mistakes
- Correctly connect the LCD display pins.
- Check the datasheet for the correct power supply of the servo motor.
- Ensure the breadboard is properly connected.
- Check that the Arduino code is correct and compiles without errors.
Recommended accessories
- USB cable for Arduino
- Add LEDs
- Proximity sensors
- LiPo battery
Frequently asked questions
How can I control the servo motor with a button?
Add an input pin for the button and control the position of the servo based on the state of the button.
Which pins of the LCD display are used?
The pins VSS, VDD, VO, RS, EN, D4-D7 are used for the LCD display 1602.
Can I use another LCD display?
Yes, but check that the display is compatible with the pinout of the 1602 display.
Reviews
There are no reviews yet.