 EN
 IT Italiano
 ES Español
 FR Français
 DE Deutsch
Description
What it is
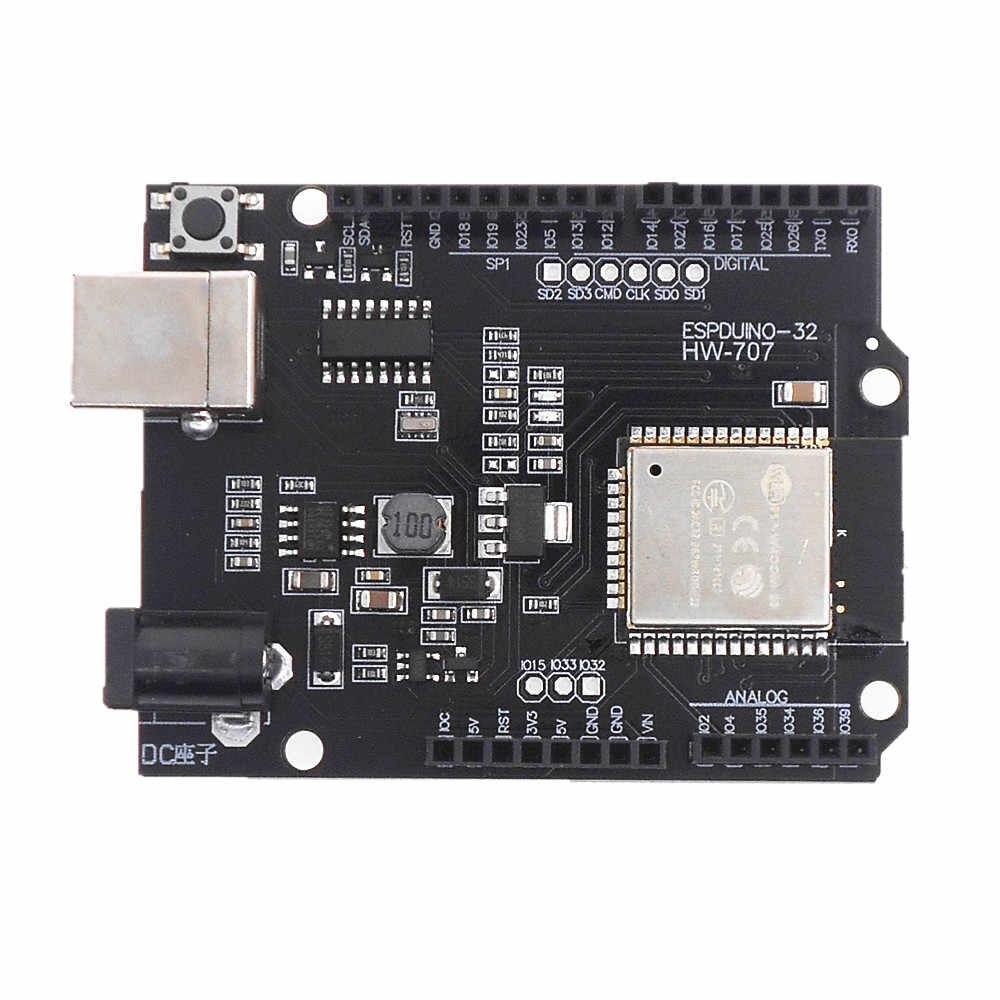
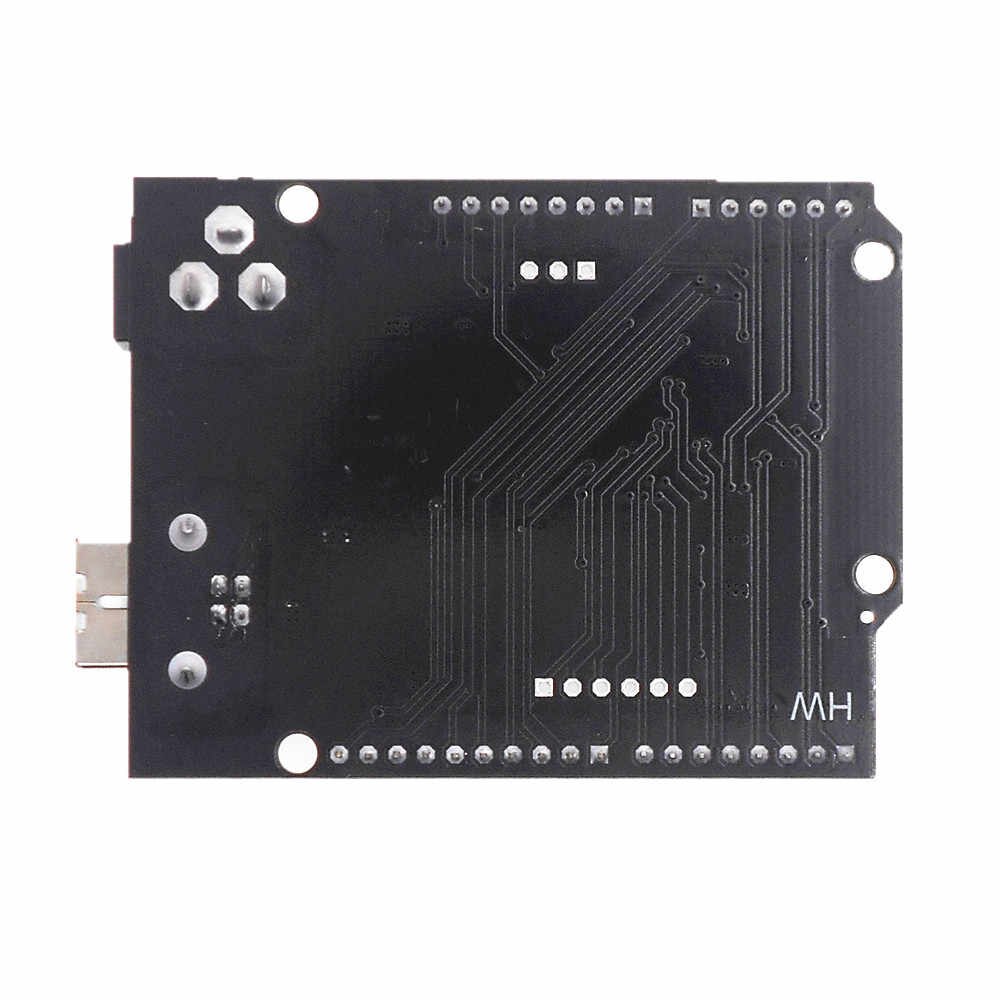
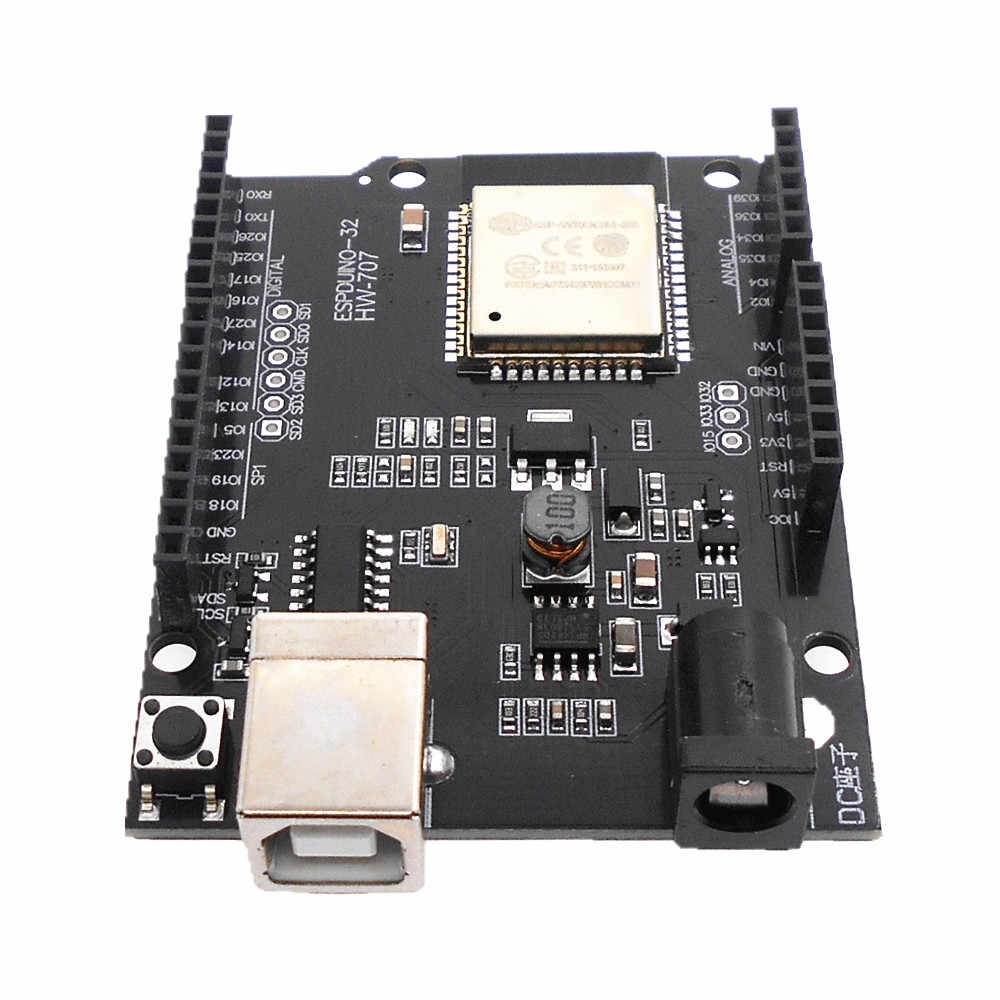
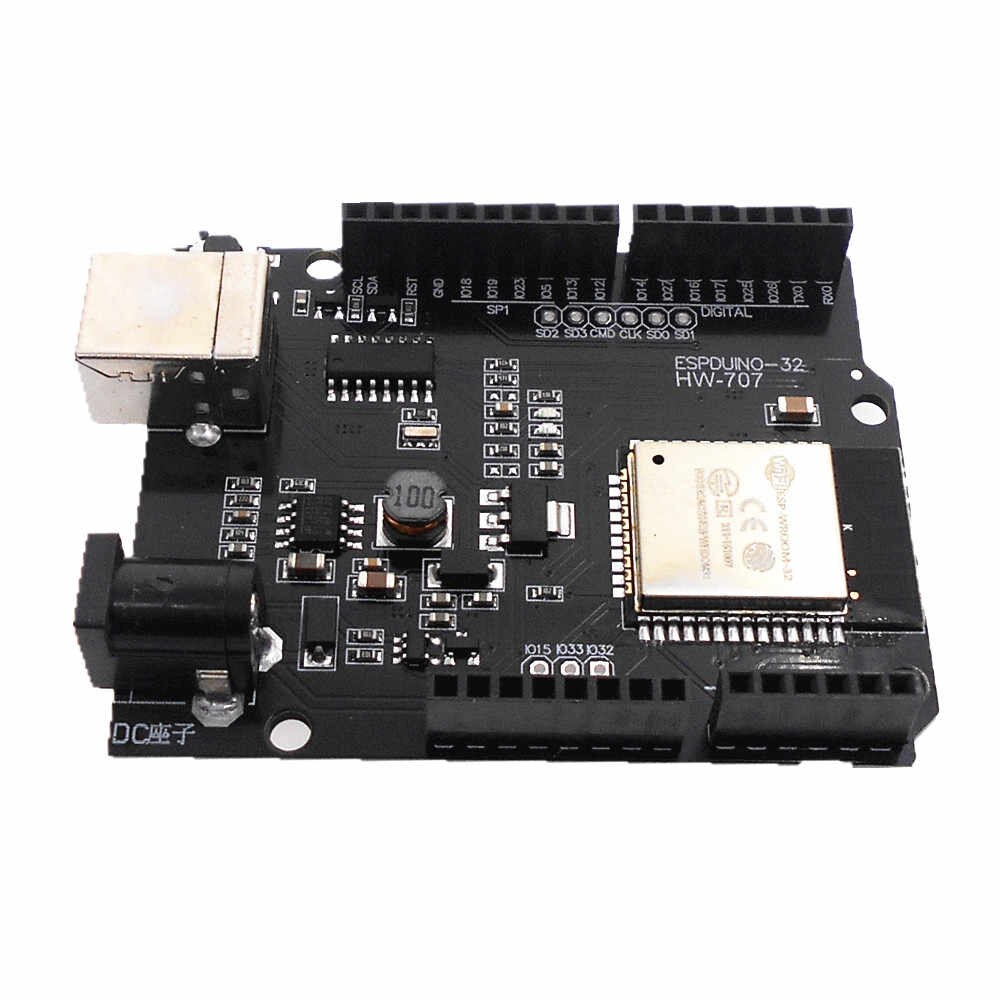
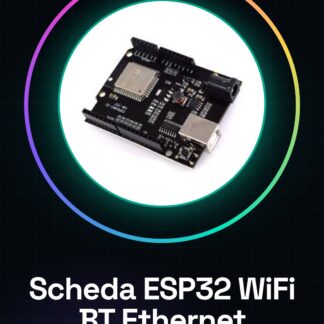
The ESP32 Development Board / WiFi Bluetooth Ethernet IoT Wireless Serial Port / Image Transmitter Control Board (SKU: ARD0011638) is an electronic module based on the ESP32 processor. It offers a platform for programming and controlling IoT devices thanks to its wireless and wired connectivity.
Features
- WiFi Connection
- Bluetooth Connection
- Ethernet Connection
- Serial Port
- ESP32 Processor
What it is for
The board is ideal for IoT projects that require wireless communication. It can be used to create remote control devices, sensors, monitoring systems, and much more. Compatibility with Arduino simplifies development for those already familiar with this programming environment.
Tutorial: How to Use ESP32-WROOM-32
The ESP32-WROOM-32 development board is ideal for IoT projects, thanks to its WiFi and Bluetooth connectivity. Suitable for beginners and intermediates.
What you need
- ESP32-WROOM-32
- Computer with Arduino IDE
- USB cable
- 10kΩ resistor
Steps
- 1. Download and install the Arduino IDE.
- 2. Connect the board to the computer via USB.
- 3. Check the datasheet for the Arduino core version.
- 4. Configure the port in Arduino IDE.
- 5. Load the example sketch ‘Blink’.
- 6. Connect to WiFi using the example code.
- 7. Verify WiFi connection with an example sketch.
- 8. Add a push button and check its state.
Example code
```cpp
#include <WiFi.h>

const char* ssid = "TUO_SSID";
const char* password = "TUO_PWD";

void setup() {
  Serial.begin(115200);
  WiFi.begin(ssid, password);
  while (WiFi.status() != WL_CONNECTED) {
    delay(1000);
    Serial.println("Connessione in corso..." );
  }
  Serial.println("Connessione WiFi stabilita!");
}

void loop() {}
```
Mini project
Create a remote control device for a light using WiFi.
Common mistakes
- Fail to configure the port correctly in Arduino IDE.
- Forget to load the necessary driver.
- Fail to use appropriate resistors for digital pins.
- Connect to WiFi with incorrect credentials.
Recommended accessories
- LED lamp
- Push button
- 10kΩ resistor
- 5V power supply cable
Frequently asked questions
How to configure the port in Arduino IDE?
Check the datasheet for the Arduino core version and configure the port correctly in Arduino IDE.
Which pins to use for the push button?
Use a digital pin, for example D2.
Why do I need to use a 10kΩ resistor?
To protect the digital pin from overvoltage.
Reviews
There are no reviews yet.