 EN
 IT Italiano
 ES Español
 FR Français
 DE Deutsch
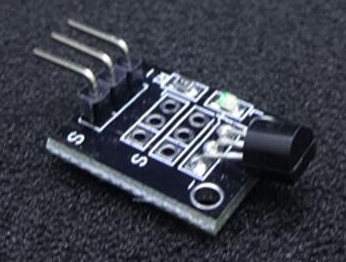
Description
Tutorial: How to use KY-001
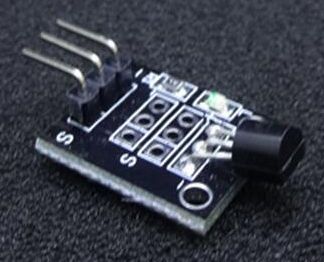
The DS18B20 temperature sensor KY-001 measures temperature with precision and ease, making it ideal for integration into Arduino projects for beginners and intermediates.
What you need
- Arduino UNO or compatible
- 5V power cable
- Pull-up resistor (4.7kΩ)
- Sensor connector
Steps
- 1. Installation: Assemble the KY-001 module on a test circuit or directly on the Arduino.
- 2. Connection: Connect the VCC pin to 5V, the GND pin to GND, and the DQ pin to the DQ (GPIO) pin of the Arduino.
- 3. Add the pull-up resistor (4.7kΩ) between the DQ pin and VCC.
- 4. Load the code: Use the provided sketch.
- 5. Check: Power on the Arduino and verify the temperature.
- 6. Test the connection: Use the Serial.print() function to display the data.
- 7. Configure: Check the datasheet to set precision and conversion.
- 8. Experiment: Try integrating the sensor into a project of your choice.
Example code
```void loop() { float temp = DS18B20.readTemperature(); Serial.print("Temperatura: "); Serial.println(temp); delay(1000);}```Mini project
Create a temperature alert device. Connect the sensor to the Arduino and use a relay to turn on a light when the temperature exceeds a certain value.
Common mistakes
- Omit the pull-up resistor.
- Incorrectly connect the pins.
- Omit the installation of the DS18B20 driver.
- Use an unsupported pin.
Recommended accessories
- Relay
- LED Light
- LCD Display
- Humidity Sensors
Frequently asked questions
How can I check the temperature?
Use the Serial.print() function to display the temperature.
Which Arduino pins can I use?
Any supported digital pin.
Does the sensor work with 3.3V?
Check the datasheet to confirm compatibility.
How can I customize the precision?
Check the datasheet to set the desired precision.
Reviews
There are no reviews yet.