 EN
 IT Italiano
 ES Español
 FR Français
 DE Deutsch
Description
What it is
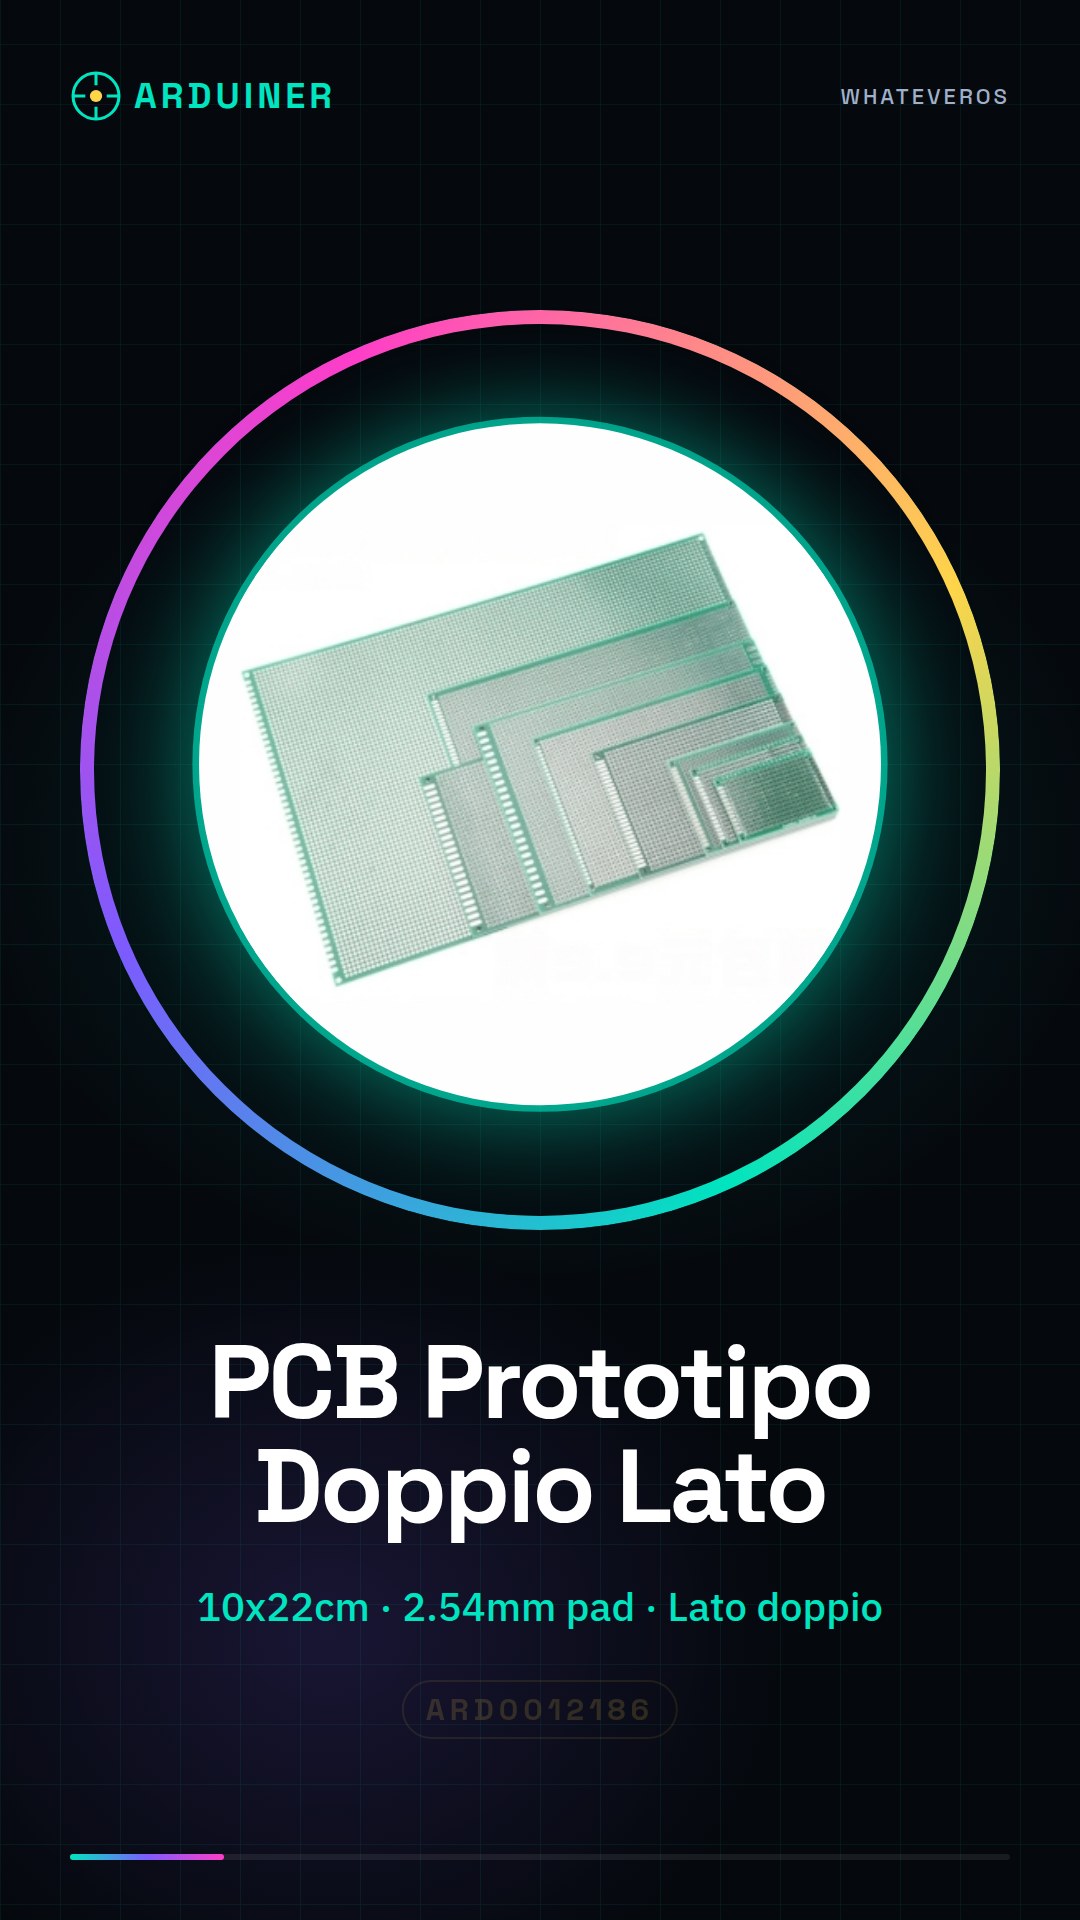
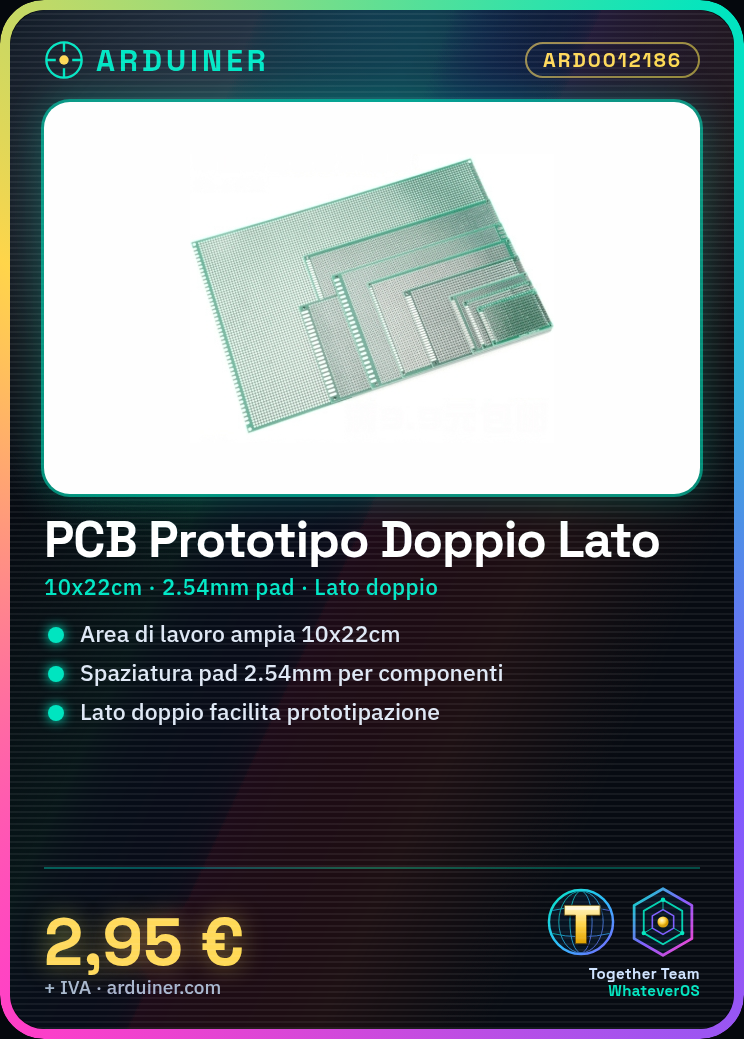
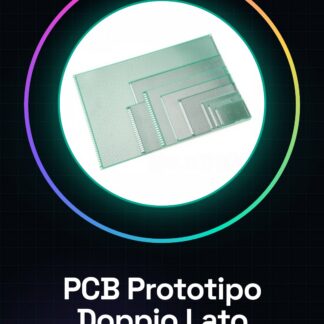
The Double-Sided 10x22cm 2.54mm PCB Prototype is an ideal printed circuit board for electronic prototyping. This PCB offers a spacious and versatile workspace for makers and students who wish to test and develop electronic projects.
Features
- Dimensions: 10x22cm
- Pad spacing: 2.54mm
- Double-sided
What it is for
This PCB is perfect for initial wiring and prototyping tests. You can use it to create simple LED control circuits with Arduino by connecting an LED, a resistor, and a button to the PCB and writing an Arduino sketch to turn the LED on and off. It is compatible with various electronic components and can be used in combination with Arduino and ESP for more complex projects.
Tutorial: How to use Double-Sided 10x22cm 2.54mm PCB Prototype
The Double-Sided PCB Prototype 10x22cm 2.54mm is a universal printed circuit board ideal for makers and students who want to test and develop electronic projects. This PCB is perfect for initial wiring and prototyping tests.
What you need
- Arduino Uno
- Pin Connectors
- Connection Cables
- Soldering Kit
- Multimeter
Steps
- Prepare the PCB by cleaning it with a cloth and isopropyl alcohol to remove any impurities.
- Connect electronic components to the PCB holes using pin connectors.
- Verify the correct connection of the components with a multimeter.
- Solder the components to the PCB, checking for any short circuits.
- Test the circuit with Arduino to verify functionality.
- Check the datasheet for any additional specifications.
- Verify the electrical resistance between the various pins of the PCB.
- Clean the PCB from any soldering residues with acetone or similar solvent.
Mini project
Create a simple LED control circuit with Arduino and the PCB prototype. Connect an LED, a resistor, and a button to the PCB and write an Arduino sketch to turn the LED on and off.
Common mistakes
- Do not clean the PCB before use.
- Do not solder without first checking the component connections.
- Do not test the circuit before permanently soldering the components.
- Do not check the resistance between the pins after soldering.
Recommended accessories
- Arduino Uno
- Pin Connectors
- Soldering Kit
- Multimeter
Frequently asked questions
How to clean the PCB?
Use a cloth and isopropyl alcohol to remove any impurities.
What components can I connect?
You can connect any component that fits the holes in the PCB.
How do I verify the circuit?
Use a multimeter to check the electrical connections.
Reviews
There are no reviews yet.