 EN
 IT Italiano
 ES Español
 FR Français
 DE Deutsch
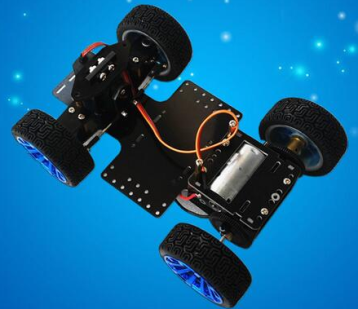
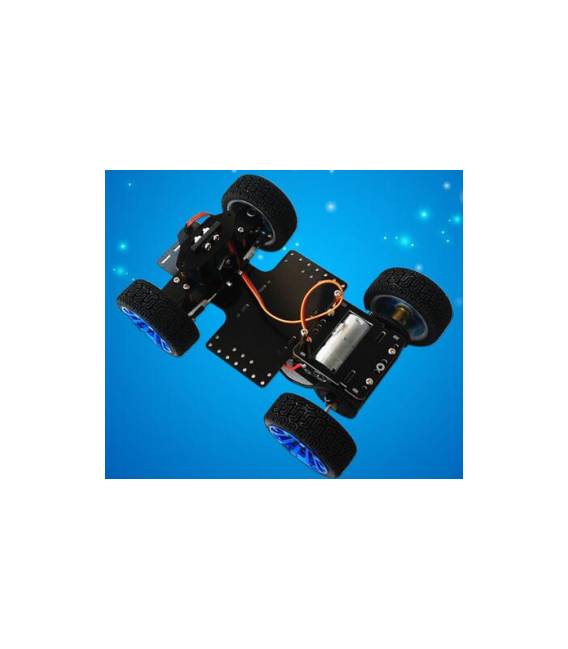
Description
What it is
The DIY Smart Car Frame Kit with Motor 540 + Servo MG996R Arduino is a product designed for makers who want to build an autonomous or semi-autonomous vehicle. This kit allows you to create a smart car using basic components such as the motor 540 and the servo MG996R.
Features
- DIY frame for building a Smart Car robot
- Includes motor 540
- Includes servo MG996R
- Ideally suited for beginners and intermediates in programming and electronics
What it is for
This kit is ideal for building a smart car that moves in a straight line and uses the servo to turn right or left. It is compatible with Arduino.
Tutorial: How to use DIY Smart Car Frame Kit with Motor 540 and Servo MG996R
The do-it-yourself chassis kit for building a smart car robot is perfect for makers who want to create an autonomous or semi-autonomous vehicle. This kit includes the 540 motor and the MG996R servo, allowing beginners and intermediates to explore programming and electronics.
What you need
- Arduino Uno
- AA Batteries x 8
- USB Connection for Arduino
- M/F Jumpers
- Datasheet Information
Steps
- Check that all kit components are present and in good condition.
- Connect the 540 motor to the Arduino output pins, checking the datasheet for specific details.
- Connect the MG996R servo to the Arduino PWM bus, consulting the servo datasheet for precise information.
- Connect the AA battery to the kit and ensure it is stable on a flat surface.
- Load the provided Arduino sketch or create a new one following the programming steps.
- Verify the correct orientation of the connectors to avoid damage.
- Test the motor and servo separately before connecting them to the vehicle frame.
- Try to manually drive the Smart Car with Arduino commands.
Example code
// Includi le librerie necessarie
#include <Servo.h>
// Definisci variabili
int motorePin = 9;
Servo servo1;
servo1.attach(10);
void setup() {
pinMode(motorePin, OUTPUT);
servo1.write(90); // Posizione iniziale del servo}
void loop() {digitalWrite(motorePin, HIGH); // Avvia il motore
servo1.write(45); // Muovi il servo a sinistra
delay(2000); // Attendi 2 secondi
servo1.write(135); // Muovi il servo a destra
delay(2000); // Attendi altri 2 secondi
digitalWrite(motorePin, LOW); // Fermare il motore}
Mini project
Build a Smart Car vehicle that moves in a straight line and uses the servo to turn right or left.
Common mistakes
- Incorrect connection between Arduino and servomotor
- Incorrect servo position
- Battery low
- Misconfigured program
Recommended accessories
- Distance sensors (ultrasonic)
- LCD 16×2 for display
- Bluetooth remote controller
- 3D printing kit to customize the frame
Frequently asked questions
How can I control the vehicle from a distance?
Use a Bluetooth remote controller or another wireless device.
Which sensors can be added to improve the Smart Car?
Distance sensors, light sensors, and tilt sensors could be useful to enhance its features.
Where can I find more detailed instructions?
Consult the kit datasheet or visit our dedicated webpage for Arduino tutorials.

Reviews
There are no reviews yet.